
Related Manuals for Motomaster NAUTILUS 011-1985-4


Summary of Contents for Motomaster NAUTILUS 011-1985-4
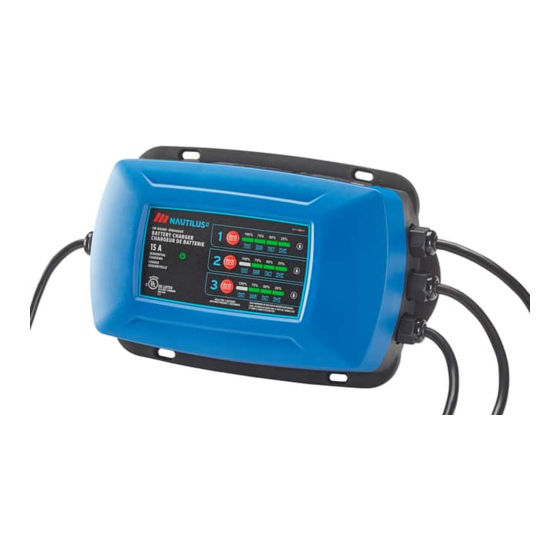
- Page 1 On-board BATTERY CHARGER model no. 011-1985-4 INSTRUCTION IMPORTANT: Please read this manual carefully before running this battery charger MANUAL and save it for reference. 0099002304-00...
- Page 2 This MotoMaster product carries a three (3) year warranty against defects in workmanship and materials. ® At its discretion, MotoMaster ® Canada agrees to have any defective part(s) repaired or replaced free of charge, within the stated warranty period, when returned by the original purchaser with proof of purchase.
-
Page 3: Table Of Contents
TABLE OF CONTENTS Safety Information Introduction Personal Safety Instructions AC Electrical Connections Using an Extension Cord Minimum Recommended Extension Cord Preparing to Charge Battery Preparation Mounting Instructions Connecting Your Battery Connecting Up to Three Batteries Charging Your Battery Charging a Battery Inside the Boat Understanding Controls &... -
Page 4: Safety Information
011-1985-4 | contact us 1-888-942-6686 INTRODUCTION • The wire size is large enough for AC ampere rating of charger as specified in This MotoMaster Nautilus Battery Charger ® Using An Extension Cord. features advanced microprocessor technology • When using an extension cord, make the... -
Page 5: Ac Electrical Connections
• Wear complete eye protection and clothing AC ELECTRICAL CONNECTIONS protection. Avoid touching eyes while PLUGGING CHARGER IN working near battery. This battery charger is for use on a nominal 120 V • If battery acid contacts skin or clothing, circuit. -
Page 6: Preparing To Charge
model no. 011-1985-4 | contact us 1-888-942-6686 PREPARING TO CHARGE BATTERY PREPARATION • If necessary to remove battery from vehicle CHARGER LOCATION to charge, always remove grounded terminal • Locate charger as far away from battery as from battery first. Make sure all accessories in DC cables permit. -
Page 7: Mounting Instructions
MOUNTING INSTRUCTIONS Four mounting holes have been provided The charger may be permanently mounted and for secure installation. Using the charger connected in three different ways: as a template, place the charger in the • Flat mount (floor) selected location and mark each of •... -
Page 8: Connecting Your Battery
model no. 011-1985-4 | contact us 1-888-942-6686 CONNECTING UP TO THREE BATTERIES When connecting the ring terminals to When connecting the charger to multiple the battery, remove nuts on battery batteries, connect the positive lead from posts, place the ring terminal on charging bank one to the positive post of corresponding positive and negative battery one. -
Page 9: Charging Your Battery
CHARGING A BATTERY INSIDE THE BOAT If there is a battery connected to that Turn off all the boat’s accessories. bank, charging will begin automatically, and Clean the battery terminals. the percentage LEDs will light, to indicate charging status. Make sure the charger is unplugged from the AC power outlet. -
Page 10: Understanding Controls & Features
model no. 011-1985-4 | contact us 1-888-942-6686 BATTERY TYPE BUTTON Press to select battery type or check battery type during charging. LED INDICATORS POWER ON (GREEN) The charger is connected to AC power. CHARGING STATUS/BATTERY TYPE (GREEN) Charging status: After battery type has been selected and charging has begun, charging status is indicated from right to left, in 25% increments. -
Page 11: Understanding Charge Rate Times
UNDERSTANDING CHARGE RATE TIMES The built-in intelligent micro-processor will continuously monitor and adjust the charger to provide a fast, safe and efficient charge. Note that battery charge times will vary depending on several factors including: • Battery State If a battery has been only slightly discharged, it can be charged in less than a few hours. This same battery could take up to 10 hours if very discharged. -
Page 12: Troubleshooting
model no. 011-1985-4 | contact us 1-888-942-6686 PROBLEM POSSIBLE CAUSE SOLUTION Correctly connected • Battery voltage is too low. • The battery may be defective. to battery, but not Have the battery checked and charging. replace if necessary. • The bank is turned off (indicated by •...
Need help?
Do you have a question about the NAUTILUS 011-1985-4 and is the answer not in the manual?
Questions and answers