Kraus Ramus FVS-1007 Manual
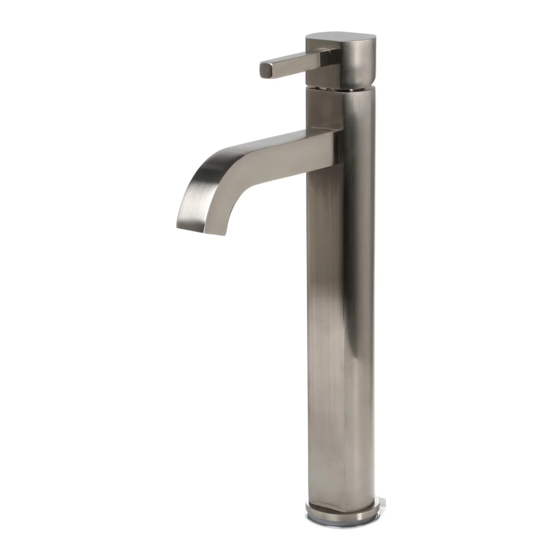
Ramus single handle lavatory faucet
Hide thumbs
Also See for Ramus FVS-1007:
- Installation manual (12 pages) ,
- Installation manual (12 pages) ,
- Installation manual (12 pages)

Subscribe to Our Youtube Channel
Related Manuals for Kraus Ramus FVS-1007


Summary of Contents for Kraus Ramus FVS-1007
- Page 1 I N S TA L L AT I O N MA N UA L Ramus Single Handle Lavatory Faucet FVS-1007 www.kraususa.com I toll free: 1.800.755.0703 I © 2013-2014 Kraus USA Inc.
- Page 2 Thank You Kraus would like to take this opportunity to thank you for purchasing our products. It is our sincere hope that you are completely satisfied with your new purchase and enjoy it for years to come. We welcome any questions or comments you may have, and look forward to assisting you in the future.
-
Page 3: Included Parts
19.7 3 3/4” 3/8” (96mm) (10mm) 7/8” 10 1/8” 8 5/16” 12 7/16” 7/8” 10 1/8” 8 5/16” 12 7/16” (22mm) (257mm) (21mm) (316mm) (22mm) 19.7 º (257mm) (21mm) (316mm) 19.7 º BEFORE INSTALLATION 1 15/16” ∅ 1 15/16” ∅ 50mm) 1 3/8”... -
Page 4: Safety Tips
Safety Tips • If soldering the water connections when installing the faucet, remove the O-rings, cartridges, and washers before applying any heat • Protect your eyes with safety glasses when cutting or soldering 3 5/8” (168mm) Faucet Installation Procedure 3 3/4” 3/8”... - Page 5 50mm) ∅ 1 3/4” ∅ 45mm) ∅ Step 1 1 15/16” ∅ 50mm) ∅ 1 5/8” (42.5 mm Max) Remove rubber washer (8A), metal washer (8B), mounting nut (8C), and mounting screws (8D). Keep the base trim ring (7A) and rubber washer (7B) on the base of the faucet 9/16”-18UNEF...
- Page 6 ” Step 3 1 1/4-18UNF-2A 9/16”-18UNEF Install flex water supply lines on the angle stops and tighten with an adjustable wrench. Turn on both the cold and hot main valves Apply pipe tape (optional) Step 4 After installing the faucet, remove the aerator (6) with the included aerator key (10).
-
Page 7: Replacement Parts
Replacement Parts Keep this manual for ordering replacement parts. 1. (A) Index Button (B) Set Screw 2. Metal Handle 3. Trim Cap 4. Locking Nut 5. Ceramic Disc Cartridge 6. Aerator 7. Mounting Hardware (A) Base Trim Ring (B) Rubber Washer 8. -
Page 8: Troubleshooting
Trouble - Shooting If you have followed the instructions carefully and your faucet still does not work properly, take the following corrective steps: P R O B L E M C A U S E A C T I O N Leakage under the Adjusting locking nut Remove handle index... - Page 9 KRAUS is proud to offer its customers the strongest, most durable ceramic cartridges in all of its solid brass Lavator y Faucets. KRAUS guarantees that all of its products are free of defect in materials and craftsmanship. All KRAUS BRAND Lavatory Faucets carry a limited lifetime warranty from the original date of purchase.
- Page 10 www.kraususa.com...
Need help?
Do you have a question about the Ramus FVS-1007 and is the answer not in the manual?
Questions and answers