Advertisement
Quick Links
Advertisement

Related Manuals for Fortis FSEMSB2200A


Summary of Contents for Fortis FSEMSB2200A
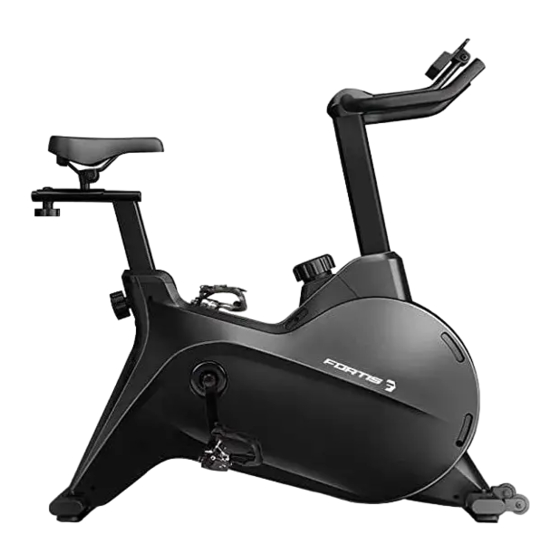
- Page 1 AUTOMATIC VARIABLE RESISTANCE MAGNETIC FLYWHEEL SPIN BIKE (SK-2200A) FSEMSB2200A...
-
Page 3: Safety And Warnings
SAFETY & WARNINGS Read all of the instructions in this guide before using this product. Retain this guide for future reference. Do not skip, substitute or modify any steps or procedures in this guide, as doing so could result in personal injury or product damage. •... - Page 4 • Always use the equipment as intended. If you find any defective components while assembling or checking the equipment, or if you hear any unusual noises coming from the equipment during exercise, cease use immediately and contact help.kogan.com for assistance. Do not use until resolved. •...
- Page 5 OVERVIEW Components:...
- Page 6 Description Description Console (x1) Induction cord (x1) Handlebars (x1) Seat (x1) (x1) (x1) Handlebar cover (upper) Power cord (lower) Handlebar cover (lower) (x1) Right foot pedal (x1) Handlebar post (x1) Left foot pedal (x1) (x1) (x1) Pull pin 13-15 Spanner Frame base (x1) Allen Key 1...
- Page 7 ASSEMBLY Step 1 Attach the front and rear stabilisers (29 and 68) using the screws, washers and spring washers (34, 35, 36) and Allen key (93) shown below.
- Page 8 Step 2 Attach the seat (79).
- Page 9 Step 3 Attach the (82 and 95) wiring, then fit the handlebar post (10).
- Page 10 Step 4 Set the handlebar post into position with the Pull pin (15).
- Page 11 Step 5 Attach the handlebars (3).
- Page 12 Step 6 Fit the handlebar cover assembly (7 and 8).
- Page 13 Step 7 Fit the Console (1).
- Page 14 Step 8 Attach the left and right pedals (85, 89).
-
Page 15: Operation
OPERATION Button function START/STOP Start or stop exercising RESET In stop mode, press this button to return to the main menu; Long press this button for 2 seconds. The display restarts. UP (+) Adjust the selected training mode to go up. Rise of adjustment value. - Page 16 Operation Function After connecting to a power supply, press the RESET KEY for 2 seconds, you will hear a buzzer beep for 1 second and full LCD display for 2 seconds. After displaying the wheel diameter, Eurasian gauge/fat symbol E and unit KM for 1 second (as shown in Figure 2), the console will enter the motion standby screen (see Figure 3).
- Page 17 Key function description A. UP or DOWN (with quick adjustment function, hold 1.5 seconds for each advance and retreat step 8 and stop when put DOWN). Select MANUAL, BEGINNER, ADVANCE, SPORTY, CARDIO, WATT, etc. • After entering the setting mode, press UP or DOWN to make cyclic selection. If not, press START directly •...
- Page 18 B. The MODE key Select configurable functions (such as TIME, DST, CAL) • Press this KEY to select MANUAL for TIME, DST and CAL in turn. When you select a function, then • The number of the function displayed on LCD flashes at 1Hz to indicate that the function is currently configurable.
- Page 19 E. The RECOVERY key If no PULSE input is available, press The RECOVERY key to disable the function. Press this KEY once after the PULSE value is displayed; • The TIME and PULSE functions of RECOVERY are enabled, while the remaining functions are enabled and not displayed (See Figure 9).
-
Page 20: Cleaning And Care
CLEANING & CARE Examine the equipment periodically in order to detect any damage or wear which may have been produced. Lubricate moving parts with light oil periodically to prevent premature wear. Inspect and tighten all parts before using the equipment, replace any defective parts immediately and do not use the equipment again until it is in perfect working order. - Page 21 NOTES...
- Page 24 Need more information? We hope that this user guide has given you the assistance needed for a simple set-up. For the most up-to-date guide for your product, as well as any additional assistance you may require, head online to help.kogan.com...
Need help?
Do you have a question about the FSEMSB2200A and is the answer not in the manual?
Questions and answers