Advertisement
Quick Links
Advertisement

Subscribe to Our Youtube Channel
Summary of Contents for Fortis FSMNMFPDBKA
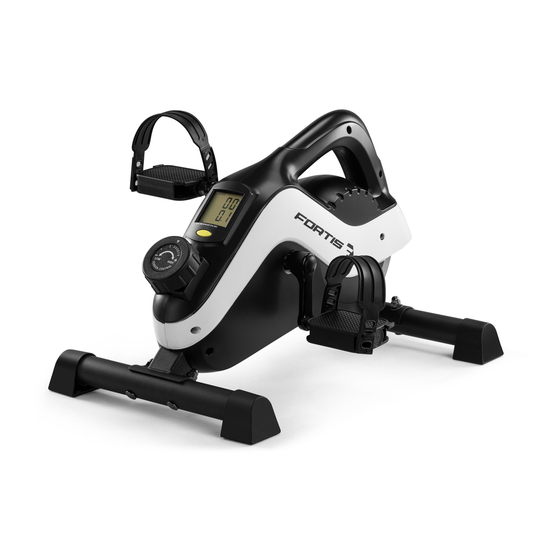
- Page 1 MAGNETIC FLYWHEEL MINI UNDER DESK PEDAL BIKE EXERCISER FSMNMFPDBKA...
-
Page 3: Safety And Warnings
SAFETY & WARNINGS Read all the instructions in this guide before assembling or using this product. Do not skip, substitute, or modify any steps or procedures in this guide, as doing so could result in personal injury or product damage. Retain this guide for future reference. •... - Page 4 OVERVIEW...
- Page 5 Part Description Qty. Part Description Qty. Main frame Axis block D10 Front support tube Washer D10 Front bottom tube U metal blade Rear bottom tube Nylon nut M6 Q feet cap Idler belt Bolt M8×50 Idler axis Washer D8 Magnetic Nut M8 Magnetic board Screw M8×15...
- Page 6 ASSEMBLY Step 1: Secure Front Bottom Tube (3) to Main Frame (1) with Rear Bottom Tube (4) with Bolt (6) Curved Washer (7) Nut (8). Step 2: Secure L&R Pedals (10L) (10R) to L&R Crank (13L) (13R). Lock Pedal (10R) clockwise and lock Pedal (10L) anti-clock.
-
Page 7: Operation
OPERATION Adjusting Tension Controller Tension Indicator There are 8 tension settings. The higher the number, the higher the pedal resistance. The Tension Indicator arrow points to the current tension setting. Exercise Monitor This allows you to select and lock on to a particular function you want. - Page 8 Functions SPEED The current speed setting is shown when Range: 0~99.99KM (MILE/H) the equipment is turned on. SCAN The display automatically changes every 6 6 seconds seconds. SCAN→TIME→CALORIES(CAL)→DIST TIME The total workout time will be shown when 0:00-99:59 (M :S) the equipment is turned on.
-
Page 9: Warm-Up Exercise
WARM-UP EXERCISE Before you start your workout routine, it is essential to do warm up exercises. This will increase blood flow and muscle flexibility. It will also reduce the risk of cramp and muscle injury. The warm-up should last for a minimum of 12 minutes. However, you can take up to 15~20 minutes in the beginning. - Page 10 It is recommended to do a few stretching exercises as shown in the image. Hold each stretch for approximately 30 seconds. Do not force or jerk your muscles into a stretch. If it hurts, stop immediately. Down Stretch Bend your knees slightly and body slowly. Relax your back and shoulders and try to touch your toes.
-
Page 11: Specifications
COOL DOWN This stage is to let your cardio-vascular system and muscles wind down. This is a repeat of the warm-up exercise. In this stage you will reduce your tempo and continue to exercise for approximately 5 minutes. Be careful not to force or jerk your muscles. SPECIFICATIONS Battery Operating Temperature... - Page 12 Need more information? We hope that this user guide has given you the assistance needed for a simple set-up. For the most up-to-date guide for your product, as well as any additional assistance you may require, head online to help.kogan.com...


Need help?
Do you have a question about the FSMNMFPDBKA and is the answer not in the manual?
Questions and answers