Advertisement
Quick Links
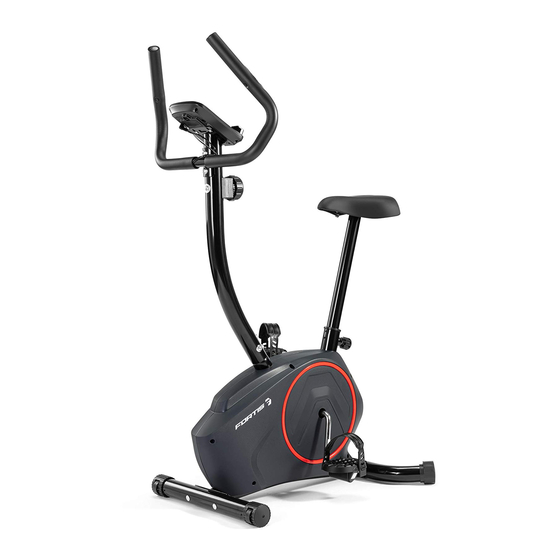
Advertisement

Related Manuals for Fortis EXR-200


Summary of Contents for Fortis EXR-200
- Page 1 FORTIS MAGNETIC EXERCISE BIKE (EXR-200) FSMFEXR200A...
-
Page 3: Safety And Warnings
SAFETY & WARNINGS Read all of the instructions in this guide before using this product. Retain this guide for future reference. Do not skip, substitute or modify any steps or procedures in this guide, as doing so could result in personal injury or product damage. •... - Page 4 • Prior to assembly, ensure you have all the components and tools listed. Some components are pre-assembled to help with the assembly process. • Always use the equipment as intended. If you find any defective components while assembling or checking the equipment, or if you hear any unusual noises coming from the equipment during exercise, cease use immediately and contact help.kogan.com for assistance.
- Page 5 OVERVIEW...
- Page 6 Part no./name Part no./name Tension Knob Φ1.5 x 500 x 33 x Meter R25 x Φ6 x M5 x 15 Lower Tension Wire Trunk Wire 1 Φ1.5 x 900 x 42 Washer Sensor Wire Φ25 x Φ6 x 3.3 x R25.2 Bolt M5 x 16 x Φ8 Pulse Sensor Pulse Sensor Wire...
-
Page 7: Handlebar Post
Part no./name Part no./name Axle Φ20 x 103 Magnet 39 x 24.5 x 10 Axle Φ12 x 56 x 3 x 47.4 x M6 Bearing Seat Φ72 x 11 Ring-Shield d12 Fixed Platet1.5 x 56 x 76 Washer d6 x Φ12 x 1.2 Screw M6 x 8 x Φ12 Screw M6 x 10 x Φ12 Washer d6... - Page 8 ASSEMBLY Step 1: Attach the Front & Rear Stabiliser (79 & 76) to the Main Frame (72) using Bolts (9), Arc Washers (10) and Nuts (11). Tighten with a Spanner (81). Attach Pedals (40L/R) to the crank of the Main Frame (72). Tighten with a Spanner (81). Note: The Pedals (40 L/R) are marked "L"...
- Page 9 Step 2: Attach the Seat (68) to the Seat Post (75) using Nylon Nut (59) and Washers (69). Tighten with a Spanner (81). Insert the Seat Post (75) into the Main Frame (72). Tighten with the Knob (66).
- Page 10 Step 3: Remove Bolts (20) and Arc Washers (10) from Main Frame (72). Connect the Trunk Wire 1 (2) with Sensor Wire (3). Connect the wire of Tension Knob (21) with Lower Tension Wire (22). Attach the Handlebar Post (73) to the Main Frame (72) using Bolts (20) and Arc Washers (10).
- Page 11 Step 4: Remove Bolts (15), Spring Washers (16) and Washers (69) from the Handlebar Post (73). Attach the Handlebar (74) to the Handlebar Post (73) using Bolts (15), Washers (16) and Arc Washers (10). Tighten with an Allen Wrench (80).
- Page 12 Step 5: Connect the wire of Meter (1) with Trunk Wire 1 (2). Attach Meter (1) on the plate of Handlebar Post (73) using Screws (71) and Washers (70). Tighten with a Spanner (81). Then insert the Pulse Sensor Wire (5) to the hole on the back of Meter.
-
Page 13: Operation
OPERATION Buttons MODE Press this button to changeover display or choose the window needs to be set. In monitor status, hold this button for 3 seconds to reset all value to zero. Functions SCAN Press MODE button until “SCAN” appears, computer will rotate through all the 5 functions: Time, Speed, Distance, Calories and pulse. -
Page 14: Specifications
SPECIFICATIONS Auto Scan Every 6seconds Running Time 00:00 ~ 99:59(Minute: Second) Current Speed The max pick-up signal is 999.9 MILE/H or KM/H FUNCTION Trip Distance 0.0 ~ 9999 MILE or KM Calories 0 ~ 9999 cal Pulse Rate 40-240BPM Battery Type x2 AAA, UM4 Operating Temperature 0°C ~ +40°C... - Page 15 NOTES...
- Page 16 Need more information? We hope that this user guide has given you the assistance needed for a simple set-up. For the most up-to-date guide for your product, as well as any additional assistance you may require, head online to help.kogan.com...
Need help?
Do you have a question about the EXR-200 and is the answer not in the manual?
Questions and answers