Table of Contents
Advertisement
Quick Links
Advertisement
Table of Contents

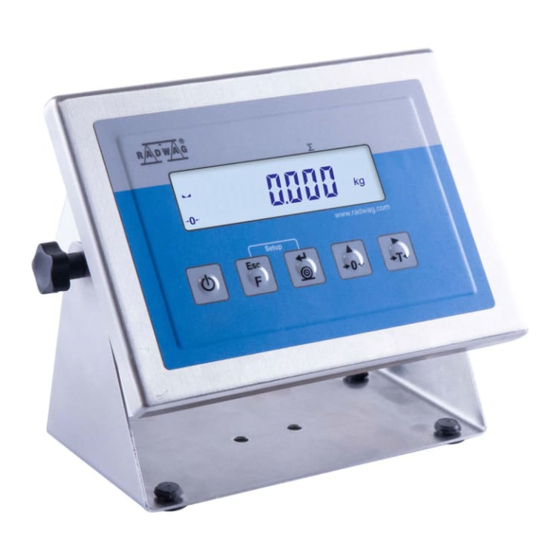
Summary of Contents for RADWAG PUE H315
- Page 1 ITKB-15-01-10-21-EN Quick Start Indicator • PUE H315...
- Page 2 To view the full user manual, go to the website or scan the QR code: radwag.com/en/manuals/PES...
-
Page 3: Notes And Warnings
1. CONTENT PUE H315 Indicator ×1 2. NOTES AND WARNINGS Operate the indicator in a room free from dust where the temperature ranges -10–40 °C (+14–104 °F) and where the relative humidity is below 80%. Potential temperature change shall occur gradually and slowly. -
Page 4: Preparing For Work
3. PREPARING FOR WORK 3.1. Indicator Temperature Stabilization Prior to switching the device on let it Connect the device to the reach room temperature (estimated mains. stabilization time: 8 hours). 3.2. Indicator Start-Up The indicator is ready for operation! Press ON/OFF key to start the indicator. 4. -
Page 5: Home Screen
4.2. Home Screen Result stabilization Weighing result pictogram. window, information and communication Zeroing field. pictogram. 5. BASIC OPERATIONS 5.1. Working Mode Accessibility Simultaneously press Press key to select “P3.Func” keys to enter the home screen. parameter and press key. Press key to select “3.1.1.Acc”... -
Page 6: Working Modes
5.2. Working Modes Press key to enter the menu. Press key to select working mode and press key to confirm. Working modes list: For detailed description of working • • Weighing Percent weighing modes and their settings refer to • •... -
Page 7: Connecting Peripherals
6. CONNECTING PERIPHERALS Vent Power cord Platform USB connector RS232 (1) connector Universal socket or gland (RS232 (2) or RS485 or Ethernet or IN/OUT) 7. CLEANING AND MAINTENANCE 7.1. Notes and Warnings Prior to cleaning it is necessary to For cleaning use only soft cloths made Apply the cleanser onto the cloth first. -
Page 8: Cleaning Tips
• Clean plastic components using a soft cloth slightly moistened with a solution of water and a mild detergent (e.g. soap or dishwashing liquid). • Dry cleaned elements using soft and dry cloth or use dust-free paper towel to absorb the remaining moisture. • Do not install the components until they are completely dry. www.radwag.com...


Need help?
Do you have a question about the PUE H315 and is the answer not in the manual?
Questions and answers