
Subscribe to Our Youtube Channel
Related Manuals for RADWAG PMV Series


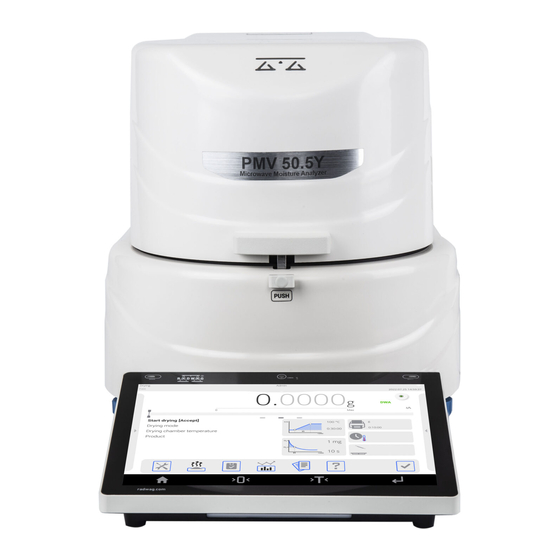
Summary of Contents for RADWAG PMV Series
- Page 1 IMMB-13-03-07-22-EN-PL Start up Guide Szybki start Microwave Moisture Analyzer Wagosuszarka Mikrofalowa • PMV...
- Page 3 1. CONTENT ZAWARTOŚĆ Moisture analyzer Disposable pan Cross-shaped holder Power cord* Wagosuszarka Szalka jednorazowa Krzyżak szalki Kabel zasilający* *The plug type may vary by country. *Rodzaj wtyczki może się różnić w zależności od kraju. 2. UNPACKING ROZPAKOWANIE Keep the packaging should a warranty claim or service be required.
-
Page 4: Recommendations And Warnings
3. RECOMMENDATIONS AND WARNINGS ZALECENIA I OSTRZEŻENIA Operate the device in a room where the temperature ranges between 10–40 °C (50–104 °F) and where the relative humidity is below 80%. +40 °C +104°F Place the moisture analyzer on a solid surface to ensure stability. To obtain sta- ble and repeatable weighing results, an anti-vibration table is recommended. -
Page 5: Components Assembly
4. COMPONENTS ASSEMBLY MONTAŻ ELEMENTÓW WAGI 5. PREPARING FOR WORK PRZYGOTOWANIE DO PRACY Place the device at the workstation, wait until it reaches room temperature. Ustaw urządzenie w miejscu jego użytkowania i pozostaw je do osiągnięcia temperatury pokojowej. 5.1. Temperature stabilization Stabilizacja temperatury wagi up to 8 h Prior to switching the device on let it... -
Page 6: Switching The Device On
5.2. Switching the device on Włączenie wagi Press the switch located next to the power supply socket at the back of the housing to switch on the device. W celu włączenia zasilania wagosuszarki należy nacisnąć włącznik znajdujący się obok gniazda zasilania z tyłu obudowy. The balance switches on automatically when connected to the mains. - Page 7 5.3 Manual Levelling Ręczne Poziomowanie wagi Ultra-microbalances and microbalances are equipped with the Reflex Level System, which monitors and automati- cally corrects the balance level. Ultramikrowagi i mikrowagi zostały wyposażone w Reflex Level System, który zapewnia monitorowanie poziomu wagi i automatycznego jej poziomowania. Weighing Weighing John Smith...
-
Page 8: Home Screen
6. HOME SCREEN EKRAN GŁÓWNY information about the currently used working mode, logged-in operator, date, time, active connection with a computer. informacja o aktualnie używanym modzie pracy, zalogowanym użytkowniku, dacie, czasie, aktywnym połączeniu z komputerem. weighing result win- Weighing John Smith ast Dosing Wed 14.07.2021 09:30:00... - Page 9 Weighing Weighing John Smith John Smith ast Dosing Wed 14.07.2021 09:30:00 ast Dosing Wed 14.07.2021 09:30:00 Adjustment Adjustment Adjustment External adjustment Adjustment test External adjustment Adjustment test Mass determination Adjustment weights Report printout Adjustment weights Report printout GLP projekt Adjustment history GLP projekt Adjustment history Press „External adjustment”...
- Page 10 7.3. Taring Tarowanie Weighing Weighing John Smith John Smith ast Dosing ast Dosing Wed 14.07.2021 09:30:00 Wed 14.07.2021 09:30:00 0.1547 0.0000 Start drying [Accept] Start drying [Accept] Drying mode 0:00:30 Drying mode 0:00:30 Drying chamber temp... Drying chamber temp... Product Product With loaded weighing pan: upon stabilization The balance has been tared.
-
Page 11: Administrator Login
8. SETTINGS USTAWIENIA Some balance settings are available only for the Administrator. Prior to the balance parameters setup, log in as the Administrator. Niektóre ustawienia wagi są dostępne wyłącznie dla Administratora. Przed ustawieniem parametrów wagi zaloguj się jako Administrator. 8.1. Administrator Login Logowanie administratora Weighing Weighing... -
Page 12: Operator Settings
8.2. Operator Settings Konfiguracja użytkowników Prior to operators configuration, log in as the Administrator (see section 9.1). Przed konfiguracją użytkowników zaloguj się jako Administrator (patrz punkt 9.1). Weighing Weighing Admin Admin ast Dosing ast Dosing Wed 14.07.2021 09:30:00 Wed 14.07.2021 09:30:00 Operators Admin... - Page 13 8.3. Proximity Sensors Setup Konfiguracja czujników zbliżeniowych You can assign a function of your choice to each proximity sensor. In addition, you can assign various func- tions to the same sensor in different working modes. See the exemplary procedure for sensors configuration for the “Weighing”...
-
Page 14: Preparing Samples
9. SAMPLES AND DRYING METHODS PRÓBKI I METODY SUSZENIA 9.1. Preparing samples Przygotowanie próbek do suszenia Optimal sample structure and size are crucial features influencing measurements speed, accuracy and repeatability. Optymalna struktura i wielkość próbki są ważnymi czynnikami wpływającymi na szybkość, dokładność i powtarzalność pomiarów. Solids: Samples with low moisture Liquids:... - Page 15 9.2. Handling hazardous samples Postępowanie z próbkami niebezpiecznymi Some sample types require particular caution! They may pose risk for people and objects. It is the moisture analyzer operator who is responsible for potential loss being a result of such samples use. Niektóre rodzaje próbek wymagają...
-
Page 16: Connecting Peripherals
10. CONNECTING PERIPHERALS PODŁĄCZENIE URZĄDZEŃ PERYFERYJNYCH Smartphone Tablet Computer Printer Computer Printer Smartfon Tablet Komputer Drukarka Komputer Drukarka RJ45 hotspot HDMI (Free Link) HDMI USB-C Free link - entering data from a balance into computer programs. Barcode Arkusz Free link - wprowadzanie Computer* Printer Display... -
Page 17: Device Cleaning
11. DEVICE CLEANING CZYSZCZENIE I KONSERWACJA 11.1. General recommendations Zalecenia i ostrzeżenia Prior to cleaning it is necessary Use soft cloths made of microfiber, Apply the cleanser onto the cloth to disconnect the device from the natural fiber or man-made fiber. first. - Page 18 • Dry sample leftovers can be removed using either brush or handheld vacuum cleaner. • Clean components can be dried using soft cloth or dust-free paper towel, with this the remaining moist will be absorbed. • Install all the components providing they are completely dry. •...
- Page 20 www.radwag.com...
Need help?
Do you have a question about the PMV Series and is the answer not in the manual?
Questions and answers