Sign In
Upload
Download
Table of Contents
Contents
Add to my manuals
Delete from my manuals
Share
URL of this page:
HTML Link:
Bookmark this page
Add
Manual will be automatically added to "My Manuals"
Print this page
×
Bookmark added
×
Added to my manuals
Manuals
Brands
RADWAG Manuals
Measuring Instruments
MA 50/1.R
Startup manual
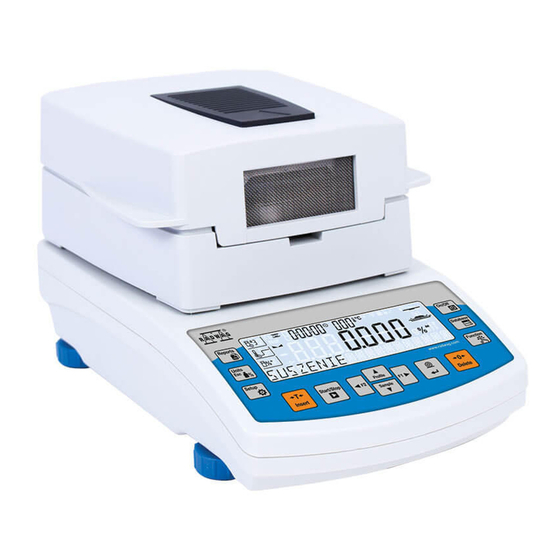
RADWAG MA 50/1.R Startup Manual
Moisture analyzer
Hide thumbs
1
2
3
4
5
6
7
8
9
10
11
12
13
14
15
16
17
18
19
20
Table Of Contents
21
page
of
21
Go
/
21
Contents
Table of Contents
Bookmarks
Table of Contents
Recommendations and Warnings
CzynnośCI Wstępne
Components Assembly
Preparing for Work
Przygotowanie Do Pracy
Home Screen
Basic Operations
Operacje Podstawowe
User Settings
Preparing Samples
Device Cleaning
Czyszczenie Urządzenia
Cleaning Instructions
Advertisement
Quick Links
1
Recommendations and Warnings
2
Preparing for Work
3
Basic Operations
4
Home Screen
5
User Settings
6
Preparing Samples
Download this manual
IMMB-12-02-05-22-EN-PL
Start up Guide
Szybki start
Moisture Analyzer
Wagosuszarka
• MA R
Table of
Contents
Previous
Page
Next
Page
1
2
3
4
5
Advertisement
Table of Contents
Need help?
Do you have a question about the MA 50/1.R and is the answer not in the manual?
Ask a question
Questions and answers
Related Manuals for RADWAG MA 50/1.R
Measuring Instruments RADWAG MA X2 Synergy User Manual
Moisture analyzer (110 pages)
Measuring Instruments RADWAG MAX 60 User Manual
Moisture analyzer, max series (86 pages)
Measuring Instruments RADWAG MAX 50 User Manual
Moisture analyzer, max series (86 pages)
Measuring Instruments RADWAG MAX 50/1 User Manual
Moisture analyzer, max series (86 pages)
Measuring Instruments RADWAG MA 3Y User Manual
Moisture analyzer (176 pages)
Measuring Instruments RADWAG MA X2.IC.A Series User Manual
Moisture analyzer (125 pages)
Measuring Instruments RADWAG MA X2.A Startup Manual
Moisture analyzer (21 pages)
Measuring Instruments RADWAG MA 50/1.X2.A User Manual
Moisture analyzer (125 pages)
Measuring Instruments RADWAG MA 210.X2.A User Manual
Moisture analyzer (125 pages)
Measuring Instruments RADWAG MA 50.X2.A User Manual
Moisture analyzer (125 pages)
Measuring Instruments RADWAG MA 110.R Startup Manual
Moisture analyzer (21 pages)
Measuring Instruments RADWAG MA 210.R Startup Manual
Moisture analyzer (21 pages)
Measuring Instruments RADWAG MA X7.A Startup Manual
Moisture analyzer (21 pages)
Measuring Instruments RADWAG MA 5Y Startup Manual
Moisture analyzer (21 pages)
Measuring Instruments RADWAG MAS.M User Manual
Weighing modules (52 pages)
Measuring Instruments radwag PMR SERIES User Manual
Moisture analyzer (137 pages)
This manual is also suitable for:
Ma 50.r
Ma 110.r
Ma 210.r
Table of Contents
Save PDF
Print
Rename the bookmark
Delete bookmark?
Delete from my manuals?
Login
Sign In
OR
Sign in with Facebook
Sign in with Google
Upload manual
Upload from disk
Upload from URL


Need help?
Do you have a question about the MA 50/1.R and is the answer not in the manual?
Questions and answers