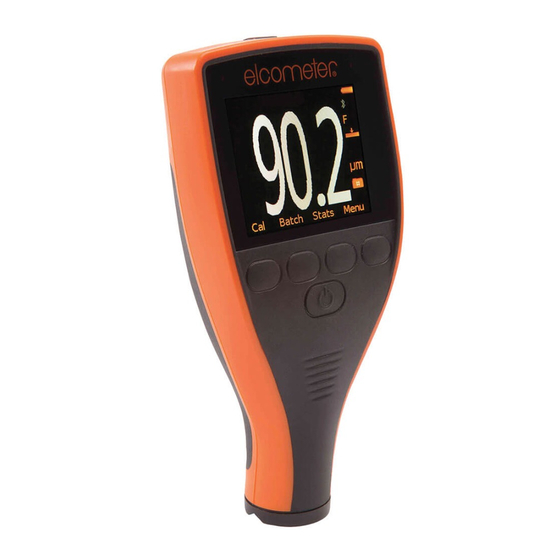
Elcometer 456 Operating Instructions Manual
Duct deposit measuring system
Hide thumbs
Also See for 456:
- User manual (112 pages) ,
- Operating instructions manual (67 pages) ,
- User manual (18 pages)
Table of Contents
Advertisement
Quick Links
Advertisement
Table of Contents

Summary of Contents for Elcometer 456
- Page 1 Elcometer 456 Duct Deposit Measuring System Operating Instructions...
- Page 2 Bluetooth SIG QDID = B014393. is a registered trademark of Elcometer Limited. ® and Bluetooth ® are trademarks owned by Bluetooth SIG Inc and licensed to Elcometer Limited. ElcoMaster ® is a registered trademark of Elcometer Limited. All other trademarks acknowledged.
-
Page 3: Table Of Contents
CONTENTS Section Page About this equipment ............. 2 Getting started. -
Page 4: About This Equipment
The Elcometer 456 Duct Deposit Measuring System is a world beating product. With the purchase of this product you now have access to the worldwide service and support network of Elcometer. For more information visit our website at www.elcometer.com. - Page 5 1.1 CHECKING THE CONTENTS OF THE BOX • Elcometer 456 Coating Thickness Gauge - Top model • T456F1D Duct Probe • Probe calibration foils (x3) and ferrous zero plate • Duct Cleaning Template • ElcoMaster™ Software, including Duct Deposit Report template •...
-
Page 6: Getting Started
2 GETTING STARTED Before you use your gauge for the first time, remove the paper strip from the battery compartment. 2.1 FIT PROBE Align probe connector keyway with the socket on the base of the gauge and push in direction illustrated. The connector locks automatically. 2.2 SWITCH ON GAUGE Switch on - press Switch off - press and hold... -
Page 7: Taking A Reading
3 TAKING A READING 3.1 BEFORE YOU START Have you calibrated the gauge?..see page 8 of these instructions. Do you require statistics? ....press STATS. Do you want to save readings? ..press DATA. Have you selected units (µm, etc)? ... press MENU>SETUP>UNITS. 3.2 PROCEDURE 1. -
Page 8: Using The Duct Cleaning Template
4 USING THE DUCT CLEANING TEMPLATE Take readings (see page 5) in accordance with the appropriate HVCA method of measurement. Use the Duct Cleaning Template supplied and the procedure described below to help you take a group of 20 readings before and after cleaning in the test location. Then output your readings to ElcoMaster™. 1. - Page 9 5. Replace Duct Cleaning Template in the duct ensuring that it is in the same position as before - corner marks positioning guides. 6. Use your gauge to take a second set of readings in the same order as the first set and save your readings in the same batch.
-
Page 10: Calibrating Your Gauge
5 CALIBRATING YOUR GAUGE Before taking measurements, always calibrate your gauge. Follow steps 1 to 9 below to calibrate your gauge. Complete instructions on how to calibrate your gauge are provided in the separate instruction book supplied with the gauge. (1) Place the plastic shims on the (2) Switch on the gauge, hold the (3) Place probe on shim stack. - Page 11 (4) Adjust the reading on the (5) Press SET. (6) Remove the shims from the display until equals zero plate. thickness of the stacked shims; press to decrease the reading to increase the reading. Example: If the shim stack reads 250 and the gauge displays 241, press until the gauge displays...
- Page 12 (7) Place the probe on the surface (8) Press ZERO. (9) Press SET. of the zero plate and take a reading. You have now finished calibrating your gauge and it is ready for use. You may wish to test the gauge again using the stacked shims.
-
Page 13: Printing Readings
The use of ElcoMaster™ software is recommended as it contains a report designed specifically for duct deposit measurements. Data can be transferred from the batch memory of the Elcometer 456 gauge and can also be transferred as the measurements are taken. ElcoMaster™ includes all the charts that you may need together with a report designer to let you design your reports the way you wish to see them. -
Page 14: Producing Reports Using Elcomaster
ElcoMaster™ help file supplied with the software. 8 PRODUCING REPORTS USING ELCOMASTER The ElcoMaster™ software included with your Elcometer 456 gauge includes a report designed specifically for duct deposit measurements. Follow the steps listed below to download readings from the gauge to ElcoMaster and then output the report to a printer, a file or to email. - Page 15 4. Select which folder to download to and then press OK to start download. 8.2 VIEW THE DUCT DEPOSIT REPORT 1. In the Folder List, click on the folder where your measurements were saved. 2. In the List Window select the batch (or batches) downloaded.
- Page 16 3. In ‘My Reports’ tick ‘Duct Deposit Report’. The report will be shown and can be printed, converted to pdf or emailed - refer to the instructions included with ElcoMaster™ software for more information.
- Page 17 8.3 EXAMPLE DUCT DEPOSIT REPORT...
-
Page 18: Probe Technical Data
0.1 mil in the range 5 mils to 60 mils 10 SPARES AND ACCESSORIES The following spare parts and optional accessories are available from Elcometer, or your Elcometer supplier. To place an order please quote the sales part number which follows the description of each part: ®... -
Page 19: Related Equipment
T99913969 11 RELATED EQUIPMENT Elcometer produces a wide range of surface testing equipment and other associated coating inspection equipment. Users of the Elcometer 456 Duct Deposit Measuring System may also benefit from the following Elcometer products: • Elcometer Duct Grease Thickness Comb •...


Need help?
Do you have a question about the 456 and is the answer not in the manual?
Questions and answers