Table of Contents
Advertisement
Quick Links
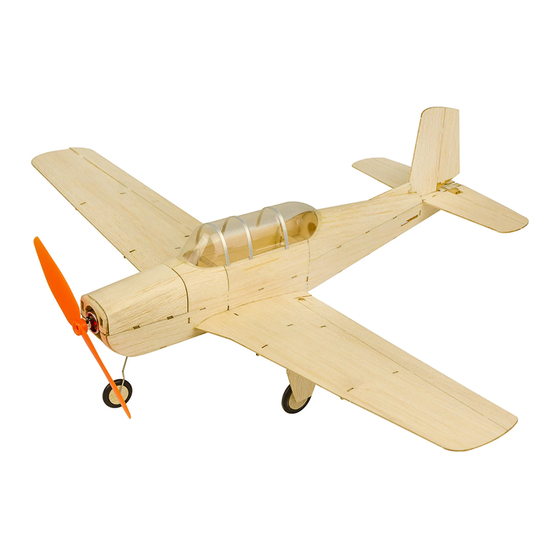
K13 Beechcraft T-34 Mentor
A
B
C
E
I1 I2
Q1
H2
J
K
H1
F
H3
B
M
H
P
N
D
O
U
拼装步骤
Installation Steps
机身组装 Fuselage installation
L
k
c
F
e
o
n
1
L
f
c
2
M
o
e
n
e
3
j
i
注意前起落架安装座
粘贴G时用少量水湿润,方
n朝向。
便弯曲。
Note the installation
Moisten G with a little water
direction for the mounting
when you stick it, for easy
board of front landing gear.
bending.
BALSAWOOD AIRPLANE INSTRUCTION MANUAL
用美工刀从板材下取下
各部件,然后参照以下
Q
D
说明步骤拼装,各部件
用502粘合。
L
R
S1
Pls take down the parts
from the board by
G
Q
knife,and assemble them
as per the procedures as
S2
d
below,we suggest you to
a
c
T
stick with 502 glue.
b
S3 S4
e f g h
r
m
i
s
k l
t
j
o
n
p
q
u
v w
V
4
J
J
5
切除
CUT
w
k
h
l
T
6
7
8
N
10
H1
切除
CUT
11
12
T
G
h
k
B
注意机身左右侧板有所差异,侧板后端
有方向舵预留槽的装右边。
Pls note the left and right sideboards
of the fuselage are different,install
the sideboard that with reserved slot
at the end for rudder on the right.
B
9
K
s
H
切下
CUT
粘贴磁铁
Stick magnet
H3
13
14
G
R
E
H2
15
切除
p
CUT
Advertisement
Table of Contents

Related Manuals for Dancing Wings Hobby K13 Beechcraft T-34 Mentor


Summary of Contents for Dancing Wings Hobby K13 Beechcraft T-34 Mentor
- Page 1 K13 Beechcraft T-34 Mentor BALSAWOOD AIRPLANE INSTRUCTION MANUAL 用美工刀从板材下取下 各部件,然后参照以下 说明步骤拼装,各部件 用502粘合。 注意机身左右侧板有所差异,侧板后端 I1 I2 Pls take down the parts 有方向舵预留槽的装右边。 from the board by Pls note the left and right sideboards knife,and assemble them of the fuselage are different,install...
- Page 2 起落架及机轮组装 前轮 后轮Back Wheel Landing gear and wheels installation Front Wheel 粘贴P时用少量水湿润, 方便弯曲。 Moisten P with a little water when you stick it, for easy bending. 对机舱罩裁剪贴合机身,然后把PVC 舵机,连杆安装 Servo, link rod installation 仓罩粘贴到机身,并粘贴装饰条。 舵机如下图位置安装到机身内,并把舵臂、舵角通过连杆 完成机身 Cut the PVC cover into suitable 连接,短连杆连接副翼,长连杆连接升级舵,与转向舵。...
Need help?
Do you have a question about the K13 Beechcraft T-34 Mentor and is the answer not in the manual?
Questions and answers