
Subscribe to Our Youtube Channel
Related Manuals for Kogan KAMN34XQUCLA


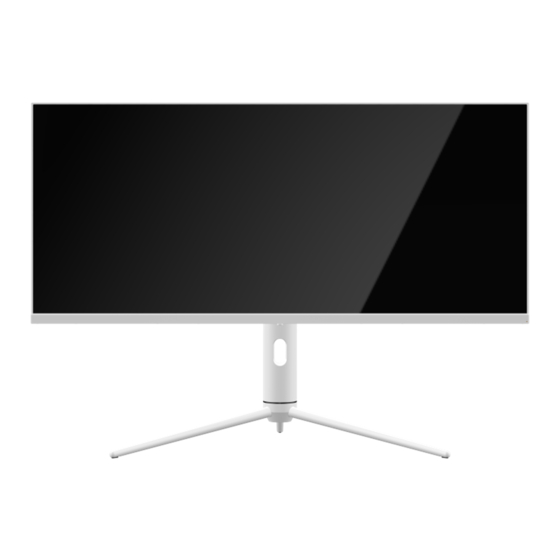
Summary of Contents for Kogan KAMN34XQUCLA
- Page 1 34" IPS ULTRAWIDE USB-C FREESYNC HDR GAMING MONITOR 3440 x 1440 144Hz KAMN34XQUCLA...
-
Page 3: Safety And Warnings
SAFETY & WARNINGS • Read all instructions before using the monitor and retain for reference. • Unplug the monitor before cleaning it. • Use a clean, slightly dampened cloth to wipe the monitor body. • To clean the screen: turn it off, unplug it and wait for it to cool completely, then wipe it with a dry microfibre cloth. - Page 4 COMPONENTS Monitor Stand Stem Stand Base Screws VESA connectors VESA Screws Display Port Cable USB cable Type-C cable Power Cable User Guide...
- Page 5 OVERVIEW Controls Power On/Off Scene Mode Switching LED Effects Main Menu Crosshairs Display LED Indicator...
- Page 6 Ports Power Port HDMI Ports Display Port Type-C Audio Output USB for Aftersales Service USB Out USB In...
-
Page 7: Installation
INSTALLATION Note: Ensure you have all the components before disposing of any packaging materials. Installing the Stand Base Take out the two main parts of the stand. Then use the screwdriver and the screws to fasten base to the stem. Take out the monitor and put it on the flat foam, insert the stand on the back of monitor. -
Page 8: Vesa Mount
VESA MOUNT Note: VESA mount or mounting accessories are not included. Open the package, remove the monitor keeping the protection foam attached. Gently place it on a desktop. Remove the upper foam. Remove the wall decoration cover from the attaching. Using a screwdriver, lock the 4 PM4*16 screws in the M4 thread holes as shown in the below image. - Page 9 CONNECTIVITY Power Cable Connect the included power cable to the power connector, and then plug the other end into a power outlet. Earphones Plug in your earphones to receive audio signals from your monitor. If your earphones are connected to the monitor and audio devices are connected to your computer at the same time, the audio devices will not produce sound.
- Page 10 HDMI Ports To receive HDMI signals from the computer, use the HDMI cable to connect the monitor to the computer. (Not included) Type-C Port Connect your computer to this monitor using the Type-C cable (included) to receive a high-quality digital video signal. USB IN Connect the computer to UHB port via USB cable (included).
-
Page 11: Operation
OPERATION Note: Insert one end of the Display Port cable into your computer’s graphics card. A HDMI cable (not included) may also be used. Connect the one end of the cable to the corresponding connector on your monitor. Connect the power cable to your monitor then connect the other end to a wall outlet. - Page 12 Working Process The On-Screen Display (OSD) Menu can be used to adjust your monitor’s settings and appears on screen after turning on the monitor and pressing the M button. When using the monitor for the first time, settings will automatically adjust to optimal settings according to your computer’s configuration and parts etc.
- Page 13 List of Functions Main Menu Sub-Menu Options Description Switch to Type-C signal Type-C NONE input NONE Switch to DP signal input Input Source HDMI 1 Switch to HDMI signal HDMI 2 NONE input HDMI 3 Brightness 0~100 Adjust display brightness Black level 0~100 Adjust display Black level...
- Page 14 Sharpness 0~100 Set display sharpness Picture Quality Turn On/Off the response Off, High, Middle, Setting time of the monitor Response Time Reduce the interference of Off, High, Middle, Noise Reduction image noise caused by signal source interference Compensate for gray scale Dynamic display screen and Luminous...
- Page 15 English, 简体中文,한국어, Set OSD language Language Русский, Español, 日本語 , Français Adjust the OSD’s horizontal OSD H-Position 0~100 position Adjust the OSD’s vertical OSD V-Position 0~100 position Set the OSD’s overall 0~100 Transparency transparency Set how long the OSD OSD Time Out 5~100 remains open after non-use When you flip the display,...
- Page 16 ECO Modes and Game-plus Switching Press any one of the OSD buttons to activate the navigation window. Press the down button to switch Game-plus modes. According to the needs of your game, choose the corresponding game icon. These game icons are primarily designed to optimize your aim during shooting games, though they can be used for other scenarios.
-
Page 17: Specifications
SPECIFICATIONS Screen Size 34" Aspect Ratio 21:9 Backlight E-LED Brightness 400 cd/m²(HDR) / 350 cd/m² Panel Resolution 3440 x 1440 Refresh Rate 144 Hz Response Time 1ms MPRT Viewing Angle >= 178° (H) / 178° (V) Contrast Ratio 1000 : 1 VESA Mounting 100 x 100 Colours... - Page 18 NOTES...
- Page 20 Need more information? We hope that this user guide has given you the assistance needed for a simple set-up. For the most up-to-date guide for your product, as well as any additional assistance you may require, head online to help.kogan.com...
Need help?
Do you have a question about the KAMN34XQUCLA and is the answer not in the manual?
Questions and answers