
Related Manuals for Perlick HP15TS-3 A Series


Summary of Contents for Perlick HP15TS-3 A Series
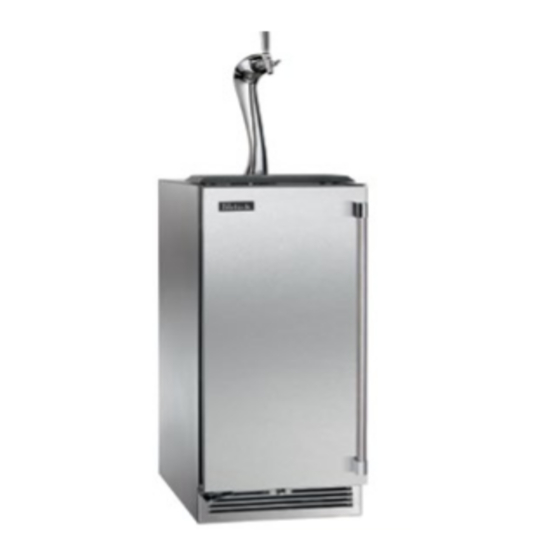
- Page 1 Installation Manual for Beer Dispensing Equipment HP15TS/TO 15” SIGNATURE SERIES HP24TS/TO 24” SIGNATURE SERIES HC24TB/TO 24” C-SERIES HP15TS-3-**A 15” SIGNATURE SERIES ADARA HP24TS-3-***A 24” SIGNATURE SERIES ADARA Form No. Z2349 Rev. A 10/09/2018...
- Page 2 Adara protection, never return merchandise for credit without our Signature Beer Tower unless noted. approval. We thank you again for selecting a high quality Perlick Beer DANGER Keep CO2 cylinder away from heat. Rupture Dispenser. Cheers! disc vents at 122°F maximum.
- Page 3 PERLICK RESIDENTIAL INSTALLATION MANUAL FOR BEER DISPENSING EQUIPMENT INSTALLATION INSTALLATION OF DISPENSING EQUIPMENT Open the tapping kit box and become familiar with its components. The instructions on pages 4 through 10 will demonstrate how to properly install the tapping equipment on your new Perlick Beer Dispenser.
- Page 4 Follow instructions on pages 4 through 10 to properly install Use the following web link to view the video through the tapping equipment on your perlick unit, or watch our Beer your browser window: http://youtu.be/NCKP6x2zZmo Dispenser Tapping Installation video.
- Page 5 PERLICK RESIDENTIAL INSTALLATION MANUAL FOR BEER DISPENSING EQUIPMENT INSTALLATION Figure 3. Figure 4. 2. Remove air “T” from end of air tube by loosening fastener holding the two halves together. Remove the air tube from the tower being careful not to damage the product tube.
- Page 6 PERLICK RESIDENTIAL INSTALLATION MANUAL FOR BEER DISPENSING EQUIPMENT INSTALLATION Locate the dispensing head , black beer line(s), and hose clamp(s). Slide one end of each beer line onto the stainless steel tubes which protrude out the bottom of the dispensing head and clamp tight.
- Page 7 PERLICK RESIDENTIAL INSTALLATION MANUAL FOR BEER DISPENSING EQUIPMENT INSTALLATION Install the Air Scoop Kit. Start by removing the upper set of screws located above the fan on the back wall of the cabinet. Assemble components from the kit as follows – Insert black snap bushing into air scoop mounting bracket, then insert one end of the air snorkel through the snap bushing.
- Page 8 PERLICK RESIDENTIAL INSTALLATION MANUAL FOR BEER DISPENSING EQUIPMENT INSTALLATION If installing a two faucet system, a CO2 manifold will need to be installed. Locate the red CO2 lines, CO2 manifold and a #10 x 1/2” sheet metal screw. Slide one end of each hose onto the barbed fittings on the manifold and clamp.
- Page 9 PERLICK RESIDENTIAL INSTALLATION MANUAL FOR BEER DISPENSING EQUIPMENT INSTALLATION On the right rear sidewall there is a double column of screws. Remove the left screw. Locate the safety chain and a #10 x 1/2” sheet metal screw from the parts bag. Insert the screw through the closed end link of the chain and tighten in the vacant screw hole.
- Page 10 PERLICK RESIDENTIAL INSTALLATION MANUAL FOR BEER DISPENSING EQUIPMENT INSTALLATION Before tapping, make sure the beer faucet is closed. To tap a keg, insert the coupler into the neck of the barrel. Turn the coupler clockwise until it stops (about an 1/8 turn), then push down on the top of the coupler and again turn clockwise until it stops.
- Page 11 PERLICK RESIDENTIAL INSTALLATION MANUAL FOR BEER DISPENSING EQUIPMENT INSTALLATION MOUNTING HOLE TEMPLATE FOR DRAFT ARMS AND ADARA SIGNATURE TOWERS NOTE: The hole placement for the Draft Arm and Adara towers are the same even though the decorative flanges are different shapes.
- Page 12 Perlick Residential is a division of Perlick Corporation © 2018 Perlick Corporation 8300 West Good Hope Road, Milwaukee, WI 53223, USA perlick.com/residential • (800) 558-5592 Form No. Z2570 Rev. C 11/09/2018...
Need help?
Do you have a question about the HP15TS-3 A Series and is the answer not in the manual?
Questions and answers