Advertisement
Available languages
Available languages
H-7863
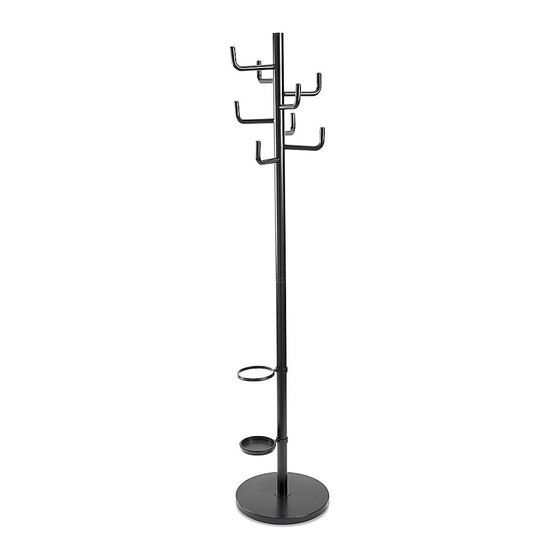
COAT TREE
TOOLS NEEDED
Rubber Mallet
Wrench
(included)
Base x 1
Coat Hook x 8
1.
Screw connecting screw
into top of lower vertical
pole. Attach connecting
ring to connecting screw.
Slide upper vertical pole
into connecting ring to
attach to lower vertical
pole. (See Figure 1)
PAGE 1 OF 6
1-800-295-5510
uline.com
Bolt x 1
Connecting Plate x 2
Upper Vertical
Lower Vertical
Pole x 1
ASSEMBLY
Figure 1
Upper
Vertical Pole
Connecting
Ring
Connecting
Screw
Lower
Vertical Pole
PARTS
Connecting Ring x 1
Umbrella Ring x 2
Pole x 1
2. Place assembled pole over one connecting plate
and position over hole on top of base. Use bolt to
attach remaining connecting plate to bottom of
base, using wrench to tighten to lower vertical pole.
(See Figure 2)
Figure 2
Connecting Plates
Base
Wrench
Para Español, vea páginas 3-4.
Pour le français, consulter les pages 5-6.
Connecting Screw x 1
Umbrella Tray x 1
Bolt
0721 IH-7863
Advertisement
Table of Contents

Related Manuals for U-Line H-7863


Summary of Contents for U-Line H-7863
- Page 1 Para Español, vea páginas 3-4. Pour le français, consulter les pages 5-6. H-7863 1-800-295-5510 uline.com COAT TREE TOOLS NEEDED Rubber Mallet Wrench (included) PARTS Base x 1 Bolt x 1 Connecting Plate x 2 Connecting Ring x 1 Connecting Screw x 1...
- Page 2 ASSEMBLY CONTINUED 3. Slide umbrella rings down 4. Use mallet to secure Figure 3 Figure 4 vertical posts. Position coat hooks in place to at desired height. Place complete assembly. umbrella tray in bottom (See Figure 4) umbrella ring. (See Figure 3) Coat Hooks Umbrella...
- Page 3 H-3636 800-295-5510 uline.mx PERCHERO HERRAMIENTAS NECESARIAS Mazo de Llave (incluida) Caucho PARTES 1 Base 1 Perno 2 Placas de Conexión 1 Anillo de Conexión 1 Tornillo de Conexión 8 Ganchos para Abrigos 1 Poste Superior 1 Poste Inferior 2 Anillos para Paraguas 1 Bandeja para Paraguas ENSAMBLE Enrosque el tornillo de...
- Page 4 CONTINUACIÓN DEL ENSAMBLE 3. Deslice los anillos para 4. Para terminar el ensamble Diagrama 3 Diagrama 4 paraguas por los postes. use el mazo para fijar los Colóquelos a la altura ganchos para abrigos en deseada. Coloque la su lugar. (Vea Diagrama 4) bandeja para paraguas en el anillo inferior.
- Page 5 H-7863 1-800-295-5510 uline.ca PORTEMANTEAU OUTILS REQUIS Maillet en Clé (inclus) caoutchouc PIÈCES Base x 1 Boulon x 1 Plaque de Bague de Vis de raccordement x 1 raccordement x 2 raccordement x 1 Anneau à Crochet à Montant vertical Montant vertical Support à...
- Page 6 MONTAGE SUITE 3. Faites glisser les anneaux 4. Utilisez un maillet pour Figure 3 Figure 4 à parapluie vers le bas installer les crochets à des montants verticaux. manteau et ainsi compléter Positionnez-les à la hauteur le montage. (Voir Figure 4) voulue.
Need help?
Do you have a question about the H-7863 and is the answer not in the manual?
Questions and answers