Advertisement
Quick Links
anovafurnishings.com
888.535.5005 tel
tools needed:
•
9/16" Open-end or Box-end Wrench
•
Ratchet with 9/16" Socket
•
#4 Phillips Screwdriver
•
Level
Assembly HArdwAre:
4 x
3/8" X 1.5"
Phillips Head Bolt
Nylock Hex Nut
Assembly:
The assembly is a two-person operation.
1. Inspect the shipping container contents for damage and to determine that all components and hardware are present.
2. Place a Contour Bench Seat on the shipping packaging or other soft surface to avoid scratching the product.
3. Align the mounting holes in one of the Bench
Supports with the holes in the appropriate end of
the Bench Seat. Insert one of the provided 1.5" long
Bolts through both parts, with the Bolt head on
the outside surface of the Bench Support. Install a
Washer and Nut on the inside end of the Bolt.
Note: Always hold the Bolt head still and turn the Nut.
This protects the surface of the Bench Support
around the Bolt from scratches (the Washer
protects the nut side of the Bench Seat).
Leave the hardware finger tight so that
adjustments can be made to level the Bench Seat.
Install a Bolt, Washer, and Nut through the other
set of mounting holes in that end of the Bench
Seat. Again, leave the hardware finger tight.
Assembly InstructIons
l1364
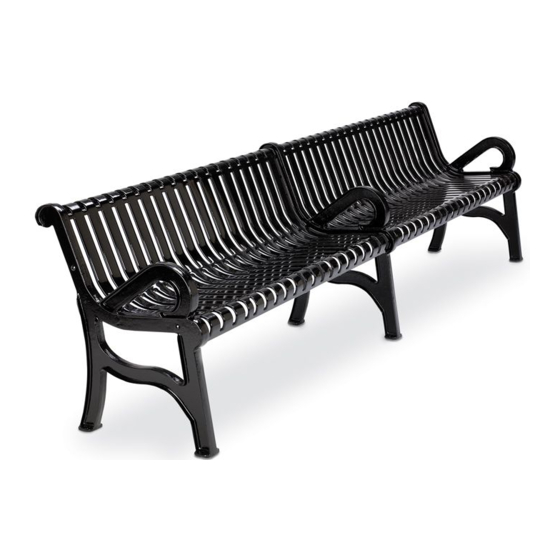
8 ft Rendezvous Bench
l1366
12 ft Rendezvous Bench
l1366A
12 ft Rendezvous Bench
l1508
8 ft Horizon Bench
l1512
12 ft Horizon Bench
l1512A
12 ft Horizon Bench
bencH components:
6 x
8 x
3/8"
3/8"
Washer
2 x Contour Bench Seat
Seat pattern may vary.
2 x
3/8" X 2"
Phillips Head Bolt
Bench
Contour
Support
Bench Seat
Washer
Screw
Nut
Packaging plastic and
cardboard to avoid
scratching the product
Model L1508 shown.
3 x Bench Supports
Contour
Bench Seat
Washer
Screw
Nut
Bench
Support
Packaging plastic and
cardboard to avoid
scratching the product
Advertisement

Subscribe to Our Youtube Channel
Related Manuals for Anova L1364


Summary of Contents for Anova L1364
- Page 1 Assembly InstructIons l1364 8 ft Rendezvous Bench l1366 12 ft Rendezvous Bench l1366A 12 ft Rendezvous Bench l1508 8 ft Horizon Bench l1512 12 ft Horizon Bench l1512A 12 ft Horizon Bench anovafurnishings.com 888.535.5005 tel Model L1508 shown. tools needed: bencH components: • ...
- Page 2 scratching the product cardboard to avoid scratching the product scratching the product Bench Support Contour Contour Bench Seat Bench Seat Washer Washer Screw Screw 4. Repeat Step 3 with the other Bench Seat section and one of the other Bench Supports as shown. Packaging plastic and Contour Bench...
Need help?
Do you have a question about the L1364 and is the answer not in the manual?
Questions and answers