Advertisement
Product Description:
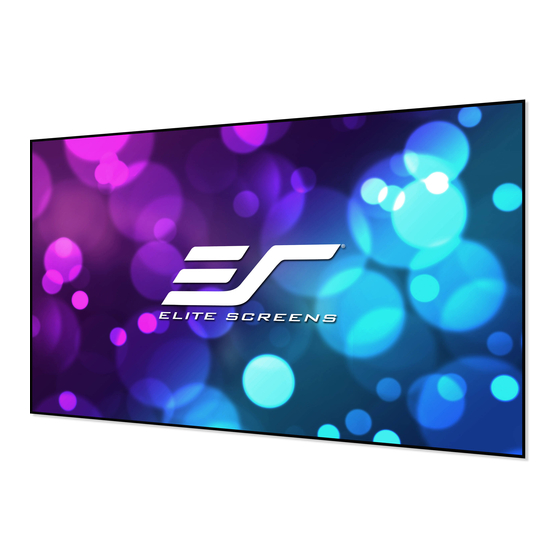
The Aeon Series is a fixed frame projection screen that uses Elite's EDGE FREE® technology. The EDGE FREE®
design resembles a giant size flat panel TV display. The Aeon includes a bezel trim to further enhance the frame
appearance and absorb projector overshoot. An optional LED kit is available for backlighting.
Congratulations on your new Aeon CineGrey 3D® AT purchase! The ISF Certified CineGrey 3D® AT is an
ambient and ceiling light rejecting (ALR/CLR®) front projection screen material that is perforated for acoustic
transparency. It is precisely formulated for environments with minimal control over room lighting. It was designed
to enhance picture brightness, offer accurate color fidelity, improve contrast and allow sound to pass through.
In order for the CineGrey 3D® AT material to maintain its projection qualities and provide optimum performance
please refer to the list below for proper maintenance and cleaning.
•
Use a dry microfiber cloth to remove dust from the screen's surface.
•
When cleaning, use a damp microfiber cloth with warm water to remove any marks.
•
Never rub or apply pressure when cleaning the surface.
•
Never attempt to use any solutions, chemicals or abrasive cleaners on the screen surface.
•
In order to avoid damaging the screen, avoid touching it directly with your fingers, pens/pencils or any other
sharp or abrasive objects.
Qty
item
Part A.
Part B.
Part C.
JA10302020
1. Frame and Edge Trim Parts List
2 pcs
Main Frame Parts
vertical frame
½ horizontal frame
½ horizontal frame
Aeon CineGrey 3D® AT Series
Ceiling Ambient Light Rejecting Acoustically
Transparent EDGE FREE® Fixed Frame Screen
Qty
item
Part D.
Part E.
Part F.
www.elitescreens.com
USER'S GUIDE
M Type - V3
2 pcs
Edge Trim Parts
U-00195
1
Advertisement
Table of Contents

Related Manuals for Elite Screens Aeon CineGrey 3D AT Series


Summary of Contents for Elite Screens Aeon CineGrey 3D AT Series
- Page 1 Aeon CineGrey 3D® AT Series Ceiling Ambient Light Rejecting Acoustically Transparent EDGE FREE® Fixed Frame Screen USER’S GUIDE M Type - V3 Product Description: The Aeon Series is a fixed frame projection screen that uses Elite’s EDGE FREE® technology. The EDGE FREE® design resembles a giant size flat panel TV display.
- Page 2 2. Hardware Parts List M4*4 D5*4 M4*4 D5*4 M4*4 M4*4 Black Item Parts List 100’’ 110’’ 120’’ Center Joints- M4 (bottom position) Center Joints-D5 (top position) Elbow Joints M4 (bottom position) Elbow Joints D5 (top position) Side cover Center Joints- M4 Side cover Elbow Joints M4 M4x7 Screws Spring...
- Page 3 Frame Assembly Step 1: Place the included soft padded EPE sponge sheet on a clean area where the screen will be assembled. Step 2: Position the pieces of the frame on the EPE sponge in the arrangement shown below Step 3: Insert center joint (a/b) connectors into one-half of the horizontal frame (B/C) and secure with the M4x7 screws (M) as shown in the illustration below.
- Page 4 Screen Material Step 6: Turn the frame over on its front side. Then attach the black blacking cloth on the frame with the velcro from the center of the frame to the corners. Velcro Velcro Screen Material Step 6: Put on the white gloves (p) and carefully unroll the screen material on a clean surface from the roller to the other side as shown below.
- Page 5 Step 8: Carefully and gently place the assembled frame on top of the screen material in the marked areas as shown below. Make sure to not allow the angle edge of the frame to come in direct contact with the screen material to avoid puncturing it.
- Page 6 Begin by first attaching the center points on both vertical (left/right) sides, steps 1-2. Then the center points on both horizontal (top/bottom) sides, steps 3-4. Once all center points have been secured, make sure the screen material is still within the marked areas before proceeding to attach the next springs. Continue attaching the rest of the springs to the material in the following order in steps 5-12.
- Page 7 Edge Trim Installation ATTENTION: THE TOP EDGE TRIM PIECE WITH THE LOGO SHOULD BE INSTALLED ON THE TOP. Step 11: Place the edge trim frame pieces over each end of the frame. Connect edge trim frames (e/f) together using the M4 center joint (e) and secure with four of the M4x4 screws (m) as show in Step 1.
- Page 8 Step 15: Position the fixed frame screen onto the top wall brackets as shown below and push down at the center of the top of the frame to secure. For Technical Support or an Elite Screens contact in your area, visit www.elitescreens.com JA10302020 www.elitescreens.com...
Need help?
Do you have a question about the Aeon CineGrey 3D AT Series and is the answer not in the manual?
Questions and answers