Table of Contents
Advertisement
Quick Links
Advertisement
Table of Contents

Related Manuals for Kogan KASBD16CB


Summary of Contents for Kogan KASBD16CB
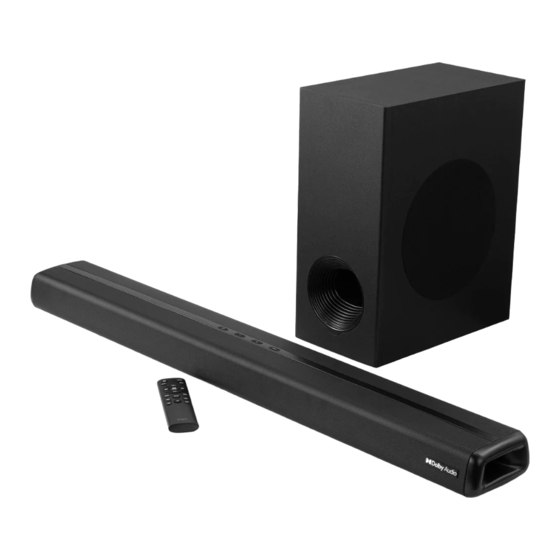
- Page 1 2.1CH 160W DOLBY SOUNDBAR WITH WIRELESS SUBWOOFER KASBD16CB...
-
Page 2: Table Of Contents
Safety & Warnings Components List Overview Before First Use Installation Operation Cleaning & Care Troubleshooting Notes... -
Page 3: Safety & Warnings
• Ensure the power cord is always visible and not walked on, or folded. • If the power cord is damaged, stop use immediately and contact help.Kogan.com for assistance. • Do not forcibly pull on the power cord itself to remove it from the power socket. - Page 4 • Do not place this soundbar near strong magnets. • Do not place this soundbar on an amplifier or receiver. • Do not clean the soundbar using chemical solvents as this might damage the exterior finish. • Depending on the electromagnetic waves used, if another TV is turned on near this soundbar whilst powered, lines may appear on certain LED TVs.
-
Page 5: Components List
COMPONENTS LIST Soundbar (x1) • Wireless subwoofer (x1) • RCA to 3.5mm cable (x1) • Bracket (x2) • Screw (x4) • Anchor (x4) • User guide (x1) • OVERVIEW Front view (Soundbar) Top view (Soundbar) LED display Power button Volume controls INPUT button... - Page 6 Bottom view (Soundbar) 7 8 9 5 Screw holes 8 Optical input 6 USB port 9 HDMI (ARC) input 7 AUX input 10 Power port Back view (Subwoofer) LED indicator USB port (only used for data transfer if firmware updates are necessary) WPS button Power port...
-
Page 7: Before First Use
BEFORE FIRST USE Unpacking • Remove the soundbar from the carton and remove all packaging. If possible, save the packaging in case the soundbar ever needs to be transported. • Remove any descriptive labels or stickers on the front and top of the soundbar. •... - Page 8 Wall mounting This soundbar may also be mounted onto a wall. WARNING: If you don't feel confident in correctly securing the wall mount, Seek the assistance of an experienced person or professional. For the speaker to be supported, it must be installed on a vertical, reinforced area of the wall.
- Page 9 3. Align the drilled holes with those on the brackets and fix the anchors into the holes of the brackets. 4. Secure and tighten the screws into the anchors to ensure that the brackets will remain stable. 5. Aligning the outer rubber feet, place the soundbar onto the brackets.
-
Page 10: Operation
OPERATION Remote control Power button MUTE button INPUT button PAIR button Volume increase button Previous button Next button RESET/play/pause button Volume decrease button MUSIC EQ button MOVIE EQ button NEWS EQ button Treble adjustment buttons Bass adjustment buttons 3D EQ button Name Icon Description... - Page 11 Pressing this button changes the input mode (AUX, INPUT button INPUT USB, HDMI(ARC), Optical, Bluetooth). Volume increase Pressing this button increases the volume of the VOL+ button soundbar. Volume decrease Pressing this button decreases the volume of the VOL– button soundbar.
- Page 12 Powering on • Plug the power cord into a power socket and switch on the power socket. The soundbar will enter standby. • Press the power button ( ) on the soundbar or remote control to turn on the soundbar. Setting the mode This soundbar features five input modes.
- Page 13 Pairing with the subwoofer 1. With the soundbar turned on, press the INPUT button on the soundbar or remote control until ‘ ’ appears on the LED display. This will cause the soundbar to enter pairing mode. 2. Connect the power cord for the subwoofer into the power socket. Switch on the power socket.
- Page 14 ’ is shown on the display. You will then hear two beeps from the soundbar. This indicates the soundbar is ready for pairing. 2. Turn the Bluetooth of your device on and search for ‘KASBD16CB’ on the list of available devices. Tap on the name and connect.
- Page 15 HDMI (ARC) mode The soundbar supports HDMI with an audio return channel (ARC). Many standard HDMI ports provide support for ARC. This allows you to have audio output from the TV to emit from the soundbar, as opposed to the TV’s inbuilt speakers. 1.
- Page 16 Optical mode 1. Uncap an optical cable (not supplied) and connect the input end to the optical input on the soundbar. Connect the output end to the optical digital output of your device (for example, TV, set top box, DVD player, gaming console). Note: Do not bend the optical cable as this may cause damage to the cable.
-
Page 17: Cleaning & Care
CLEANING & CARE Wipe the exterior with a clean, dry cloth. TROUBLESHOOTING Problem Cause Solution Another input source is selected. Select an appropriate input source. The soundbar is muted. Unmute the soundbar. The volume of the soundbar is Increase the volume of the adjusted too low. - Page 18 • Turn off and unplug the subwoofer and soundbar. • Wait for 3 minutes then plug the subwoofer and soundbar Unable to pair the There is an interference with the back into power. subwoofer to the connection. • Press the power button on soundbar.
- Page 19 The soundbar is out of the Use the remote control within the operating range (10m). operating range (10m). The soundbar cannot be The batteries are flat in the Replace the batteries in the controlled using remote control. remote control. the remote The sensor for the remote Reposition the soundbar to not control.
- Page 20 Firmware update (if necessary) • If updates are necessary for the soundbar and subwoofer, these updates will be made available at help.Kogan.com as a downloadable zip file. They would need to be unzipped and placed on a USB. • To install possible necessary updates on the soundbar, ensure the soundbar is switched off, then plug in the USB.
-
Page 21: Notes
NOTES... - Page 24 Need more information? We hope that this user guide has given you the assistance needed for a simple set-up. For the most up-to-date guide for your product, as well as any additional assistance you may require, head online to help.kogan.com...
Need help?
Do you have a question about the KASBD16CB and is the answer not in the manual?
Questions and answers