Advertisement
Quick Links
Advertisement

Related Manuals for BROSA Kaneko Extendable Dining Table


Summary of Contents for BROSA Kaneko Extendable Dining Table
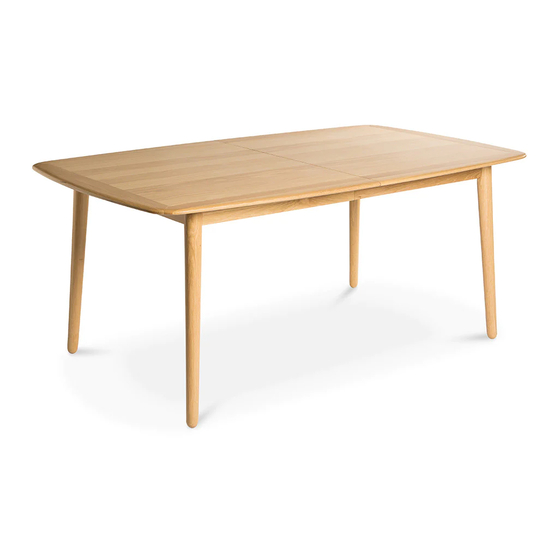
- Page 1 ASSEMBLY GUIDE Kaneko Extendable Dining Table...
- Page 2 Components Upon unpacking your table from it’s delivery box, you should have the separate pieces shown below. Follow the steps on the next pages to assemble your new table. Extension Leaf x 1 Table top x 1 Leg x 4 Hardware A x 4 B x 8...
- Page 3 Insert the cross dowel into the top hole of the leg Step 1 so that the mark faces the bolt hole. Repeat for all four legs. A x 4 Screw two threaded rod into the corner holes. Step 2 Repeat for all four legs. B x 8...
- Page 4 Place the table top on a at surface with underside Step 3 facing up. Fit a leg into a corner with the rod pro- truding from the metal connector. Fit a washer (C), a lock washer then a hex nut to the threaded rod and tighten with the spanner (F).
- Page 5 Gently ip the table the right way up. Step 4 To extend the table, take the extension leaf out of the Step 5 storage bag.
- Page 6 Unlock the rubber switch under the table top and Step 6 slide two halves apart. Insert the extension leaf into the formed space. Step 7 Make sure the dowels are aligned correctly. Fit the extension leaf to one side rstly.
- Page 7 Push the two halves of the table top panel to make Step 8 all dowels t into corresponding holes. Lock the rubber switch again. To switch back to the compact table again unlock Step 9 the switch underneath the table top and slide the two halves apart.
- Page 8 Place the extension leaf back into the storage bag Step 10 and close it. Hide the bag under the table top and close it. Step 11...
- Page 9 Enjoy your new extendable table! Step 12...
Need help?
Do you have a question about the Kaneko Extendable Dining Table and is the answer not in the manual?
Questions and answers