Advertisement
Quick Links
Advertisement

Subscribe to Our Youtube Channel
Related Manuals for BROSA Kaneko Lamp Table with Drawer


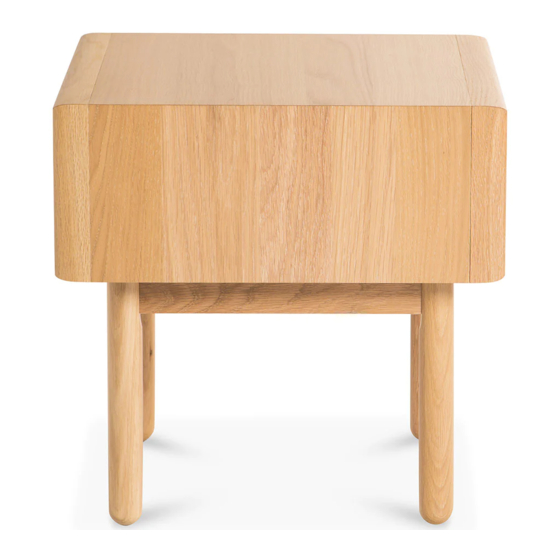
Summary of Contents for BROSA Kaneko Lamp Table with Drawer
- Page 1 ASSEMBLY GUIDE Kaneko Lamp Table with Drawer...
- Page 2 Components Upon unpacking your table from it’s delivery box, you should have the separate pieces shown below. Follow the steps on the next pages to assemble your new table. Table top x 1 Leg x 4 Hardware A x 4 B x 4 C x 4 D x 4...
- Page 3 Insert the cross dowel into the top hole of the leg Step 1 so that the mark faces the bolt hole. Repeat for all four legs. A x 4 Screw the threaded rod into the corner hole. Step 2 Repeat for all four legs. B x 4...
- Page 4 Place the table top on a at surface with underside Step 3 facing up. Fit a leg into a corner with the rod pro- truding from the metal connector. Fit a at washer (C), a lock washer then a hex nut to the threaded rod and tighten with the spanner (F).
- Page 5 Turn the knob inside the drawer to adjust it’s posi- Step 5 tion vertically so that there are equal gaps above and below the front wall. +2.5 -2.5...
- Page 6 To take the drawer out, open it, pull the lock inside Step 6 the drawer. Gently lift the front part of of the drawer.
- Page 7 To put the drawer back in, align the drawer with the Step 7 drawer runner rails. Fit the raised plates at the back of the runners into the holes at the back of the drawer. Place the drawer on the runners completely and t the plates at the side of the runners to the holes at the side of the drawer.
- Page 8 Enjoy your new table! Step 8...
Need help?
Do you have a question about the Kaneko Lamp Table with Drawer and is the answer not in the manual?
Questions and answers