Advertisement
Quick Links
Advertisement

Subscribe to Our Youtube Channel
Related Manuals for Workrite Ergonomics Sequoia SQ-422


Summary of Contents for Workrite Ergonomics Sequoia SQ-422
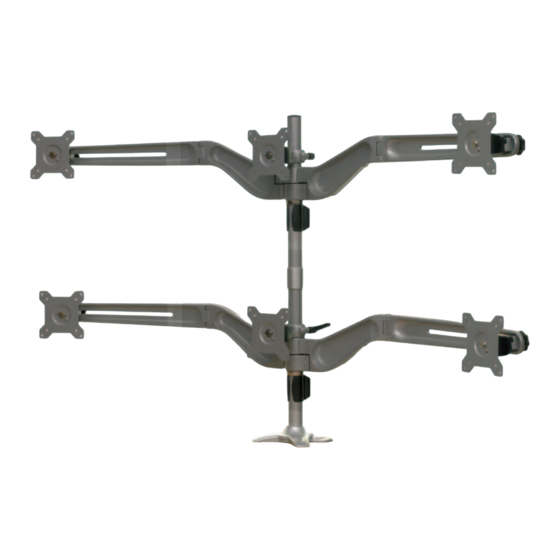
- Page 1 Workrite Sequoia Assembly Instructions for Model SQ-422 #1500207 - Rev A...
- Page 2 Parts grouped by carton Note: Part letters are nonsequential to accommodate all Sequoia Models Capped Pole carton, 2 monitors, includes base: Hardware Packs: Capped Pole Outside VESA Mount Qty: 1 Qty: 2 M5 × 4mm Set Screw for Collar Qty: 3 Cable Manager M4 ×...
- Page 3 Extension Pole carton, 2 monitors: Hardware Packs: Extension Pole Outside VESA Mount Qty: 1 Qty: 2 M5 × 4mm Set Screw for Collar Qty: 3 Pole Coupler Wing Bar M4 × 8mm VESA Mount Qty: 1 Qty: 2 Screws Qty: 8 Cable Manager 2.5mm Hex Wrench Qty: 1...
- Page 4 Assemble Desk Mount C-Clamp Mount: Note: If you have easy access you can assemble the clamp before placing it onto the work surface and tightening it down. Place the Clamp Base (T) over the rear edge of the workstation. Attach the Clamp Bracket to the Clamp Base with 4 M6 ×...
-
Page 5: Important Note
Attach Monitor Mounts to Monitors Important Note It is strongly recommended to use the mounting screws provided by the monitor manufacturer if possible. Always use the shortest screws possible to avoid damage to the monitor. Note: At this time you can chose to install the monitors in landscape or portrait orientation. - Page 6 Attach Wing Bars to Pole Right Left Place Left first then Right Wing Bars (L) onto Pole and rest on Collar (C). Dual Wing Bars are identical and interchangeable. Install Ratchet Lever (D) into the rear of the Wing Bar and tighten.
- Page 7 Add Capped Pole Install the Pole Coupler (BB) into the threads on the Extension Pole (AA) and tighten securely. Install the Capped Pole (A) into the threads on the Pole Coupler and tighten securely. Insert 2 Set Screws (G) into the Coupler. Tighten securely with the 2.5mm Hex Wrench (I).
- Page 8 Attach Wing Bars to Capped Pole Right Left Place Left first then Right Wing Bars (L) onto Capped Pole and rest on Collar (C). Dual Wing Bars are identical and interchangeable. Install Ratchet Lever (D) into the rear of the Wing Bar and tighten.
- Page 9 Make Adjustments & Secure Cables Important Note & It is recommended to have two people adjusting multiple monitor configurations after monitors are mounted to the arm assembly. Monitor Tilt & Swivel Adjustments Depending on the size of your monitor, it may be necessary to adjust the tilt and swivel setting.
Need help?
Do you have a question about the Sequoia SQ-422 and is the answer not in the manual?
Questions and answers