Advertisement
Table of Contents
PA R T S E N C L O S E D :
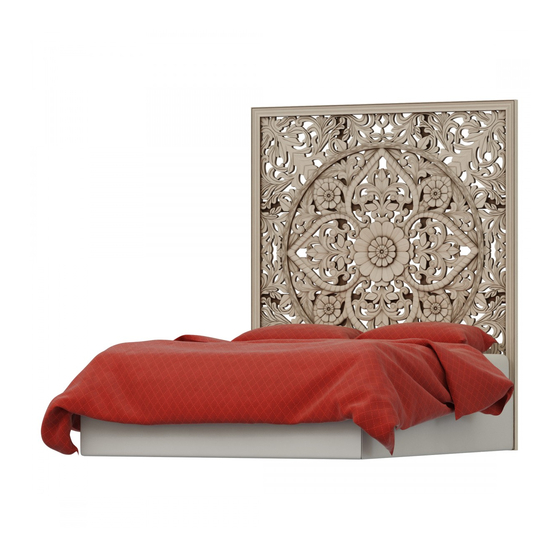
A [1] HEADBOARD
B [2] HEADBOARD FOOT
C [2] SIDE RAIL
D [1] FOOTBOARD
E [15] SLAT ROLL
F [8] SLAT FOOT (WITH ADJUSTABLE GLIDE)
Philips Screwdriver ( not included)
P A R
A S S E M B LY I N S T R U C T I O N S
Headboard must be assembled by at least two people.
Please read instructions carefully before assembling headboard.
Use the above parts and hardware list to identify each component.
Keep all packing materials until assembly is complete to avoid
loss of smaller parts.
1.
Stand the Headboard (A) upright and attach the headboard foot (B),
then tighten the screw with the help of screwdriver as per shown in
Fig no.- 1 & 2.
2.
Repeat above procedure to attach the 2nd foot.
3.
Headboard Assembly completed. Fig-03
A N A Y A Q U E E N B E D I N S T R U C T I O N S
NO.
NO.
1
1
2
3
4
T - A
1
F i g - 0
T - B
P A R
ITEM
ITEM
DESCRIPTION
DESCRIPTION
Screw (3.8cm)
Allen Key (0.5 cm.)
Allen Head Bolt (0.8 cm. Dia)
Screw (3 cm.)
QTY
QTY
8 Pcs.
1 Pc.
12 Pcs.
30 Pcs.
1
2
F i g - 0
3
F i g - 0
1 of 2
Advertisement
Table of Contents

Related Manuals for RH Teen Anaya


Summary of Contents for RH Teen Anaya
- Page 1 A N A Y A Q U E E N B E D I N S T R U C T I O N S PA R T S E N C L O S E D : ITEM ITEM DESCRIPTION DESCRIPTION A [1] HEADBOARD...
- Page 2 A N A Y A Q U E E N B E D I N S T R U C T I O N S A S S E M B LY I N S T R U C T I O N S Stand the Headboard (A) upright and attach the Side Rail (C), then screw the Allen Head Bolt (3) into the pre-buried holes on Headboard (A), tighten with Allen Key ( 2 ), as shown in Fig-04.
Need help?
Do you have a question about the Anaya and is the answer not in the manual?
Questions and answers