Advertisement
INTRODUCTION
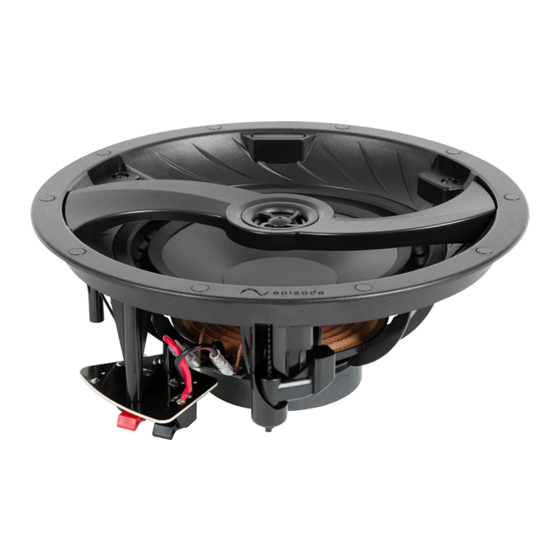
Thank you for purchasing Episode® speakers. Visit our website for design recommendations and
speaker calculators.
NEW CONSTRUCTION INSTALL
Episode speaker installations can be simplified by using Episode pre-construction brackets (sold
separately). Install them prior to drywall to allow for precise placement of the speaker.
Secure the wiring within reach of the bracket for easy access.
EXISTING CONSTRUCTION INSTALL
OBSTRUCTION
PLUG
CONNECT
Strip the insulation on each conductor approximately ¼" and insert into the speaker
terminals. Ensure no strands of wire protrude from the connectors.
Observe proper polarity for each speaker to the amplifier (
Dual Voice Coil / Surround (DVCS) Selector Switch (Select Models)
There are two options for DVCS (Dual Voice Coil / Surround) models, selected by using the selector switch
on the crossover PCB. DVC (default position) and SURR.
IN1 / SURR
For DVC installs, wire the left channel to either
of the two connections and wire the right
channel to the other.
Make a cutout for the speaker using the supplied template. Allow space for
the bezel if installing near adjacent objects, or cut the hole in two steps as
shown below.
1.
Cut the drywall at a 45° angle so that if the speaker is too close to
an obstruction, you can easily 'plug' the hole. This is known as a
"pumpkin cut."
2.
If there are no obstructions, cut the drywall again, this time at a
90° angle.
3.
Insert the speaker into the cutout.
IN2
ES - CORE - IC& IC - POINT
CUTOUT TEMPLATE AND INSTALLATION GUIDE
to
and
to
).
+
+
–
–
IN1 / SURR
For SURR installs, wire the surround channel to
In1/SURR.
Do not use stereo inputs while in surround
mode.
Amp
SINGLE VOICE COIL
IN2
CONTINUED ON OTHER SIDE
Advertisement
Table of Contents

Related Manuals for Episode CORE 3 Series


Summary of Contents for Episode CORE 3 Series
- Page 1 ES - CORE - IC& IC - POINT CUTOUT TEMPLATE AND INSTALLATION GUIDE INTRODUCTION Thank you for purchasing Episode® speakers. Visit our website for design recommendations and speaker calculators. NEW CONSTRUCTION INSTALL Episode speaker installations can be simplified by using Episode pre-construction brackets (sold separately).
- Page 2 Wirepath Home Systems, LLC, dba “Control4” and/or dba “SnapAV” in the United States and/or other countries. Episode is a registered trademark or trademark of Wirepath Home Systems, LLC. Other names and brands may be claimed as the property of their respective owners.
Need help?
Do you have a question about the CORE 3 Series and is the answer not in the manual?
Questions and answers