Table of Contents
Advertisement
Quick Links
Advertisement
Table of Contents

Related Manuals for Episode radiance


Summary of Contents for Episode radiance
- Page 1 Installation Guide...
-
Page 2: System Wiring Overview
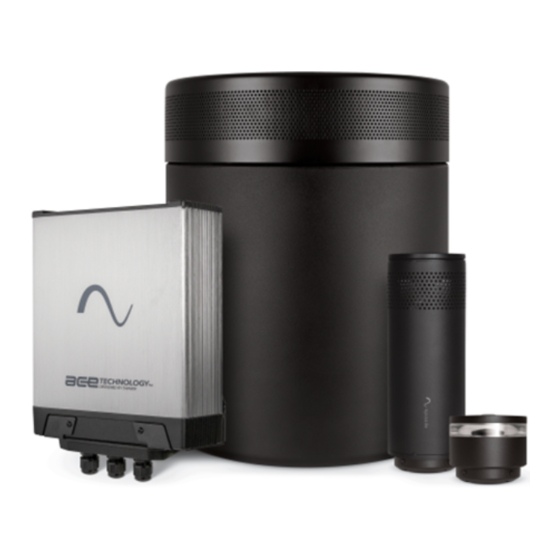
Episode Radiance system delivers exceptional audio and lighting performance in a single system through simplified wiring, thanks to ACE technology by SWARM technology. Using a DSP amplifier like the Episode Hybrid Amplifier with built in presets allows for EQ optimization specific to Radiance speakers and the accompanying 8Ω subwoofer. - Page 3 70V Wiring for Speakers and Lights Tap Setting Speaker Qty. Total Watts All Radiance speakers and lights must be used with a 70V amplifier and wired in parallel. Note: The subwoofer is 8 , and not included in this Ω...
-
Page 4: Light Settings
Both Spot light ASSEMBLY All Radiance speakers, lights, and mounts use the same connection method, providing the ability to use any Radiance mount with any Radiance light or speaker. To make a connection, place the speaker To remove a device from a connection, push or light into the mount and turn the device down and turn the device counterclockwise. -
Page 5: Surface Mount
Speaker and Light Mounting Radiance products have an IP66 weather rating. Mounts include carefully planned drainage holes. Caution: Do not install Radiance devices next to sprinklers. Surface Mount ES-RAD-MNT-SUR Connect the 70V wire run to Attach the mount to the... -
Page 6: Pendant Mount
Pendant Mount ES-RAD-MNT-PND Attach the bracket to a junction box or Slide the ceiling plate, collet nut, and Pull the cable through the bracket so flat to the ceiling. lock nut over the mount cable. Make the mount hangs at the desired height. sure the threaded sides of the collet and lock nut face the ceiling plate. - Page 7 Subwoofer Wiring Connect the subwoofer to the 8 output of the amplifier. Ω Use burial-rated wire for all outdoor installations. Maximum performance can be achieved using the SPEAKER OUT following recommendations: BRIDGE • For wire runs up to 30 meters (100 feet), 16-gauge wire or larger.
- Page 8 C. INPUT: AUDIO 70V — Wire terminal for the 70V DSP amplifier input. D. OUTPUT — Wire terminal for the 70V wire run to Radiance speakers and lights. E. LIGHT ACTIVE LED — Illuminates when the MB1 senses a signal on the LIGHT POWER input.
- Page 9 Pro Tip: For the best results, use the lighting transformer’s tap setting with the highest output. No less than 12V and no more than 15V. The higher the voltage, the less heat is generated and the more efficient the Radiance system performs. Slide the MB1 cap into place, tighten the...
-
Page 10: Dsp Settings
• Radiance lights do not support color modifications. DSP Settings A DSP amplifier must be used for the Radiance system to work as intended. DSP settings for the Episode Hybrid amplifier can be found on the support tab of SnapAV.com.
Need help?
Do you have a question about the radiance and is the answer not in the manual?
Questions and answers