Juniper SRX1500 How To Set Up
Services gateway
Hide thumbs
Also See for SRX1500:
- How to set up (9 pages) ,
- Hardware manual (168 pages) ,
- Quick start manual (12 pages)
Advertisement
Quick Links
How to Set Up Your SRX1500 Services Gateway
The SRX1500 Services Gateway is a next generation secure connectivity services
gateway for the cloud-enabled distributed enterprise edge and small to medium
data centers. With advanced security and threat mitigation capabilities, the
SRX1500 Services Gateway is suitable for small to medium enterprises.
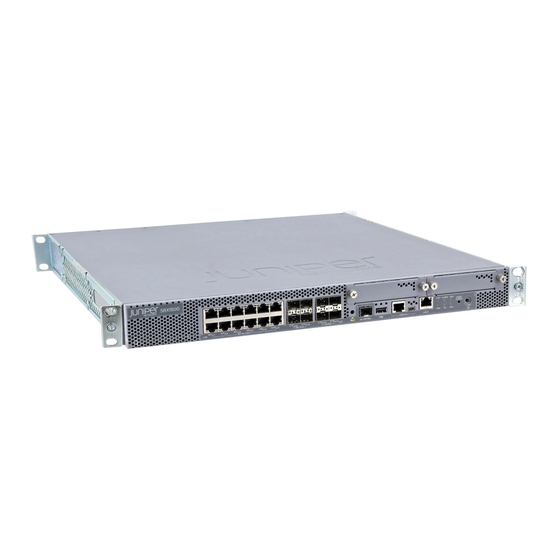
The SRX1500 Services Gateway has a modular 1-U chassis with twelve 1 GbE
Ethernet ports, four 1 GbE SFP ports, four 10 Gbe SFP + ports, and a 100 GB SSD.
The SRX1500 Services Gateway is available in both AC and DC models.
Package Contents
SRX1500
AC or DC power supply
• End User License Agreement
• Safety Guide
• Quick Start Guide
Mounting brackets
AC power cable
Screws
RJ-45 cable
USB cable
Warranty and Registration
DB-9 adapter
Information
Front Panel
1G
10G
Ethernet
SFP+
ports
ports
Air inlet
1G
SFP
ports
Back Panel
Grounding point
Fans
NOTE:
The SRX1500 Services Gateway shipment package contains a
packing list. Check the parts in the shipment against the items on the
packing list. If anything is missing or damaged, contact your Juniper
Networks customer service representative.
Specification
Dimensions (H x W x D)
Chassis weight
Average power consumption
Maximum thermal output
Relative humidity
Noise level
HA
Serial
WAN
Reset
Control
Console
MGMT
PIM
Config
port
port
port
slots
button
ESD
USB
Mini-USB
LEDs
Power
point
port
Console
button
port
SSD slot
Power supply slots
Value
1.75 in. x 17.5 in. x 18.2 in.
15 lb.
150 W
300 BTU/hour
5% to 90%, noncondensing
30 dB
1
Advertisement

Related Manuals for Juniper SRX1500


Summary of Contents for Juniper SRX1500
- Page 1 The SRX1500 Services Gateway has a modular 1-U chassis with twelve 1 GbE Ethernet ports, four 1 GbE SFP ports, four 10 Gbe SFP + ports, and a 100 GB SSD. The SRX1500 Services Gateway is available in both AC and DC models.
-
Page 2: Factory Default Settings
Use a number-2 Phillips screwdriver to tighten the mounting screws. Security Policies Source Zone Destination Zone Policy Action trust trust permit trust untrust permit NAT Rules Source Zone Destination Zone Policy Action trust untrust Source NAT to untrust zone interface How to Set Up Your SRX1500 Services Gateway... - Page 3 OFF (0) position, and tape the switch 1. Connect the grounding cable to a proper earth ground. handle of the circuit breaker in the OFF position. How to Set Up Your SRX1500 Services Gateway...
- Page 4 Replace the clear plastic cover over the terminal studs on the faceplate. g. Remove the tape from the switch handle of the circuit breaker on the panel board that services the DC circuit and switch the circuit breaker to the ON (|) position. How to Set Up Your SRX1500 Services Gateway...
- Page 5 This indicates that you have successfully completed the initial configuration and that your SRX1500 Services Gateway is ready for use. 1. Log in to the device as root. When the device is powered on with the factory- default configuration, you do not need to enter a password.
- Page 6 Select Commit>Commit to apply the configuration changes. b. Enter the zone name as trust and set zone type to Security. c. Select the interfaces to assign to the zone and click OK. How to Set Up Your SRX1500 Services Gateway...
- Page 7 How to Set Up Your SRX1500 Services Gateway...
- Page 8 Copyright © 2016, Juniper Networks, Inc. All rights reserved. Juniper Networks, Junos, Steel-Belted Radius, NetScreen, and ScreenOS are registered trademarks of Juniper Networks, Inc. in the United States and other countries. The Juniper Networks Logo, the Junos logo, and JunosE are trademarks of Juniper Networks, Inc.
Need help?
Do you have a question about the SRX1500 and is the answer not in the manual?
Questions and answers