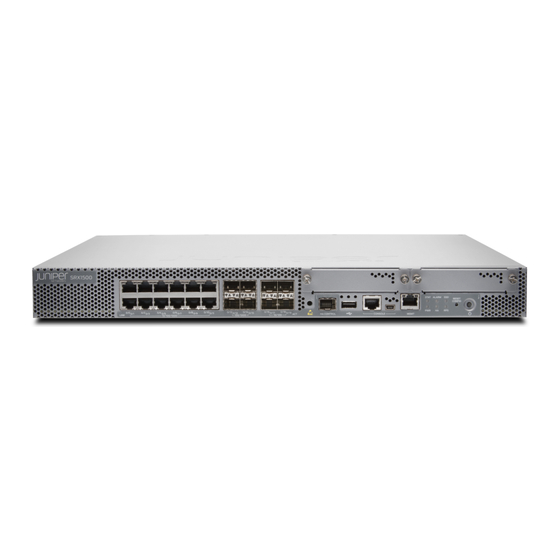
Juniper SRX1500 Quick Start Manual
Firewall
Hide thumbs
Also See for SRX1500:
- How to set up (9 pages) ,
- Hardware manual (168 pages) ,
- How to set up (8 pages)
Table of Contents
Advertisement
Quick Links
Advertisement
Table of Contents

Related Manuals for Juniper SRX1500


Summary of Contents for Juniper SRX1500
- Page 1 SRX1500 Quick Start Published RELEASE 2023-10-29...
-
Page 2: Table Of Contents
Table of Contents Step 1: Begin Meet the SRX1500 | 1 Install the SRX1500 | 2 What’s in the Box? | 2 What Else Do I Need? | 2 Rack It | 2 Power On | 4 Step 2: Up and Running... -
Page 3: Step 1: Begin
Install the SRX1500 | 2 Power On | 4 In this guide, we walk you through how to rack an AC-powered SRX1500 with the power supplies preinstalled, power it up, and deploy it on your network using the J-Web Setup wizard. If you need... -
Page 4: Install The Srx1500
DB-9 to RJ-45 cable or a DB-9 to RJ-45 adapter with a CAT5E copper cable as part of the device package. If you require a console cable, you can order it separately with the part number JNP-CBL- RJ45-DB9 (DB-9 to RJ-45 adapter with a CAT5E copper cable). Rack It Here’s how to install the SRX1500 in a rack:... - Page 5 3. Attach the mounting brackets to the sides of the SRX1500 using the eight M4x6-mm Phillips flat- head mounting screws. 4. Lift the SRX1500 and position it in the rack. Line up the bottom hole in each mounting bracket with a hole in each mounting rail, making sure the SRX1500 is level.
-
Page 6: Power On
2. Attach a grounding cable to earth ground and then attach it to the SRX1500’s grounding points on the rear panel. 3. Plug the power cord into the SRX1500 rear panel. Use a power cord retainer (not included) to hold the power cord in place. -
Page 7: Step 2: Up And Running
Customize the Basic Configuration | 7 Now that the SRX1500 is powered on, let’s do some initial configuration to get the device up and running on the network. It’s simple to provision and manage the SRX1500 and other devices on your network. - Page 8 2. Manually configure an IP address in the 192.168.1.0/24 network. Be sure you don’t assign the IP address 192.168.1.1 to the laptop or PC, because this is the IP address assigned to the SRX1500. 3. Set the root authentication password: a.
-
Page 9: Plug And Play
The SRX1500 already has factory-default settings configured right out of the box to make it a plug-and- play device. So all you have to do to get the SRX1500 up and running is connect it to your LAN and WAN networks. Here’s how: 1. -
Page 10: Step 3: Keep Going
IN THIS SECTION What’s Next? | 8 General Information | 9 Learn With Videos | 10 Congratulations! Your SRX1500 is configured and ready to go. Here are some things you can do next. What’s Next? If you want to Then Change configuration settings, get another Log in to J-Web and use the wizard. -
Page 11: General Information
See all documentation available for the SRX1500 Visit the SRX1500 Documentation page in the Juniper TechLibrary Configure the SRX1500 with the Junos OS CLI Start with the Day One+ for Junos OS guide Configure the SRX1500 using J-Web J-Web for SRX Series Documentation... -
Page 12: Learn With Videos
Networks, Inc. in the United States and other countries. All other trademarks, service marks, registered marks, or registered service marks are the property of their respective owners. Juniper Networks assumes no responsibility for any inaccuracies in this document. Juniper Networks reserves the right to change, modify, transfer, or otherwise revise this publication without notice.
Need help?
Do you have a question about the SRX1500 and is the answer not in the manual?
Questions and answers