
Related Manuals for ProHD DT-X16H


Summary of Contents for ProHD DT-X16H
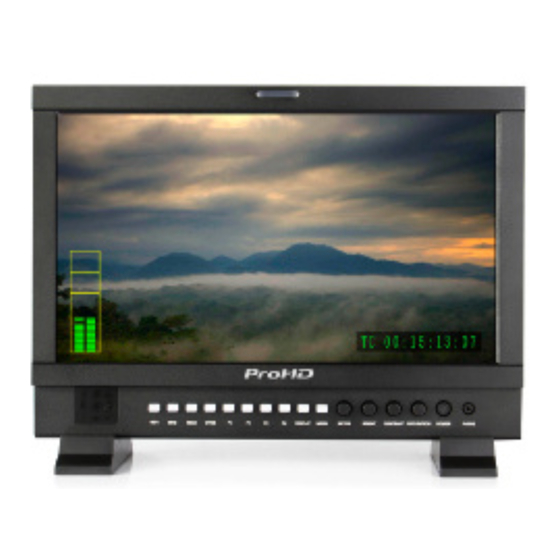
- Page 1 DT-X16H Model: 15.6" Broadcast Studio LCD Monitor User Manual Ver: : : : V2.0V05 Please read this User Manual throughout before using.
- Page 2 Preface Congratulations on your purchase of this product. Please read this user manual carefully. . All internal technologies of this product are protected, including device, software and trademark. Reproduction in whole or in part without written permission is prohibited. . All brands and trademarks are protected and other relative trademarks in this user manual are the properties of their respective owners.
-
Page 3: Maintenance
Maintenance 1. Monitor 1. Please keep the signal terminals and the cooling vent away from knife-edge, metal or liquid in order to avoid short-circuit and damage. 2. Please don't try to disassemble any parts of the monitor by yourself, which would probably damage the monitor and do harm to human body, and it will cause the invalidation of product warranty. - Page 4 1. Features 10-bit Full-HD 15.6” LCD Panel Blue Only ◆ ◆ ◆ ◆ ◆ ◆ ◆ ◆ 1920×1080 resolution, H 178°/V 178° viewing Under Blue Only Mode, only blue pixels are used angle, 1000:1 contrast, 10-bit color depth to generate the image, because hue and saturation ◆...
- Page 5 2. Panel Instruction Front view ⑴ Speaker: For SDI/HDMI embedded audio and analog audio monitoring. (Will not work if earphone is plugged in) ⑵ SDI1: Press “SDI1” to switch to SDI input 1 ⑶ SDI2: Press “SDI2” to switch to SDI input 2 ⑷...
- Page 6 Rear view ⑴ Reserved battery plate power socket: Take off the rub cover to find the power socket, V-mount or Gold mount battery plates can be connected to the power socket. ⑵ DC IN 11V-17V BACK UP: Connect with 4-pin XLR power adaptor (Pin 1: Negative, Pin 4: Positive) ⑶...
- Page 7 3. Menu Operation ⑴ Press “MENU” and it will display menu system ⑵ Revolve “ENTER” to select an item. The selected item will be highlighted display. ⑶ Press “ENTER” to enter the selected item. ⑷ Under menu system, press “MENU” to back to previous menu. *The menu will automatically save and quit if it remains idle.
- Page 8 3.5 DISPLAY submenu The DISPLAY submenu is to select the items to be displayed on screen when ‘DISPLAY” button is pressed. Revolve "ENTER" to turn on/off the items: ⑴ INFO: Including Input format, aspect ratio, underscan/overscan, zoom status ⑵ TITLE: User edited title ⑶...
- Page 9 4. TALLY Light Operation The front TALLY light can display 3 colors: RED, GREEN and YELLOW. The TALLY light controlling port is the DB-9 socket at the rear panel, and terminal description is as follows: Terminal Description The RED light is on when connecting the terminal “R” with “GND”, and goes out when disconnecting. The GREEN light is on when connecting the terminal “G”...
-
Page 10: Specifications
5. Specifications LCD Performance Size 15.6 inches Display area 344 × 1 94mm Resolution 1920 × R GB × 1 080 Aspect ratio 16:9 (4:3 adjustable) Brightness 200cd / m Contrast 700:1 Color 10-bit, 1.074billion colors Viewing angle Horizontal: 178 ° V ertical: 178 ° Video Format CVBS NTSC ∕... -
Page 11: Optional Accessories
7. Optional Accessories Model Description S-7004S V-mount battery plate S-7004A Gold mount battery plate A-PG16 Magnetic LCD protective organic glass A-VS16 Rotatable desktop stand with VESA installation A-RK16 19-inch rack install bracket 7.1 Battery plate Installation 1. Take off the rub cover on the rear panel, see Fig. (1) 2. - Page 12 7.2 Protective organic glass The A-PG16 organic glass has left and right magnetic stripes and can be fixed on front of the LCD panel, to protect the LCD during transport or stock. A-PG16 7.3 Rotatable desktop stand 10x10cm VESA A-VS16 Rear View...
- Page 13 7.4 19-inch rack install bracket Installation 1. Fix the brackets onto the left and right sides of S-1161H monitor, see Fig (1) and Fig (2); 2. Install the monitor with brackets onto the 19-inch rack; see Fig (3); 3. The installed monitor is as Fig. (4); A-RK16...
- Page 14 8. Installation Dimension 8.1 The main body (in mm) 8.2 With desktop stand feet (in mm)
- Page 15 8.3 With rotatable VESA desktop stand (in mm) 8.4 With 19-inch rack install bracket (in mm)
- Page 16 This model is manufactured, warranted and supported by SWIT Electronics Co., Ltd. / SWIT Electronics USA, LLC, and distributed in North America by JVC Professional Video Products. To obtain service or for further information, please contact: SWIT Electronics USA, LLC. Address: 4300 Stevens Creek Blvd., Suite 230, San Jose, CA 95129 Toll free: 1 866 986-SWIT (7948) •...
Need help?
Do you have a question about the DT-X16H and is the answer not in the manual?
Questions and answers