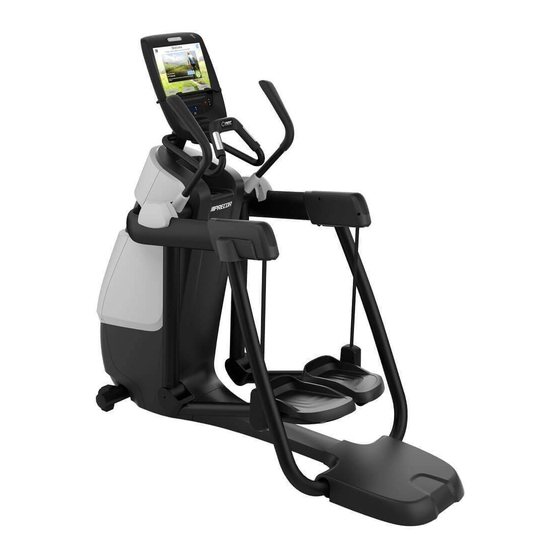
Precor Experience Series Assembly Manual
Hide thumbs
Also See for Experience Series:
- Service manual (248 pages) ,
- Assembly manual (45 pages) ,
- Getting started manual (2 pages)
Advertisement
Quick Links
Experience™ Series Adaptive Motion Trainer
Assembly Guide
Assembly requirements
Precor recommends at least two people for this installation. DO NOT
attempt assembly by yourself.
Follow the steps in the order listed in this assembly guide. Be sure to:
Assemble the equipment close to where you plan to use it.
l
Assemble the equipment on a solid, flat surface, so that it remains level and stable.
l
Locate the equipment a minimum of .6 m (23.6 in.) on either side of the equipment and .6
l
m (23.6 in.) behind the AMT. DO NOT move the equipment without assistance.
Hardware kit
Required Tools
#2 Phillips screwdriver
Rubber mallet
7/16-inch open-end wrench Two #1 Phillips screwdrivers
SAE standard socket set
Torque wrench (including a 3/16-inch hex wrench bit)
IMPORTANT Before you fully tighten a fastener, check that its head is flush with the surface of
the equipment. If not, cross-threading may have occurred. DO NOT attempt to rework the
assembly as more damage to the equipment will occur.
Attach upper side arm supports
IMPORTANT The side arm supports are shipped with foam blocks inserted in
one end. These blocks prevent fasteners from falling into the supports. DO
NOT remove the foam blocks or push them down into the supports.
1. Place the upper end of the right-hand support against the
right-hand side arm and insert two screws
attached) into the two holes underneath the side arm support
bracket (Figure 1 ). Partially tighten.
2. Slide one washer
the inside of the right-hand side arm (Figure 2).
Wire cutters
©2020 Precor Incorporated
Component
Description
Nylon lock nuts (5/16-inch)
Hex head bolts (5/16-inch x 1-inch)
Hex head bolts (5/16-inch x 3 1/2-
inch)
Bolt sleeve
Flat Washer (5/16-inch)
Screw (#10 x 1 1/4-inch)
Flat head hex drive screws (1/4-inch
x 5/8-inch)
End caps
Conduit (optional)
(with washers
and one sleeve
over a bolt
and insert it into the screw hole on
Figure 2
Adaptive Motion Trainer (AMT) Assembly Guide 304438-101 rev D ENU
|
Quantity
6
4
6
2
6
10
5
2
1
Figure 1
|
|
October 23, 2020
1
Advertisement

Summary of Contents for Precor Experience Series
- Page 1 Assembly requirements Bolt sleeve Flat Washer (5/16-inch) Precor recommends at least two people for this installation. DO NOT attempt assembly by yourself. Screw (#10 x 1 1/4-inch) Follow the steps in the order listed in this assembly guide. Be sure to: Flat head hex drive screws (1/4-inch Assemble the equipment close to where you plan to use it.
- Page 2 IMPORTANT Remove any ties or other materials that hold the side arms in place before the supports are installed. Figure 6 Adaptive Motion Trainer (AMT) Assembly Guide 304438-101 rev D ENU ©2020 Precor Incorporated October 23, 2020...
- Page 3 The pedestal should sit flat on the floor and with the conduit completely inside of it Thread the cables for each part as follows: (Figure 13). Figure 13 Adaptive Motion Trainer (AMT) Assembly Guide 304438-101 rev D, ENU ©2020 Precor Incorporated October 23, 2020...
- Page 4 AMT and angled slightly outward (Figure 18). To properly maintain the equipment, refer to the Cardio Equipment Maintenance Guide at www.precor.com. Adaptive Motion Trainer (AMT) Assembly Guide 304438-101 rev D, ENU ©2020 Precor Incorporated October 23, 2020...


Need help?
Do you have a question about the Experience Series and is the answer not in the manual?
Questions and answers