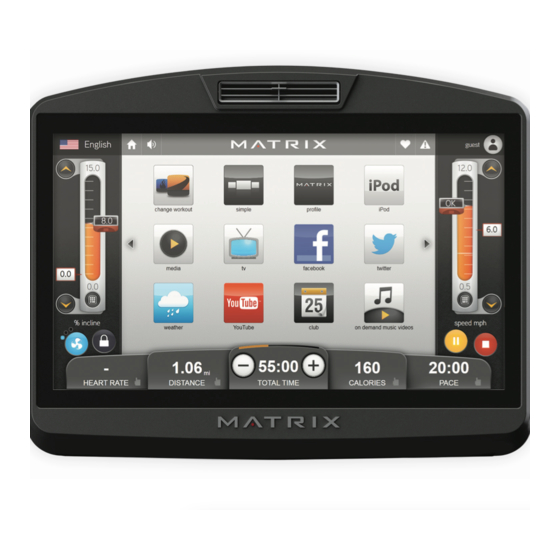
Matrix 7xi Troubleshooting Manual
Hide thumbs
Also See for 7xi:
- Troubleshooting manual (42 pages) ,
- Connection manual (16 pages) ,
- Service manual (63 pages)
Advertisement
Quick Links
Prepared by:
Emilie McWilliams
Models Affected:
Matrix 7xi
D
ESCRIPTION
Use this guide to troubleshoot a 7xi console. Tables are organized by symptoms:
Table 1 – Picard/GUI Application Crash or Frozen Screen
Table 2 – Error Message
Table 3 – Issue Running App
C
C
OMMON
ASES
Locate the symptom on Table 1, Table 2, or Table 3 below and follow the troubleshooting steps outlined across the
row. 1, 2, 3, 4, etc. indicate troubleshooting steps.
Table 1: 7xi Console – Picard/GUI Application Crash or Frozen Screen
Symptom
Photo
(P: Persistent;
I: Intermittent)
Can't link to
internet
Console
shows black
screen
Console stuck
at loading
screen
White screen
or blue screen
error
(hcw72ATV.s
ys)
1| Revision Date: [Enter Date] | Revised by: [Enter name or initials]
Troubleshooting Guide:
Matrix 7xi Console
Date Prepared:
2/20/2015
Reboot
then
Check coax
update
connections
software
1
1
1
1
2
Effective Date:
2/20/2015
Original Bulletin:
NB-1407002, Ver. 3
Check
Replace
tuner and
internet
inverter
settings
and wire
2
2
Replace
Check LCM. If
stating "Welcome,"
collect
replace LVDS
Windows
wire. If not lit,
logs
replace console.
3
3
Replace
compact
flash card
3
2
4
Advertisement

Related Manuals for Matrix 7xi


Summary of Contents for Matrix 7xi
- Page 1 Original Bulletin: Matrix 7xi NB-1407002, Ver. 3 ESCRIPTION Use this guide to troubleshoot a 7xi console. Tables are organized by symptoms: Table 1 – Picard/GUI Application Crash or Frozen Screen Table 2 – Error Message Table 3 – Issue Running App...
- Page 2 UCB replace console. updates Error code 04B0 Error code 04B0 No tuner found Windows Boot Manager Table 3: 7xi Console – Issue Running App Reboot Check Check coax Check Clear Delete Install Reinstall Rewrite Replace...
- Page 3 ROUBLESHOOTING STEPS The troubleshooting steps below are arranged alphabetically by title. Check Coax Connections 1. Check connections Run a channel scan to verify tuner picks up all channels Replace cable if pinched or flattened Replace screw fittings or crimp fittings with compression fittings <Figure 1>...
- Page 4 <Figure 6> <Figure 6> 12. Press Enter 3 0 0 1 Enter to enter 7xi Service Mode. Check if there’s valid IP address in the Network Setup fields <Figure 5> 13. If you still have trouble connecting network, you have isolated the issue to the server.
- Page 5 LCB. b. If not blinking, replace console Check Netpulse Installation 1. Press Enter 3 0 0 1 Enter to open the 7xi Service Mode 2. Tap or click Netpulse <Figure 10> 3. If you see the following message, “This machine has never been installed on the Netpulse network”, then your machine will need to be...
-
Page 6: Install Audio Tuner Card Driver
Scan Computer for Hardware Changes <Figure 22> k. Wait as audio device automatically installs Close all windows 3. Test a. Relaunch 7xi application b. Test TV audio <Figure 18> Reboot then Update Current Software Version Instructions for upgrading to V3.2.6 (all cases) Reboot system a. - Page 7 3. Click Use Alternate HTTP source and key in the special route by revising to “db” as below in red: <Figure 226> engineering.myfitness.com/7xi/db <Figure 23> 4. Press Available Updates <Figure 24> 5. Press Install All Updates <Figure 25> 6. Press Yes 7.
- Page 8 10. Perform the 7xi TV channel setup. Instructions for this process are available in section 10.6 of the T7xi Service Guide 11. Test Reinstall TV Drivers 1. Set up computer accessories <Figure 27> <Figure 25> a. Plug in USB hub with USB drive, keyboard, and mouse attached b.
-
Page 9: Replace Inverter And Inverter Wire
Screw on iron plate and console cover k. Turn on power <Figure 30> Wait for the 7xi Setup Wizard to display <Figure 31> m. Using the left and right arrow to scroll pages, select the appropriate settings for the following categories:... - Page 10 Plug good CF card with good 7xi OS into card reader b. Download HDD Raw Copy tool (portable) from hddguru.com <Figure 34> http://hddguru.com/software/HDD-Raw-Copy- <Figure 35> Tool/ c. Open “HDDRawCopy1.10Portable.exe” <Figure 35> d. Select the source CF card from the list <Figure 36>...
- Page 11 Click Save m. Repeat (h) through (k) to collect the logs labeled System and Administrative Events n. Exit all applications o. Return machine to 7xi home screen p. Eject computer accessories 4. Email JTHNA CTS a. Attach customer’s error records b.
Need help?
Do you have a question about the 7xi and is the answer not in the manual?
Questions and answers