Wood-mizer LX450 Safety, Operation, Maintenance & Parts Manual
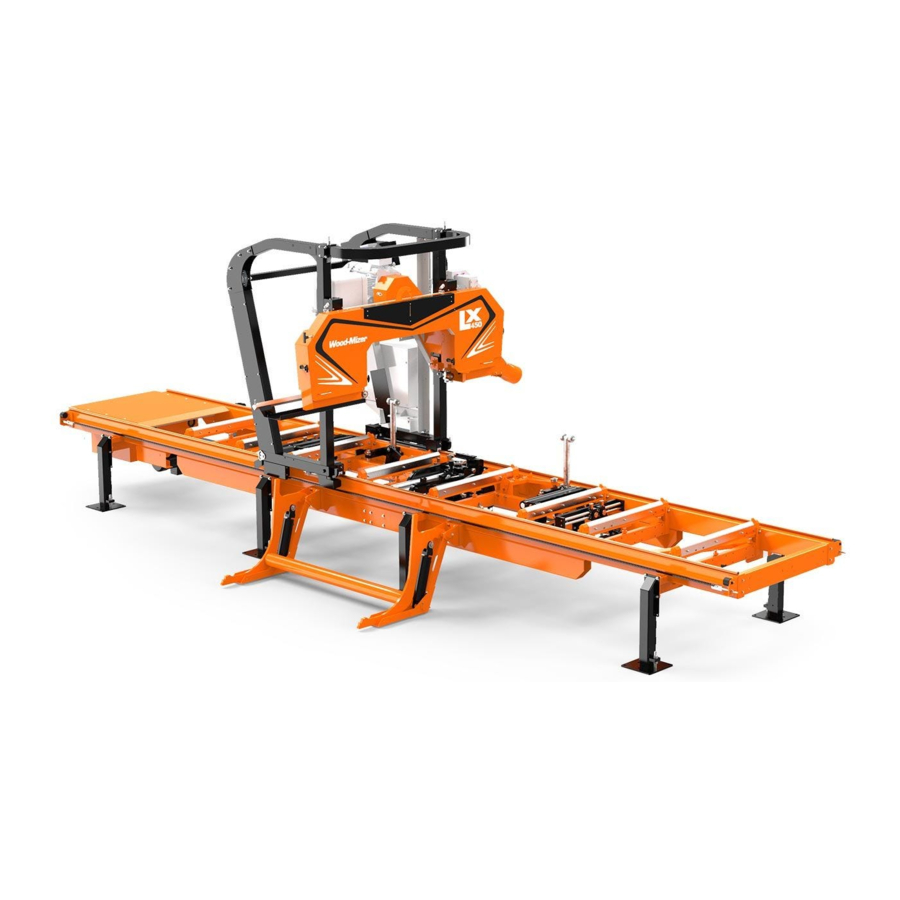
Wm doc bed extension
Hide thumbs
Also See for LX450:
- User manual (123 pages) ,
- Safety, setup, operation & maintenance manual (105 pages) ,
- Safety, operation, maintenance & parts manual (19 pages)

Related Manuals for Wood-mizer LX450


Summary of Contents for Wood-mizer LX450
- Page 1 WM doc Bed Extension Safety, Operation, Maintenance, & Parts Manual LX450 Bed Extension rev. A1.00 Safety is our #1 concern! Form #2413 WARNING! Read and understand this manual before using this machine.
- Page 2 Printed in the United States of America, all rights reserved. No part of this manual may be reproduced in any form by any photographic, electronic, mechanical or other means or used in any information storage and retrieval system without written permission from Wood-Mizer 8180 West 10th Street Indianapolis, Indiana 46214...
-
Page 3: Table Of Contents
Table of Contents Section-Page SECTION 1 INSTALLATION Options ....................1-1 Sawmill Preparation ................1-1 Extension Frame Attachment ..............1-3 SECTION 2 BED EXTENSION ALIGNMENT SECTION 3 LOG CLAMP OPERATION SECTION 4 STORAGE PROTECTION SECTION 5 BED EXTENSION PARTS Assembly, Bed Extension...............5-1 Support Assembly, Side, Manual ............5-2 Leg Assembly, Loading Side Adjustable ..........5-3 Assembly, Bed Tube ................5-5 Table of Contents... -
Page 4: Section 1 Installation
SECTION 1 INSTALLATION Options The bed extension option includes a frame and the necessary hardware to attach it to the LX450 sawmill. Mount the extension to a firm, level footing. Sawmill Preparation CAUTION! Disconnect the negative battery lead. This will ensure the chain does not short the system if it contacts the power supply. - Page 5 Installation Sawmill Preparation frame as shown in Fig. 1-1. Bolt Split Washer Flat Washer Feed Stop Bracket Assembly BX45005-2 FIG. 1-1 5. Remove the cap from the end of the main tube that faces the bed extension by removing the bolt and washer underneath the tube. 6.
-
Page 6: Extension Frame Attachment
Installation Extension Frame Attachment Extension Frame Attachment 1. Position the extension frame at the end of the sawmill frame. 2. Sight down the length of the frames to see that the rods and pins are lined up as close as possible. - Page 7 Installation Extension Frame Attachment 5. Install the FAO extension, part 110617, in between the leg assembly and the sawmill frame to provide clearance for the cable carrier as shown in Fig. 1-3. BX45005-4 FIG. 1-3 NOTE: Install the FAO extension on the sawmill, not the bed exten- sion.
-
Page 8: Section 2 Bed Extension Alignment
Bed Extension Alignment SECTION 2 BED EXTENSION ALIGNMENT 1. Align the extension to the sawmill using the pins. 2. Adjust the height using the legs to align the tracks on the sawmill to the tracks on the extension. NOTE: You should not be able to detect any variance where one track ends and the other starts. - Page 9 Bed Extension Alignment 4. Lower the adjustable leg to align the locking pin holes so that the foot is as close to the ground as possible. 5. Reinstall the locking pin and secure with the retainer. 6. Use the provided crank handle to turn the outrigger adjustment nut counterclockwise to push the foot pad down to support the weight of the sawmill frame.
-
Page 10: Section 3 Log Clamp Operation
Log Clamp Operation SECTION 3 LOG CLAMP OPERATION A manual log clamp is supplied with the bed extension to help clamp long logs against the side supports. 1. Insert the log clamp post in a hole close to the log on the slotted channel between the middle bed rails of the extension. -
Page 11: Section 4 Storage Protection
Storage Protection SECTION 4 STORAGE PROTECTION 1. Coat the top and bottom bed extension rails with a rust inhibitor such as Sherwin-Williams P.D.R.P. #710. 2. Coat the power feed chain with a light film of a light-weight lubricant such as Dexron III ATF. -
Page 12: Section 5 Bed Extension Parts
Assembly, Bed Extension BX45004-1 DESCRIPTION (♦ Indicates Parts Available in Assemblies Only) PART # QTY. FRAME ASSY, 7.5" BED EXTENSION BX7-LX450 Leg Assy, Loading Side Adjustable 056781 Frame Weldment, LX450BX7.5 N / A Assy, Bed Tube Front And Rear N / A ... -
Page 13: Support Assembly, Side, Manual
Bed Extension Parts Support Assembly, Side, Manual Support Assembly, Side, Manual BX45002-1 DESCRIPTION (♦ Indicates Parts Available in Assemblies Only) PART # QTY. SUPPORT ASSY, SIDE, MANUAL 034554 Shaft Weldment, Side Support Pivot 016544 Plate, Side Support Mount Ptd 016555 Support Weldment, Manual Side Ptd 015235 Washer, 1/4 SAE Flat... -
Page 14: Leg Assembly, Loading Side Adjustable
Bed Extension Parts Leg Assembly, Loading Side Adjustable Leg Assembly, Loading Side Adjustable BX45001-1 DESCRIPTION (♦ Indicates Parts Available in Assemblies Only) PART # QTY. LEG ASSY, LOADING SIDE ADJUSTABLE 056781 Pin, 1/8x2-13/16L Locking Wire F05012-162 Bracket, Adjustable Outrigger Lock 059577 Nut, Adjustable Outrigger Hex 056774... - Page 15 Bed Extension Parts Leg Assembly, Loading Side Adjustable DESCRIPTION (♦ Indicates Parts Available in Assemblies Only) PART # QTY. Pin, Adj Outrigger Locking 056817 Weldment, Adjustable Outrigger Base 056783 Fitting, 1/4-28 Grease P05060 Nut, Loading Side Adj Outrigger Mnt 056826 Inst Sht, Field Installed Adj Outrigger FAO-1524 Bed Extension Parts...
-
Page 16: Assembly, Bed Tube
Bed Extension Parts Assembly, Bed Tube Assembly, Bed Tube BX45003-1 DESCRIPTION (♦ Indicates Parts Available in Assemblies Only) PART # QTY. ASSY, BED TUBE FRONT AND REAR 075703 Tube Weldment, Bed Rail 075702 Cover, 33-13/16 Rail SS 106551 Nut, 5/16-18 Swaged Hex F05010-6 Washer, 1/2 SAE Flat F05011-2...
Need help?
Do you have a question about the LX450 and is the answer not in the manual?
Questions and answers