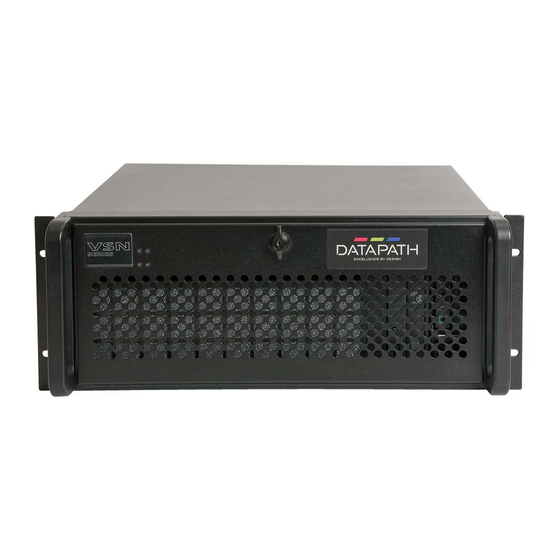
Summary of Contents for Datapath Aetria WallControl VSN Series
- Page 1 Aetria WallControl Quick Start Guide Engineering the world’s best visual solutions...
- Page 2 The hardware behind Aetria WallControl is initial setup. Datapath’s range of VSN systems. Video wall For more detailed information, relevant controllers that have been powering video walls User Guides can be downloaded from in critical control rooms for over a decade.
-
Page 3: Step 1 - Keyboard And Mouse
Aetria WallControl Quick Start Guide STEP 1 - KEYBOARD AND MOUSE Connect Keyboard and Mouse to convenient USB Ports. USB Ports are located on both the front and rear panels of the system. If the intention is to mount the VSN wall controller in a rack, it may be more convenient to use the USB ports on the front for easy access. -
Page 4: Step 3 - Connect To A Network
Aetria WallControl Quick Start Guide STEP 3 - CONNECT TO A NETWORK Connect the controller to a network point (cables not supplied) using one of the LAN connectors on the rear panel. STEP 4 - CONNECTING VIDEO INPUT SOURCES As each VSN wall controller is custom built, the number and type of video inputs will differ from system to system. -
Page 5: Step 6 - Powering Up The System
Aetria WallControl Quick Start Guide STEP 5 - CONNECTING A CONTROL SCREEN Your VSN wall controller is configured to use a control screen connected to the systems internal graphics device prior to leaving the factory. Connect the control screen to the motherboard graphics output connector on the rear of the VSN wall controller. -
Page 6: Step 7 - Windows 10 Setup
Aetria WallControl Quick Start Guide Connect power cable(s) to the VSN wall controller then plug into a mains supply. Switch on the power supply units. Switch on the system using the power button on the front panel. Note: If you have a VSN Expansion Chassis connected to the main unit (Step 2), the power supply units on the expansion chassis should be switched on prior to the main VSN wall controller. -
Page 7: Step 8 - Display Configuration
Aetria WallControl Quick Start Guide STEP 8 - DISPLAY CONFIGURATION Once the Windows 10 setup is complete, the VSN wall controller will reboot, and the control screen will show a Windows desktop displaying the Display Driver Configuration Tool (DDCT). The DDCT will guide you, step by step, through the configuration of the graphics outputs, enabling you to quickly create one or more video walls. - Page 8 Aetria WallControl Quick Start Guide Click on ‘Continue’ . The tool will then display a configuration page for the type of display you selected: What type of displays do you have? Use the Manufacturer and Model dropdown lists to select the displays you are using for your wall. If the wall consists of different displays, select each one in turn to configure the type of display.
- Page 9 Aetria WallControl Quick Start Guide Add Displays Add Displays is available for displays with bezels or overlapable displays. Use the ‘Displays Across’ and the ‘Displays Up’ to create your ‘Display Group’ . Once created, configure the displays using ‘What type of displays do you have? ‘...
- Page 10 Aetria WallControl Quick Start Guide If another display group is not required, click ‘Finish’ and the following page is displayed: The DDCT can recommend the best wiring configuration for your system, ensuring the load is balanced between the graphics hardware. Click ‘Recommended’ for the optimal configuration for your system. (Should you wish to manually wire your system and decide for yourself which output is connected to which display, click on ‘Custom’).
- Page 11 ‘Print a Wiring Diagram’ . Note: The Datapath Diagnostic Suite must be installed to print a wiring diagram. The suite can be downloaded from the Datapath website software downloads page should it not already be installed on your system.
- Page 12 Aetria WallControl Quick Start Guide STEP 9 - CREATE A RESTORE USB FLASH DRIVE To create your Restore USB flash drive you will need a USB memory stick with a minimum capacity of 16GB. It is recommended that once you restore flash drive has been created, it is stored in a safe place accessible to personnel who may be required to restore the system.
- Page 13 Aetria WallControl Quick Start Guide This will lead you to the Windows 10 Restore Menu as shown below: Click on the ‘Create Restore Media’ icon then insert the USB flash drive into a vacant USB slot (min capacity 16GB).
- Page 14 Aetria WallControl Quick Start Guide It should be noted that any data currently stored on the USB flash drive will be deleted permanently during this process. Click on ‘Scan for USB’ . The application will now scan the system USB ports to detect your USB flash drive. Once the flash drive has been discovered, it will appear in the ‘Select Drive’...
-
Page 15: Copyright Statement
COPYRIGHT STATEMENT © Datapath Ltd., England, 2021 Datapath Limited claims copyright on this documentation. No part of this documentation may be reproduced, released, disclosed, stored in any electronic format, or used in whole or in part for any purpose other than stated herein without the express permission of Datapath Limited. - Page 16 Datapath UK and Corporate Headquarters Bemrose House, Bemrose Park, Wayzgoose Drive, Derby, DE21 6XQ, United Kingdom +44 (0) 1332 294 441 sales-uk@datapath.co.uk Datapath North America 2490 General Armistead Avenue, Suite 102, Norristown, PA 19403, USA +1 484 679 1553 sales-us@datapath.co.uk...


Need help?
Do you have a question about the Aetria WallControl VSN Series and is the answer not in the manual?
Questions and answers