Datapath VSN Series Quick Start Manual
Wall controller
Hide thumbs
Also See for VSN Series:
- Quick start manual (20 pages) ,
- Quick start manual (20 pages) ,
- Quick start manual (21 pages)
Advertisement
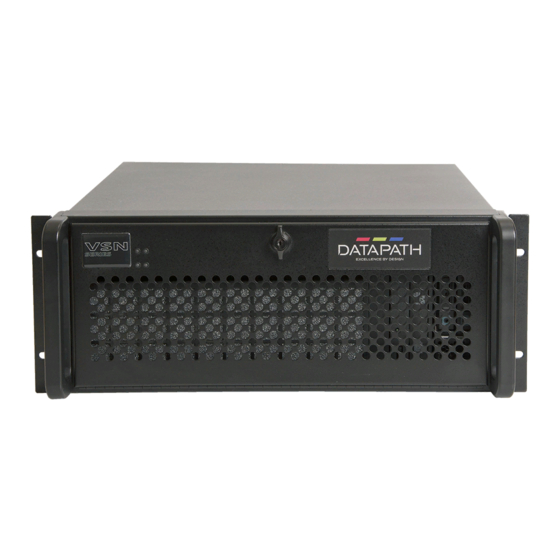
VSN Wall Controller
Quick Start Guide
2nd Generation Series of Wall Controllers
Models:
VSN972, VSN1172
VSN982, VSN1182
VSN1192
Thank you for purchasing the Datapath VSN Wall Controller. The aim of this
document is to quickly guide you through the process of initial setup. For detailed
instructions, consult the system User Guide which can be found on the
Documentation Media.
www.datapath.co.uk | sales@datapath.co.uk | +44 (0) 1332 294441
Advertisement
Table of Contents


Need help?
Do you have a question about the VSN Series and is the answer not in the manual?
Questions and answers