Table of Contents
Advertisement
Quick Links
600
Quick Start Guide
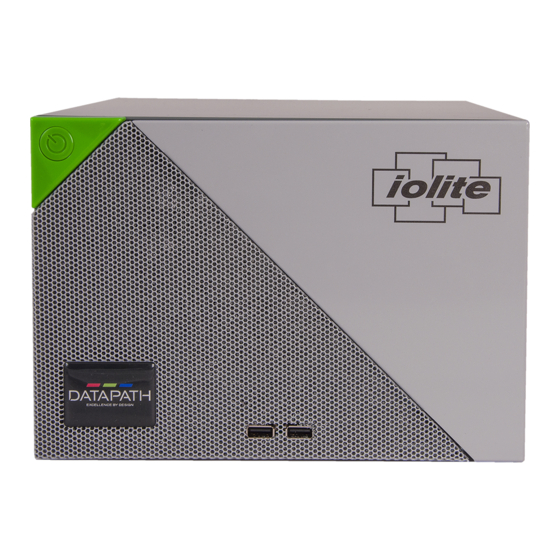
Thank you for purchasing the Datapath iolite 600 wall controller. The
aim of this document is to quickly guide you through the process of
initial setup. For detailed instructions consult the system User Guide
which can be found on the Recovery Media.
www.datapath.co.uk | sales@datapath.co.uk | +44 (0) 1332 294441
Advertisement
Table of Contents

Summary of Contents for Datapath iolite 600
- Page 1 Quick Start Guide Thank you for purchasing the Datapath iolite 600 wall controller. The aim of this document is to quickly guide you through the process of initial setup. For detailed instructions consult the system User Guide which can be found on the Recovery Media.
- Page 2 Build Log MAC Address labels Each Datapath iolite 600 is custom built and therefore the number and type of input and output cards will differ from system to system. Contained with this Quick Start Guide are PCIe card product leaflets which give details on how the cards are installed and any accessories which may accompany them.
-
Page 3: Step 2 Keyboard And Mouse
STEP 2 KEYBOARD AND MOUSE Connect Keyboard and Mouse to USB Ports. STEP 3 CONNECT TO A NETWORK (OPTIONAL) Page 3... - Page 4 STEP 4 CONNECT INPUT SOURCES Input Connectors As each system is custom built, the number and type of inputs will differ from system to system. Contained within the documentation pack is a Build Log detailing the PCIe cards installed and where they are located on the backplane. The enclosed Product leaflets give details on how the cards are connected.
- Page 5 STEP 5 CONNECTING CONTROL SCREEN AND MONITORS 4 x 2 Video Wall Monitor 1 Monitor 2 Monitor 3 Monitor 4 Monitor 5 Monitor 6 Monitor 7 Monitor 8 Control Screen (Optional) Connect graphic outputs to monitors using DisplayPort cables. (Not supplied) Many of our wall controllers are configured to use a control screen (Internal Graphics Device) prior to leaving the factory.
-
Page 6: Step 6 Powering Up The System
STEP 6 POWERING UP THE SYSTEM Connect power cables then plug into a mains supply. Switch on the system. Page 6... -
Page 7: Step 7 Windows 7 Setup
STEP 7 WINDOWS 7 SETUP The Product key is located behind the front panel. Gently pull away the panel for access. Page 7... -
Page 8: Step 9 Display Setup
STEP 9 DISPLAY SETUP All Datapath wall controllers have pre-configured settings for the wall layout and screen resolution. You can change these settings if required using the TWIN tab: Start | Control Panel | Appearance and Personalization | Adjust screen resolution. - Page 9 Page 9...
-
Page 10: Step 10 Windows 10 Setup
STEP 10 WINDOWS 10 SETUP Enter localisation details. Computer Name: t is recommended that only Internet-standard characters are used in the computer name. The standard characters are the numbers 0 through to 9, upper and lower-case letters from A through to Z and the hyphen character. Computer names cannot consist entirely of numbers, contain spaces or use special characters such as: <... - Page 11 STEP 11 DISPLAY SETTINGS WINDOWS 10 Start | Control Panel | Display | Change Display Settings Page 11...
-
Page 12: Step 12 Wallcontrol 10 (Optional)
STEP 12 WALLCONTROL 10 (OPTIONAL) Start | All Programs | WallControl 10 - Server Before opening the Client interface you will need to start the Server by clicking on it in the Programs menu. The WallControl 10 Client will only detect servers that are running. - Page 13 Click on the display wall representation to open the display wall tab. Display Wall Sources Display Wall Representation When opened, the display wall tab shows a live representation of the physical wall and the sources available to display on it. To place a source on the video wall, simply click on the required source in the sources tab and drag it onto the display wall representation.
- Page 14 Start | All Programs | WallControl 10 - Security Administration Client A WallControl 10-Pro serial dongle must be inserted into a vacant USB port. If the dongle is removed or swapped, the Security Administration Client will not open and an error message is displayed, therefore it is important the dongle is not removed. The WallControl 10 Security Application help file contains information on how to: •...
- Page 15 Whilst every effort is made to ensure that the information contained in this Quick Start Guide is correct, Datapath Limited make no representations or warranties with respect to the contents thereof, and do not accept liability for any errors or omis- sions.
- Page 16 +1 484 679 1553 sales@datapath.co.uk Datapath France +33 (1)3013 8934 sales-fr@datapath.co.uk Datapath Germany +49 1529 009 0026 sales-de@datapath.co.uk Datapath China +86 187 2111 9063 sales-cn@datapath.co.uk Datapath Japan +81 (0)80 3475 7420 sales-jp@datapath.co.uk Product iolite 600 Quick Start Guide Classification Release Version Number 2.1.2...


Need help?
Do you have a question about the iolite 600 and is the answer not in the manual?
Questions and answers