Table of Contents
Advertisement
Quick Links
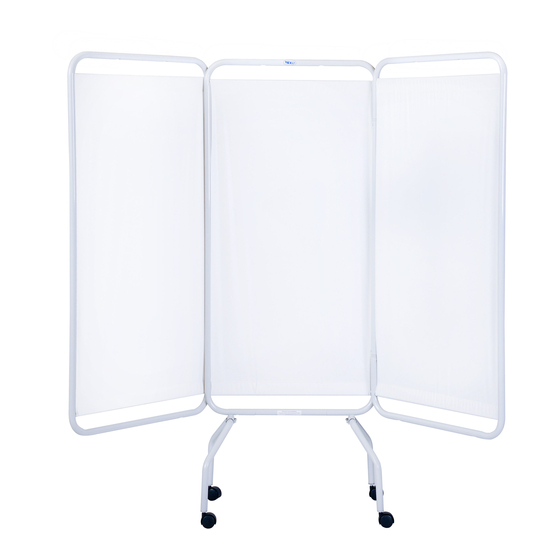
Three Panel Screen
PLEASE READ AND FAMILIARIZE YOURSELF WITH ALL INSTRUCTIONS BEFORE USING THIS PRODUCT.
If you have trouble understanding these instructions contact your dealer or Winco customer support, (800) 237-3377
Winco assumes no responsibility for damage or injury caused by the
TO REDUCE THE RISK OF SEVERE INJURY OR DEATH TO PERSONS:
1.
READ AND FOLLOW ALL DIRECTIONS.
2.
NEVER place screen on a cart, table, stand or other objects; Screen could fall and SERIOUS INJURY MAY
OCCUR.
3.
NEVER place screen near open flame or over a radiator or heat register.
4.
NEVER place screen in front of a door; In case of emergency screen could block or hinder evacuation.
5.
SUFFOCATION DANGER to children if vinyl is not attached to screen; Screen could block nose and mouth and
prevent breathing. VINYL SCREEN IS NOT A TOY.
6.
DO NOT allow children to play with screen; Screen could fall and SERIOUS INJURY MAY OCCUR.
7.
Periodically, recheck tightness of all nuts, bolts and screws.
8.
Screen should ALWAYS be positioned on level surface.
9.
NEVER stand or ride on screen legs; SERIOUS INJURY MAY OCCUR.
10. DO NOT use screen in or with ANY type of vehicle or trailer.
11. DO NOT attach objects to screen frame; Screen can tip over and SERIOUS INJURY MAY OCCUR.
12. Immediately remove from service; Any screen with broken or missing parts, torn vinyl, or other visible damage.
13. USE ONLY WINCO AUTHORIZED REPLACEMENT PARTS.
14. SAVE THESE INSTRUCTIONS for future reference and training.
Tools needed:
Phillips-Head Screwdriver
7/16" wrench, adjustable wrench, or 7/16" socket & ratchet wrench
Scissors or box cutter
- If using powered tools always start hardware together by hand first –
PLEASE READ AND FAMILIARIZE YOURSELF WITH ALL INSTRUCTIONS BEFORE PROCEEDING WITH ASSEMBLY
1. Insert caster inserts into ends of screen legs. (This is done for crutch tip or caster installation)
2. You must choose either casters or crutch tips for your screen – both are provided to you. Casters must be
inserted into the caster inserts. Crutch tips must be installed over the ends of the legs.
LEG INSTALLATION
3. Install legs on mainframe using (4) ¼" x 1-1/2" Phillips head screws and locknuts.
NOTE: Make sure the legs are installed so that the bends of the legs face the outside of the frame. This is
necessary to provide the maximum footprint.
4. Use your Phillips head screwdriver and 7/16" wrench to tighten.
Bolts must fit snugly into holes for secure leg mount.
5. Verify that your screen is level. If necessary the legs can be slightly bent so that all legs touch the floor.
PANEL REPLACEMENT
6. To replace Vinyl Panels, grasp Screen Rod; Screen Rod is spring-loaded and can be moved toward end with
spring. Push & pull the Screen Rod to determine which way will compress the spring and allow removal of the
Screen Rod.
7. Re-install the Screen Rod by reversing the above procedure.
8. Periodically check all fasteners for tightness. To clean Vinyl Panels use only mild liquid soap and water.
3130
before attempting to use this product; otherwise injury may occur.
improper assembly, installation or use of these products.
Rev E Date 07-23-12
CUSTOMER INSTRUCTIONS
Page 1 of 4
JWC
Advertisement
Table of Contents

Related Manuals for Winco 3130


Summary of Contents for Winco 3130
- Page 1 CUSTOMER INSTRUCTIONS PLEASE READ AND FAMILIARIZE YOURSELF WITH ALL INSTRUCTIONS BEFORE USING THIS PRODUCT. If you have trouble understanding these instructions contact your dealer or Winco customer support, (800) 237-3377 before attempting to use this product; otherwise injury may occur.
- Page 2 Page 2 of 4 Wrinkles in Vinyl – Storage and shipping causes wrinkles of the vinyl of your Winco Screen; This is normal. Please allow 1-2 weeks at room temperature (approx. 70+ degrees) to allow for vinyl to return to original appearance.
- Page 3 Page 3 of 4 Other Quality Winco Medical Furnishings You May Be Interested In: Visit us online at www.wincomfg.com Rev E Date 07-23-12...
- Page 4 Page 4 of 4 Rev E Date 07-23-12...
Need help?
Do you have a question about the 3130 and is the answer not in the manual?
Questions and answers