Table of Contents
Advertisement
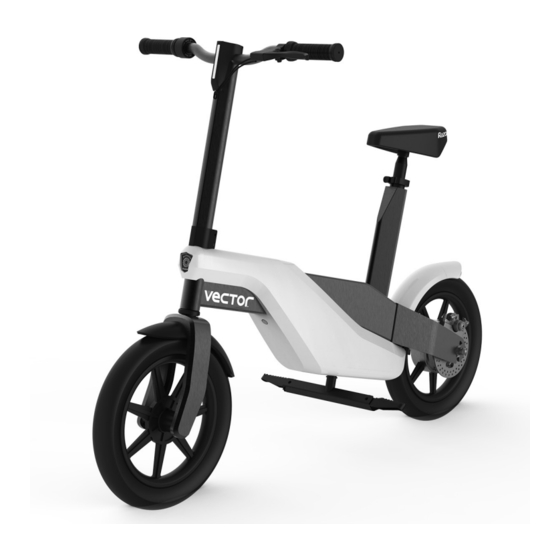
ELECTRIC SCOOTER
OWNER'S MANUAL
Read and understand this entire manual before using this product!
For assistance contact Razor.
DO NOT RETURN TO STORE.
NOTE: Manual illustrations are for demonstration purposes only.
Illustrations may not reflect exact appearance of actual product.
Specifications subject to change without notice.
Please have your product along with the 19 character product I.D. code with you
before contacting Razor for warranty assistance and/or replacement parts.
Product I.D. Code: _____________ - ____________ - ____________
Advertisement
Table of Contents

Subscribe to Our Youtube Channel
Related Manuals for Razor vector


Summary of Contents for Razor vector
- Page 1 Illustrations may not reflect exact appearance of actual product. Specifications subject to change without notice. Please have your product along with the 19 character product I.D. code with you before contacting Razor for warranty assistance and/or replacement parts. Product I.D. Code: _____________ - ____________ - ____________...
-
Page 2: Table Of Contents
Because products, like the Vector electric scooter, can and do present potential Do not activate the throttle unless you are on the Vector and in a safe, outdoor hazards plainly associated with their use, it is well recognized THE NEED FOR environment suitable for riding. -
Page 3: Safety Warnings
SAFETY WARNINGS Riding at night or when visibility is limited increases risks of accident or injury. Should the Vector scooter be ridden in such conditions, use of lights and additional measures to increase rider visibility and scooter conspicuity are advised. -
Page 4: Before You Begin
Need Help? Visit our website for replacement parts, product support, a list of authorized service centers in the US and customer service contact information at www.razor.com. Please have the product I.D. code (located on the white label of your product) available for better assistance. Additional Customer... -
Page 5: Assembly And Set-Up
ASSEMBLY AND SET-UP Attaching the Handlebar Required Tool: 5 mm Allen Wrench (included) Using a 5 mm Allen wrench, loosen the bolts from the With a twisting motion, push and twist to slide the collar clamp. handlebars onto the fork. With the front wheel pointed straight ahead and the handlebars square to the front wheel, tighten both bolts on the clamp using a 5 mm Allen wrench. -
Page 6: Charging The Battery
CHARGING THE BATTERY Your Vector may not have a fully charged battery; therefore you must charge the battery prior WARNING: Use ONLY with to use. Be sure to charge the battery in a clean, dry location away from direct sunlight, flames or sparks. -
Page 7: Pre-Ride Checklist
Need Help? Visit our website for replacement parts, product support, a list of authorized service centers in the US and customer service contact information at www.razor.com. Please have the product I.D. code (located on the white label of your product) available for better assistance. Additional Customer... -
Page 8: Usage
USAGE How to Ride Do not activate the thumb throttle unless you are on the Vector and in a safe, outdoor environment suitable for riding. Speed Put kickstand up. Alarm Speed Mode Press the power button (A), the LEDs on the battery display will light up. Press the power button (A) for two Power seconds to turn the unit off. -
Page 9: Repair And Maintenance
Note: The Vector display default setting is in miles. If you would like There are two modes for speed. The Vector is set on the Low (12.5 mph (20 km/h)) speed setting at the factory. to change the display setting to Press power button twice quickly to select the speed mode. - Page 10 REPAIR AND MAINTENANCE Battery Replacement Required Tool: Phillips Screwdriver (not included) Using a Phillips screwdriver, remove the three (3) screws on the battery cover. Remove battery cover and set aside. Using a Phillips screwdriver, remove the one (1) screw from the battery bracket. Disconnect the battery cables.
- Page 11 Need Help? Visit our website for replacement parts, product support, a list of authorized service centers in the US and customer service contact information at www.razor.com. Please have the product I.D. code (located on the white label of your product) available for better assistance. Additional Customer...
- Page 12 Need Help? Visit our website for replacement parts, product support, a list of authorized service centers in the US and customer service contact information at www.razor.com. Please have the product I.D. code (located on the white label of your product) available for better assistance. Additional Customer...
- Page 13 Repair Centers For a list of authorized Razor repair centers: • Check online at www.razor.com. • Additional Customer Service contact information is listed on the back of this manual.
-
Page 14: Troubleshooting Guide
Charge battery at least once a month when not in use. For more troubleshooting tips, a list of available replacement parts or to locate an authorized Service Center in your area, visit our website at www.razor.com or call toll free +1 866-467-2967 to speak to a live Customer Service Representative. -
Page 15: Vector Parts
HEADLINE VECTOR PARTS Keep your electric scooter running for years with genuine Razor parts. Visit our website or e-mail us for more information on spare part availability. (Specifications subject to change without notice.) Handlebar Grips (Right/Left) Battery Cover (Right Front) 13. -
Page 16: Warranty
- Connect the equipment into an outlet on a circuit different from that to which the receiver is connected. - Consult the dealer or an experienced radio/TV technician for help. WARNING: Changes or modifications to this unit not expressly approved by Razor USA, could void the user’s authority to operate the equipment. WARRANTY... - Page 17 NOTICE: INSURANCE YOUR INSURANCE POLICIES MAY NOT PROVIDE COVERAGE FOR ACCIDENTS INVOLVING THE USE OF THIS SCOOTER/ELECTRIC RIDE-ON PRODUCT. TO DETERMINE IF COVERAGE IS PROVIDED, YOU SHOULD CONTACT YOUR INSURANCE COMPANY OR AGENT.
-
Page 20: Contact Information
Printed in China for Razor USA LLC. Copyright © 2003-2021 Razor USA, LLC. All rights reserved. Razor and the Razor logo design are among the registered trademarks of Razor USA LLC in the United States and/or select foreign countries. Vector and the Vector ®...
Need help?
Do you have a question about the vector and is the answer not in the manual?
Questions and answers