Table of Contents
Advertisement
Quick Links
Advertisement
Table of Contents

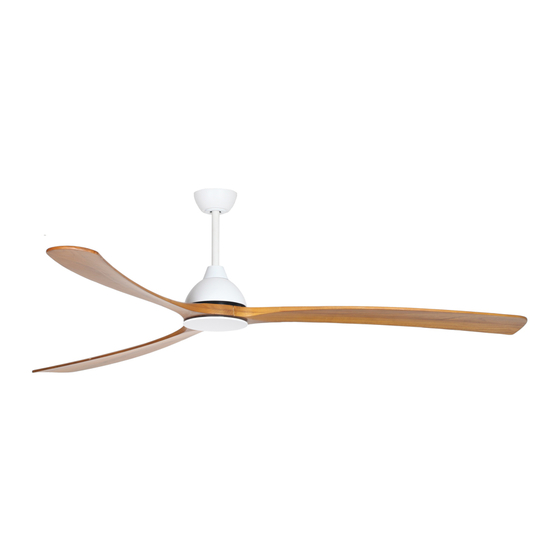
Summary of Contents for Fanco Sanctuary DC W-CFFCSAMB-B5NA
- Page 1 Sanctuary Installation Manual...
-
Page 2: Important Safeguards
Ceiling fan instruction booklet Thank you for purchasing your Fanco Sanctuary DC Ceiling Fan. Please read all instructions carefully before assembly and use. IMPORTANT SAFEGUARDS Read all instructions carefully, even if you feel you are quite familiar with this type of appliance. -
Page 3: Important Note
19. If it is necessary to replace the live or neutral brushes to ensure operation of the motor then both brushes and the earth brush shall be replaced at the same time. The brushes shall only be replaced by a suitably qualified person. 20. - Page 4 List of main parts: Earth wire Ball joint Downrod Hanging bracket Canopy Decorative ring Coupling cover Downrod holder Motor housing Motor Blades Blade Fixing Plate Bottom plate Screws pack and balancing kit Receiver and remote pack. INSTALLATION AND ASSEMBLY CAUTION: Before installing the fan make sure you have turned OFF the electricity supply. SELECTING A LOCATION: 1.
-
Page 5: Electrical Connections
ELECTRICAL CONNECTIONS • Ensure the power is off when installing this fan. RECEIVER... -
Page 6: Installation Steps
INSTALLATION STEPS 1) Remove screws off the bottom of the motor housing. Align the blades with screw holes on motor housing, and secure with the screws, washers and the blade fixing plate. 2) 125 mm and 250 mm downrods are included in the box. Pick one from the box. Keep the side with 3 holes up. - Page 7 3) Snuggle the coupling cover down onto the top of the motor housing. CAUTION: DO NOT remove rubber gasket on top of the coupling cover. 4) Put the decorative ring and canopy through the down rod. 5) Place the hanging ball on top of the down rod and secure it with the ball pin and two screws.
- Page 8 6) Face slot on hanging ball to the middle of the hanging bracket. Place hanging ball into the bracket. 7) Place the receiver on top of the hanger ball and connect the wires. 8) Connect power, receiver and the fan as electrical wiring diagram. IMPORTANT: The fan must be earthed! Double pole disconnection switch and wall switch must be connected.
- Page 9 REVERSE FUNCTION The “Summer/Winter” reverse function is included in the remote control to make the fan rotate in an anti-clockwise direction during summer. In winter, this can be reversed, so that the blades now move in a clockwise direction. CARE & CLEANING: •...
-
Page 10: Functions Of The Transmitter
Please remove the battery if the remote control is not being used for a long time. If multiple fans are installed near the fan to be paired, power to the other fans should be turned off before pairing. Considerations when installing multiple ceiling fans: Sometimes you may encounter a remote control issue when installing multiple fans. - Page 11 Trouble Possible Cause Suggested Remedy Fans does not start after A) Remote and receiver are A) Re-pair the receiver and pairing process not paired successfully remote B) Battery flat in remote B) Replace the battery in control remote control C) Loose wire connections C) Check wire connections or plugs to fan/receiver and ensure plugs are...


Need help?
Do you have a question about the Sanctuary DC W-CFFCSAMB-B5NA and is the answer not in the manual?
Questions and answers