Table of Contents
Advertisement
Quick Links
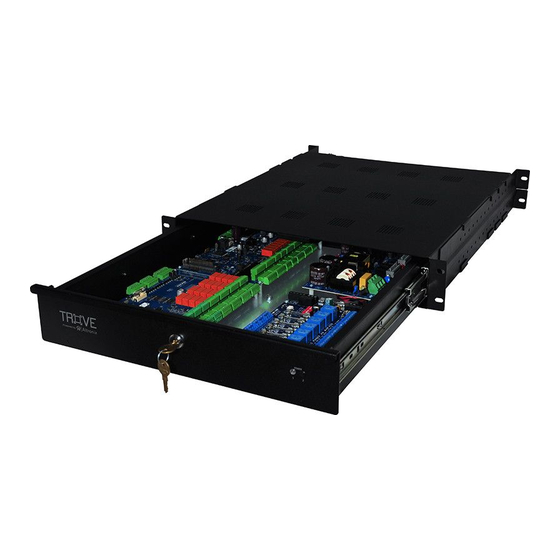
Access & Power Integration
T1RAL13F8P8
Fully assembled kit includes:
- Trove1R rack enclosure with Altronix backplane (TAL1R)
- (1) eFlow4NB - Power Supply/Charger
- (1) eFlow6NB - Power Supply/Charger
- (1) ACM8 - Fused Access Power Controller
- (1) PD8UL - Fused Power Distribution Module
Installation Guide
All registered trademarks are property of their respective owners.
Rev. T1RAL13F8P8032019
Installing Company: _____________________ Service Rep. Name: __________________________________________
Address: ________________________________________________________ Phone #: _________________________
More than just power.™
Advertisement
Table of Contents

Related Manuals for Altronix Trove T1RAL13F8P8


Summary of Contents for Altronix Trove T1RAL13F8P8
- Page 1 Access & Power Integration T1RAL13F8P8 Fully assembled kit includes: - Trove1R rack enclosure with Altronix backplane (TAL1R) - (1) eFlow4NB - Power Supply/Charger - (1) eFlow6NB - Power Supply/Charger - (1) ACM8 - Fused Access Power Controller - (1) PD8UL - Fused Power Distribution Module Installation Guide More than just power.™...
- Page 2 Overview: Altronix T1RAL13F8P8 Trove Rack kit is pre-assembled and consist of Trove1AL1R enclosure/backplane with factory installed Altronix power supply/chargers and sub-assemblies. Configuration Chart: Nominal DC Output Voltage Maximum Supply Power Power Current for Main [DC] [Aux] 120VAC Supply Supply and Aux. Outputs...
- Page 3 Assembling and Attaching Z Bracket Wire Management Accessory (included): Altronix Trove Rack enclosures include Z Bracket, a convenient and reliable wire management accessory. 1. Carefully unpack Z Bracket. Do not discard hardware (included) (Fig. 1, pg. 3). 2. Attach arms to each other using bolts and lock nuts (Fig. 1a, pg. 3).
- Page 4 1. Remove backplane from enclosure prior to installing into rack cabinet (do not discard hardware). 2. In order to mount included UL Listed tamper switch (Altronix Model TS112 or equivalent) turn the enclosure upside down. Punch out the knockout in designated location, on the back of the unit, from outside of the drawer (Fig. 3, pg. 3).
- Page 5 T1RAL13F8P8 Configuration Fig. 4 To IEC connector Altronix - PD8UL Altronix - eFlow4NB 12VDC Altronix - ACM8 Altronix - eFlow6NB 24VDC To LED lenses T1RAL13F8P8 - 5 -...
- Page 6 Notes: - 6 - T1RAL13F8P8...
- Page 7 TAL1R Dimensions: 18.5” x 15.25” x 0.3125” (469.9mm x 387.4mm x 7.9mm) 15.25” (387.4mm) T1RAL13F8P8 - 7 -...
- Page 8 3.25” 82.3mm Altronix is not responsible for any typographical errors. 140 58th Street, Brooklyn, New York 11220 USA | phone: 718-567-8181 | fax: 718-567-9056 web site: www.altronix.com | e-mail: info@altronix.com | Made in U.S.A. MEMBER IIT1RAL13F8P8 A14U - 8 -...
Need help?
Do you have a question about the Trove T1RAL13F8P8 and is the answer not in the manual?
Questions and answers