Table of Contents
Advertisement
Quick Links
Advertisement
Table of Contents

Related Manuals for Electrolux LKR620002W


Summary of Contents for Electrolux LKR620002W
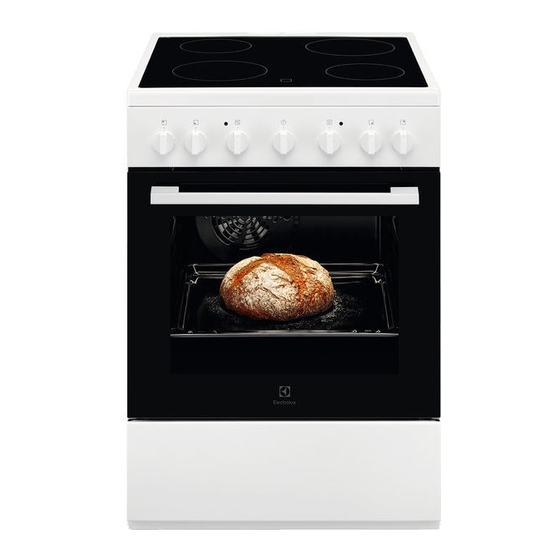
- Page 1 LKR620002W LKR620002X Cooker User Manual...
-
Page 2: Table Of Contents
16. SAUDI ARABIA - CUSTOMER SERVICE ............. 25 WE’RE THINKING OF YOU Thank you for purchasing an Electrolux appliance. You’ve chosen a product that brings with it decades of professional experience and innovation. Ingenious and stylish, it has been designed with you in mind. So whenever you use it, you can be safe in the knowledge that you’ll get great results every time. -
Page 3: Safety Information
ENGLISH SAFETY INFORMATION Before the installation and use of the appliance, carefully read the supplied instructions. The manufacturer is not responsible for any injuries or damage that are the result of incorrect installation or usage. Always keep the instructions in a safe and accessible location for future reference. - Page 4 This appliance is not intended to be used on ships, • boats or vessels. Do not install the appliance behind a decorative door • in order to avoid overheating. Do not install the appliance on a platform. • Do not operate the appliance by means of an external •...
-
Page 5: Safety Instructions
ENGLISH WARNING: Ensure that the appliance is switched off • before replacing the lamp to avoid the possibility of electric shock. If the mains power supply cable is damaged, it must • be replaced by the manufacturer, its Authorised Service Centre or similarly qualified persons to avoid an electrical hazard. - Page 6 • Do not use multi-plug adapters and • Do not use the appliance as a work extension cables. surface or as a storage surface. • Do not let mains cables touch or WARNING! come near the appliance door or the...
-
Page 7: Installation
ENGLISH • Be careful not to let objects or • If you use an oven spray, follow the cookware fall on the appliance. The safety instructions on the packaging. surface can be damaged. • Do not clean the catalytic enamel (if •... - Page 8 3.4 Anti-tilt protection Set the correct height and area for the appliance before you attach the anti-tilt protection. CAUTION! Make sure you install the anti-tilt protection at the correct height. Make sure that the surface behind the appliance is Minimum distances smooth.
- Page 9 ENGLISH WARNING! Before you connect the 110-115 mains cable to the terminal, measure the voltage 232- 237 between phases in the house network. Then, refer to the connection label at the back of the appliance to use the correct electrical 2.
-
Page 10: Product Description
4. PRODUCT DESCRIPTION 4.1 General overview Knobs for the hob 2 3 4 Temperature indicator / symbol Knob for the temperature Knob for the Minute Minder Knob for the oven functions Hob lamp / symbol / indicator Heating element... -
Page 11: Hob - Daily Use
ENGLISH Clean the oven and the accessories 3. Set the function . Set the before the first use. maximum temperature. The Put the accessories back to their initial maximum temperature for this position. function is 210 °C. 4. Let the oven operate for 15 minutes. 5.2 Preheating 5. - Page 12 • not recommended: stainless steel, To save energy and ensure that the hob cast iron, glass operates properly the cookware bottom must have a suitable minimum diameter The bottom of the cookware (at least the same as the zone diameter).
-
Page 13: Hob - Care And Cleaning
ENGLISH Heat setting Use to: Time Hints (min) Boil water, cook pasta, sear meat (goulash, pot roast), deep-fry chips. 8. HOB - CARE AND CLEANING otherwise, the dirt can cause damage WARNING! to the hob. Take care to avoid burns. Refer to Safety chapters. -
Page 14: Oven - Clock Functions
Sym‐ Oven function Application Conventional Cooking To bake and roast food on one shelf position. Grilling To grill flat food and to toast bread The maximum temperature for this function is 210 °C. Bottom Heat To bake cakes with crispy bottom and to preserve food. -
Page 15: Oven - Hints And Tips
ENGLISH The wire shelf has a special shape in the rear which helps with the heat circulation. Put the tray or deep pan on the shelf position. Make sure it does not touch the back wall of the oven. Put the shelf on the correct shelf position. - Page 16 The To prevent too much smoke in the oven differences equalize during baking. during roasting, add some water into the deep pan. To prevent the smoke Trays in the oven can distort during condensation, add water each time after baking.
- Page 17 ENGLISH Food Quantity Tempera‐ Time (min) Shelf Accessories ture (°C) posi‐ tion Quiche Lor‐ 1000 220 - 230 40 - 50 1 round tray (di‐ ameter: 26 cm) raine Peasant 750 + 750 180 - 200 60 - 70 2 light trays (length: 20 cm) bread Romanian...
- Page 18 Food Quantity Tempera‐ Time (min) Shelf Accessories ture (°C) position Chicken, whole 1400 wire shelf baking tray Stuffed yeast 1200 150 - 160 20 - 30 baking tray cake Pizza 1000 200 - 210 30 - 40 1 + 3...
- Page 19 ENGLISH Food Quantity Tempera‐ Time (min) Shelf Accessories ture (°C) position 600 + 600 160 - 170 25 - 35 1 + 3 baking tray Buttered cake 1) Preheat the oven for 10 minutes. 2) After you switch off the appliance, leave the cake in the oven for 7 minutes. 3) Preheat the oven for 10 - 15 minutes.
- Page 20 Food Tem‐ Time Shelf Accessories pera‐ (min) posi‐ ture tion (°C) Meat in pouch 250 g 200 35 - 45 baking tray or grill- / roasting Meat skewers 500 g 200 30 - 40 baking tray or grill- / roasting...
-
Page 21: Oven - Care And Cleaning
ENGLISH Food Function Temper‐ Accessories Shelf Time ature position (min) (°C) Apple pie (2 tins Fan Cooking wire shelf 70 - 80 Ø20 cm, diagonally off set) Fatless sponge Conventional wire shelf 20 - 30 cake Cooking Fatless sponge Fan Cooking wire shelf 25 - 35 cake... - Page 22 The oven door may close if you try to remove the internal glass panel before you remove the oven door. CAUTION! Do not use the appliance without the internal glass panel. 4. Put the door on a soft cloth on a stable surface.
-
Page 23: Troubleshooting
ENGLISH 8. Clean the glass panels with water and soap. Dry the glass panels carefully. Do not clean the glass panels in the dishwasher. When the cleaning is completed, install the glass panel and the oven door. Do the above steps in the opposite sequence. -
Page 24: Energy Efficiency
Problem Possible cause Remedy The fuse is blown. Make sure that the fuse is the cause of the malfunc‐ tion. If the fuse is blown again and again, contact a qualified electrician. You cannot activate or op‐ The fuse is blown. -
Page 25: Saudi Arabia - Customer Service
ENGLISH • If it is possible, always put the lids on the oven door too often during cooking. the cookware. Keep the door gasket clean and make • Before you activate the cooking zone sure it is well fixed in its position. put the cookware on it. - Page 28 www.electrolux.com/shop...
Need help?
Do you have a question about the LKR620002W and is the answer not in the manual?
Questions and answers