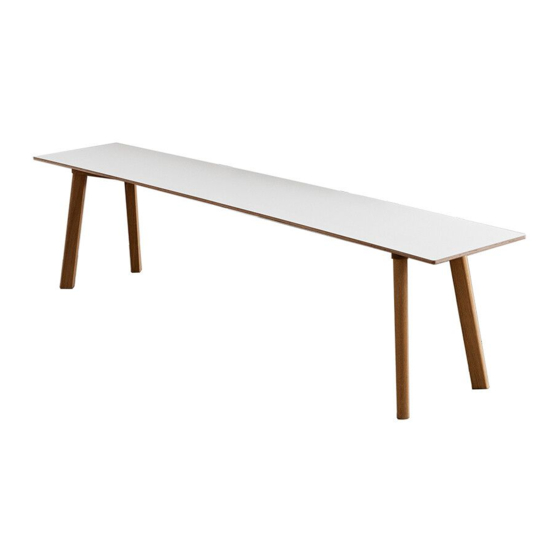
Summary of Contents for Hay COPENHAGUE DEUX CPH 215
- Page 1 – INSTRUCTION MANUAL – COPENHAGUE DEUX CPH 215 L75 / 140 / 200 X W35 X H45 CM DESIGN BY RONAN & ERWAN BOUROULLEC...
- Page 3 – INTRODUCTION – Copenhague Deux is a range of tables and benches for compact spaces. The collection offers dining tables, coffee tables and benches in different sizes. The tabletop surface is made from a new laminate based on Nanotechnology providing an extremely matt surface with a soft touch that is anti-fingerprint and easily cleaned.
-
Page 4: Care And Maintenance
– CARE AND MAINTENANCE – CAUTION / Avoid partially covering the surface, for example with tablecloths, or With a little care you can prolong place mats, as colour variances may the life of your furniture. Follow the appear. instructions for the materials of your specific product to make sure that / Be careful not to scratch or damage it stays in the best shape for as long as... - Page 5 – CARE AND MAINTENANCE – / To remove stains, clean and scrub using a thick solution of soap flakes that should not stay on the wood for more than two minutes. Then remove the remaining soap residue using a damp cloth. / If the grain of the wood rises after cleaning, gently sand down the wood using fine-grit sandpaper (No.
- Page 6 – INSTRUCTION MANUAL – L75 X W35 X H45 CM...
- Page 7 – PARTS – Allen key x 20...
- Page 8 While assembling, keep the bench inside the cardboard box with foam edge in order to protect the benchtop from scratches etc. Make sure that all parts are included.
- Page 9 Place the parts on the reverse side of and align them with the holes.
- Page 10 Insert the parts into the holes and gently tighten them. Use the allen key to tighten the parts completely.
- Page 11 Turn the bench over.
- Page 12 – INSTRUCTION MANUAL – L140 / 200 X W35 X H45 CM...
- Page 13 – PARTS – x 16 Allen key...
- Page 14 While assembling, keep the bench inside the cardboard box with foam edge in order to protect the benchtop from scratches etc. Make sure that all parts are included.
- Page 15 Unscrew the 4 premounted parts. Place the parts on the reverse side of and align them with the holes.
- Page 16 Place the parts again and gently tighten them. NOTICE Make sure to use the parts in this step.
- Page 17 Place the parts and tighten gently. Use the Allen key to tighten both parts completely. NOTICE Make sure to use the parts in this step.
- Page 18 Turn the bench over.
- Page 20 Havnen 1 8700 Horsens Denmark +45 4282 0282 / hay@hay.com 24/1 1/2020...


Need help?
Do you have a question about the COPENHAGUE DEUX CPH 215 and is the answer not in the manual?
Questions and answers