Table of Contents
Advertisement
Quick Links
Advertisement
Table of Contents

Related Manuals for BEYES GPRO P1


Summary of Contents for BEYES GPRO P1
- Page 1 Gutta Percha Obturation System Instruction for Use...
-
Page 2: Table Of Contents
12. Environment Protection ................14 13. Beyes Limited Warranty Statement ............14 Thank you for purchase Gpro P1 Gutta Percha Obturation Pen developed by Beyes Dental Canada Inc. Beyes has excellent Quality Control System. To guarantee correct and safe operation, please read this Instruction Manual carefully before use. Depending on the level of... -
Page 3: Introduction
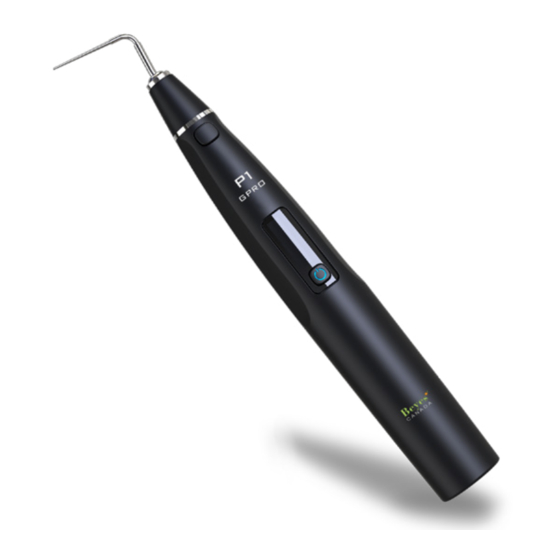
• Patient allergic to known natural latex and metals such as stainless steel, silver, copper • Patient with hemophilia • Patient or dentist with pacemaker implanted • Patient with heart disease 1.4 Package includes 1) GPro P1 2) Charging base 3) Power adapter with cord 4) Tips Model... - Page 4 1.5 Diagram of Components and Control Buttons The Gpro P1 is equipped with a display screen and a control button on both the left and right sides. And the design of left and right sides are perfectly symmetrical, which enables either left- hand or right-hand operation;...
-
Page 5: Installation
2. Installation 2.1 Charge device 1) Install the adapter plug for the power supply (Figure 2) 2) Plug in the power supply and connect it to the charging base (Figure 3) 3) Seat the device on the base for charging (Figure 4) The display faces up and the bottom connecting pins mate the base (Figure 2) (Figure 3) - Page 6 2.1 Install tip Danger: Do not turn on the device for tip installation Hitting the heating button by mistake may cause scald on fingers. Note: See Turn device on/off in Operation Select the right tip size Hexagonal plug on the tip allows varies tip orientation Plug the tip into heating chamber completely Note: To remove the tip, hold near the turn of the tip and gently pull out...
-
Page 7: Operation
3. Operation 3.1 Turn device on/off Press on/off button. Device turns on. Display shows current temperature of the tip and battery level. Press and hold on/off button for 1 sec. Device turns off. Display turns off. Note: Device will automatically shut down after 10 mins of idling 3.2 Change left/right handed Turn device off Press and hold on/off button. -
Page 8: Canal Obturation
3) Turn on the GPro P1 device and select the temperature (see operation) 4) Lightly press the heating button to heat up the tip 5) Insert GPro P1 tip into the root canal to the point 4-7 mm short of the working length. Move and set the endo stop accordingly. -
Page 9: Technical Specification
5. Technical Specification 5.1 Product specifications GPro P1 Gutta Percha Obturation Pen 23.8mm×158.3mm×23.8mm Sizes Charging base 75.5mm×149.7mm×62.6mm GPro P1 Gutta Percha Obturation Pen Weight Charging base 207g Power adapter 167g 5.2 Technical parameters Classification Class II (AC/DC power adapter) Optional preset temperatures 150°C-180°C-200°C-230°C... -
Page 10: Signs
6. Signs Product serial number Follow Instructions for Use Manufacturer Date of manufacture Type B applied part Class II equipment IPXO Power switch Ordinary equipment Device complies with WEEE Used indoor only directive Can be autoclaved Keep dry Handle with care Recovery Attention! Please refer to the accompanying documents. -
Page 11: Battery Replacement
2) Do not knock or scratch the GPro P1 Gutta Percha Obturation Pen 3) Do not place the GPro P1 Gutta Percha Obturation Pen near an electronic device, phone, radio or HD/satellite TV as these may affect the temperature control of the GPro P1 Gutta Percha Obturation Pen. -
Page 12: Maintenance
2) If the GPro P1 Gutta Percha Obturation Pen is in a low battery state for a long time, the service life of battery will be shortened. Please charge it in time if the battery level is low. -
Page 13: Troubleshooting
2. The tip is not installed. 2. Install the tip. on display 3. The tip is not well installed. 3. Unplug the tip, and reconnect. screen If the problem still cannot be solved, please contact your local dealer or Beyes Dental Canada Inc. -
Page 14: After-Sales Service
13. Beyes Limited Warranty Statement 13.1 SCOPE OF WARRANTY BEYES Dental Canada Inc. warrants to the original retail purchaser that it will be at BEYES option to repair or replace components of the dental products manufactured by BEYES (except for components not warranted under 'Exclusions') that are defective in material or workmanship under normal use and service. - Page 15 12) Products that would otherwise by covered under Sections 1 and 2 of this limited warranty, but are acquired: (i) from a person or entity that is not BEYES or one of its authorized dealers; or (ii) from a BEYES dealer that is not authorized to sell the product at issue in the geographic...
- Page 16 Federal law restricts this device to sale by or on the order of a dentist, physician, or any other practitioner licensed by the law of the states in which he or she practices to use or order the use of this device. Beyes Dental Canada Inc. Lotus NL B.V.
Need help?
Do you have a question about the GPRO P1 and is the answer not in the manual?
Questions and answers