
Subscribe to Our Youtube Channel
Related Manuals for Cavaliere CAV Series


Summary of Contents for Cavaliere CAV Series
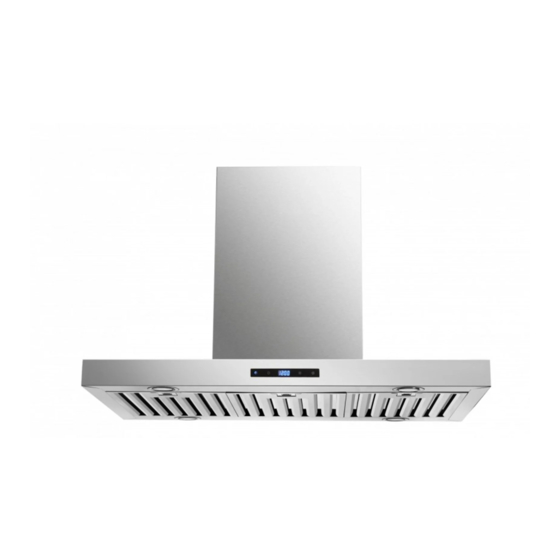
- Page 1 CAV SERIES ISLAND HOOD Z01-36 Installation Manual NOTICE: Installer: Leave this guide with the homeowner. Homeowner: Keep this guide for future reference. ISLAND MOUNT RANGE HOOD 2019b...
- Page 2 Important Safety Notice READ ALL INSTRUCTIONS BEFORE INSTALLING AND OPERATING THIS APPLIANCE Your safety and the safety of others is very important. We have provided many important safety messages in this manual and on your appliance. Always read and obey all safety messages. All safety messages will tell you what the potential hazard is, tell you how to reduce the chance of injury, and tell you what can happen if the instructions are not followed.
- Page 3 Important Safety Notice • Ducted fans MUST always be vented to the outdoors. DO NOT vent exhaust into spaces between walls, crawl spaces, ceiling, attics or garages. • • Any old duct work should be cleaned or replaced if necessary to avoid the possibility of a grease fire.
-
Page 4: Table Of Contents
Table of Contents INSTALLATION USE AND CARE Tools needed ...............3 Range Hood Operations ........13-14 Parts Supplied .............4 Troubleshooting ............15 Venting Requirements ..........5 Use and Care Information ........16 Height & Clearance ..........5-6 Specifications .............16 Duct Size Upgrade Calculator ......6 Electric Schematic ...........17 Venting Methods ............7... -
Page 5: Parts Supplied
Parts Supplied Range Hood Qty: 24 PCS Qty: 24 PCS Pre-Installed on support frame Chimney Support Frame Lower Chimney Upper Chimney Qty: 18 PCS Draft Damper Flaps (Optional) Charcoal Filter Qty: 16 PCS Qty: 4 PCS Qty: 2 PCS Flexible Duct Tube Pg 4... -
Page 6: Venting Requirements
Venting Requirements Height & Clearance • Vent system must terminate to the outside Support Maximum* ceiling clearance 108” at 31” hood (roof or side wall). Structure mounting height above • DO NOT terminate the vent system in an countertop/stove (may attic or other enclosed area. -
Page 7: Height & Clearance
Height & Clearance IMPORTANT: • A minimum of 6” round (standard for this range hood) or 3 ¼” x 10” rectangular duct (purchased separately) must be used to maintain maximum airflow efficiency. • A flexible 6" round duct is provided for convenience and for use in difficult installations, however always attempt to use a smooth metal/aluminum rigid type of ducting to maximize airflow efficiency. -
Page 8: Venting Methods
Venting Methods • This range hood is factory set for venting through the roof or wall. • Vent work can terminate either through the roof or wall. To vent through a wall, a 90° elbow is needed. IMPORTANT: • NEVER exhaust air or terminate duct work into spaces between walls, crawl spaces, ceiling, attics or garages. -
Page 9: Charcoal Filter Installation
Charcoal Filter Installation NOTE: Remove grease filters from the hood. Position the charcoal filters onto the side of the motor, aligning the mounting points, turn until it locks. Re-install aluminum filters. Charcoal filters must be replaced after 120 hours of use (or approximately every 2 to 3 months based on the average of 1 to 2 hours of daily cooking time). -
Page 10: Installation Overview
Installation Overview Qty: 18 PCS Chimney support frame (May look different depending on model) Qty: 16 PCS Qty: 4 PCS Support frame extensions (Hole to hole Qty: 24 PCS distance: =⅝ -inch) Qty: 2 PCS Qty: 24 PCS 6” Round duct (exhaust) NOTE: Electric circuit box •... -
Page 11: Preparation
Preparation Advanced Preparations: Familiarize yourself with the controls of the range hood by reading through Range Hood Operations, Page 12. Place the range hood on a flat, stable surface. Connect the Excessive Weight Require three or more persons to range hood to a designated standard outlet (please refer move and install this range hood. -
Page 12: Installation
Installation Hazard of electrical shock! IMPORTANT: Remove the filters from the range Do not perform service on an electrically hood, so they do not get damaged during live system. Disconnect the main electrical supply before servicing this installation. device. Touching electrical connectors or other exposed electrical circuitry inside this range hood when they are energized Mark where you want your range hood... - Page 13 Installation (Continued) Figure 4 Install the support frame extensions onto the Slide up and secure range hood body: upper chimney Fasten the adjusted (Step 5) support frame extensions onto the lower support frame using “B” screws and “C” nuts as shown in Figure 3.
-
Page 14: Range Hood Operations
Range Hood Operations Control Panel, Display and Functions: Power Button Light Button Decrease Button Increase Button Clock / Digital Display General Note: For the best results, turn on the vent prior to any cooking and keep vent running while cooking. Adjust the vent power as needed. Power ON / OFF Press the Power Button to turn ON the range hood. -
Page 15: Troubleshooting
Troubleshooting If the range hood or light • Check if the range hood has been plugged in, make does not operate after sure that all power has been turned back ON, and all installation: electrical wiring are properly connected. Swap out light bulb to working ones to determine •... -
Page 16: Use And Care Information
Use and Care Information Operations: • Read and understand all instructions and warnings in this manual before operating the appliance. Save these instructions for future reference. • Always leave safety grills and filters in place. Without these components, operating blowers could catch on to hair, fingers and loose clothing. -
Page 17: Electric Schematic
Electric Schematic Black Live AC_L Neutral White AC_N Green White Fan (-) MO_n White Lamp (-) Blue Fan 1 MO_1 Pink Fan 2 MO_2 Fan 3 MO_3 Orange Fan 4 MO_4 Purple Fan 5 MOTOR MO_5 Brown Fan 6 MO_6 Yellow Yellow Black... -
Page 18: Maintenance
Maintenance SAFETY WARNING: Never put your hand into area housing the fan while the fan is operating! For optimal operation, clean range hood and all baffle/spacer/filter/grease tunnel/oil container regularly. Regular care will help preserve the appearance of the range hood. Cleaning Exterior Surfaces: Clean periodically with hot soapy water and clean cotton cloth. - Page 19 Maintenance (Continued) Hazard of Burns! Light bulb become extremely hot when turned on. DO NOT touch bulb until switched off and cooled. Touching hot bulbs could cause serious burns. Replacing The Light Bulb: • Check the range hood tag for lamp specifications. Halogen bulbs will not work on "LED" models (they will lightly pulse or flash).
-
Page 20: Warranty
Warranty One Year Parts Warranty: For one year from the date of original purchase, your local reseller will provide free of charge, non-consumable replacement parts or components that failed due to manufacturing defects. Subject to the conditions and limitations set forth below, your local reseller will, at its option, either repair or replace any part of its products that prove defective by reason of improper workmanship or materials. -
Page 21: Disclaimer
Disclaimer Carefully inspect all items for damages before accepting delivery. Note and picture any damages to the external box, contents or item to the carrier and written on the freight bill or delivery receipt. Request name and signature of the carrier’s agent and keep copy to support your claim.
Need help?
Do you have a question about the CAV Series and is the answer not in the manual?
Questions and answers