Table of Contents
Advertisement
Quick Links
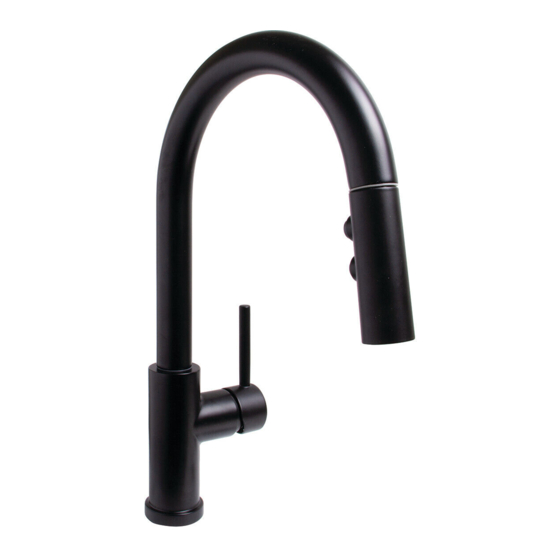
INSTRUCTIONS FOR MODELS
SB-1042
For additional assistance or service please contact:
SPEAKMAN
®
800-537-2107
customerservice@speakman.com
www.speakman.com
92-SB-1042-02
5
If water supply is 1/2" Compression, use the
provided adapter and 1/2" IPS faucet
Connections (not supplied) ❶ or use the supplied
coupling nuts ❸ with 3/8" O.D. ball nose risers
(not supplied) ❷. Use wrenches to tighten
connections. Do not over-tighten.
INLET SUPPLIES NOT INCLUDED
9
Turn ON water supplies and check for leaks.
TOOLS AND SUPPLIES
Phillips
Adjustable
5 Gallon
Screwdriver
Wrench
Bucket
HELPFUL TOOLS & SUPPLIES:
Safety
Glasses
IMPORTANT
• Do not over-tighten any connections or damage
may occur.
• Be sure to read instructions thoroughly before
beginning installation.
• This faucet has an operating range of 20-80 psi.
SAFETY TIPS
Cover your drain to prevent loss of parts. Be sure to
wear eye protection while cutting pipe.
MAINTENANCE
Your new Speakman Product is designed for years of
trouble-free performance. Keep it looking new by
cleaning it periodically with a soft cloth. The use of harsh
chemicals and abrasives may damage the finish and
void the product warranty. Please be sure to only use
approved cleaners. Please contact Speakman for any
clarification of acceptable cleaners.
WARRANTY
Warranty information can be found at:
www.speakman.com
6
Place the spray hose (exiting from base of
faucet) into a bucket. Turn ON water supplies.
Flush both HOT and COLD water for 1 minute
into the bucket.
1
Verify the Rubber Washer (1) is seated at the
bottom of the Faucet. If not, place the Rubber
Washer (1) over hoses and align to base of
Faucet.
NOTE: For single hole sink only.
2
Place Hoses, one at a time, thru hole in
mounting surface. Lower Faucet into position. If
installing optional deckplate, place hoses
through deckplate first.
7
Turn OFF water supplies. Connect the spray
hose to the outlet hose. This is a push to connect
connection. Make sure to push the hose
completely into the outlet fitting.
3
Slide Easy Mount Nut (1) upwards until it makes
contact with the underside of mounting surface.
Rotate by hand to final tighten.
4
Make connections to water supplies. The inlet
threads of the faucet are 9/16"-24 UNF and
will accept a 3/8" Compression Fitting.
Wrench Tighten. Do not over-tighten.
Accepts a 3/8"
Compression
Fitting
SUPPLY STOPS NOT INCLUDED
8
• Install the Weight Clip (1) at the point of the
hose marked "Weight Here".
• Insert the Weight (2) onto the Clip (1) by
sliding it down onto the Clip (1).
WEIGHT
HERE
WEIGHT
HERE
Advertisement
Table of Contents

Subscribe to Our Youtube Channel
Related Manuals for Speakman SB-1042


Summary of Contents for Speakman SB-1042
- Page 1 MAINTENANCE Accepts a 3/8” SPEAKMAN Compression ® Your new Speakman Product is designed for years of Fitting trouble-free performance. Keep it looking new by cleaning it periodically with a soft cloth. The use of harsh 800-537-2107 chemicals and abrasives may damage the finish and void the product warranty.
- Page 2 SPEAKMAN SPEAKMAN SB-1042 REPAIR PARTS SB-1042 ROUGH-IN DIAGRAM ® ® NOTES: KITCHEN ROUGH-IN COMPLIANCE: • ASME A112.18.1/CSA B125.1 2" " 51mm • NSF/ANSI 61 35mm MIN. TO WALL • NSF/ANSI 372 • CEC (CALIFORNIA ENERGY COMMISSION) 2" 51mm FLOW DATA: MIN.
Need help?
Do you have a question about the SB-1042 and is the answer not in the manual?
Questions and answers