Advertisement
Quick Links
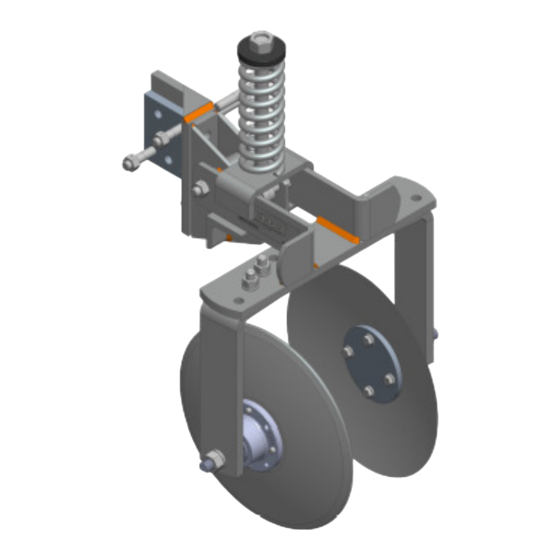
2920-012A DISC SEALER 12" SMOOTH
2920-016A DISC SEALER 16" SMOOTH
2920-016A-N DISC SEALER NOTCHED
YETTER MANUFACTURING CO.
FOUNDED 1930
Colchester, IL 62326-0358
Toll free: 800/447-5777
309/776-3222 (Fax)
Website:
E-mail:
info@yetterco.com
OPERATOR'S MANUAL
PARTS IDENTIFICATION
2565-412_REV_G • 06/2021
www.yetterco.com
Advertisement

Related Manuals for Yetter 2920-012A


Summary of Contents for Yetter 2920-012A
- Page 1 2920-012A DISC SEALER 12” SMOOTH 2920-016A DISC SEALER 16” SMOOTH 2920-016A-N DISC SEALER NOTCHED OPERATOR’S MANUAL PARTS IDENTIFICATION 2565-412_REV_G • 06/2021 YETTER MANUFACTURING CO. FOUNDED 1930 Colchester, IL 62326-0358 Toll free: 800/447-5777 309/776-3222 (Fax) Website: www.yetterco.com E-mail: info@yetterco.com...
-
Page 4: Bolt Torque
BOLT TORQUE Mounting bolts and hardware Before operating the Disc Sealer for the first time, check to be sure that all hardware is tight. Check all hardware again after approximately 50 hours of operation and at the beginning of each season. All hardware used on the Disc Sealer is Grade 5 unless otherwise noted. - Page 5 ASSEMBLY “ Barn Yard Setting” – set the sealer blade to 2” closer to the bottom of the knife than the depth that the knife will be used at. Example: knife at 6” depth, set the blades to 4” above the bottom of the knife.
-
Page 6: Maintenance
• Clean machine thoroughly to remove all dirt, debris and crop residue, which would hold moisture and cause rusting. • Inspect machine for worn or broken parts. See your Yetter Farm Equipment dealer during the off-season so that parts or service can be acquired when machine is not needed in the field. - Page 7 PARTS IDENTIFICATION 2920-012A DISC SEALER...
- Page 8 PARTS IDENTIFICATION 2920-016A DISC SEALER...
- Page 9 PARTS IDENTIFICATION 2920-016A-N DISC SEALER...
- Page 10 PARTS IDENTIFICATION 2920-023 DIETRICH BRACKET KIT...
- Page 12 2565-412_REV_G • 06/2021...
Need help?
Do you have a question about the 2920-012A and is the answer not in the manual?
Questions and answers