Advertisement
Table of Contents
Update Instructions
Updating the firmware can be completed using either the USB interface or the web GUI. Atlona recommends
using the web GUI for updating the firmware. However, if a network connection is not available, the firmware can be
updated using a USB-A to USB mini-B cable. The update process for the AT-HDR-H2H product line is the same.
Using the web GUI
Requirements:
•
New firmware - Downloaded from atlona.com
•
IP address of the AT-HDR-H2H-XX
•
Computer on the same network as the AT-HDR-H2H-XX
1. Make sure the unit is powered.
2. Connect an Ethernet cable from the computer, containing the firmware, to the same network where the AT-HDR-
H2H-XX is connected.
3. Go to the System page in the web GUI.
Choose File button
4. Click the Choose File button, under the System section.
5. Browse to the location of the firmware file, select it, and click the Open button on the dialog box.
6. Click the Update button in the web GUI.
7. The following dialog will be displayed. Click the OK button to begin the firmware update process. Click the
Cancel button to cancel the process.
8. After the update process has completed, the AT-HDR-H2H-XX will automatically reboot, and the Login screen
will be displayed.
9. The update process is complete.
Atlona Technical Support: +1 877.536.3976 option 1
Update button
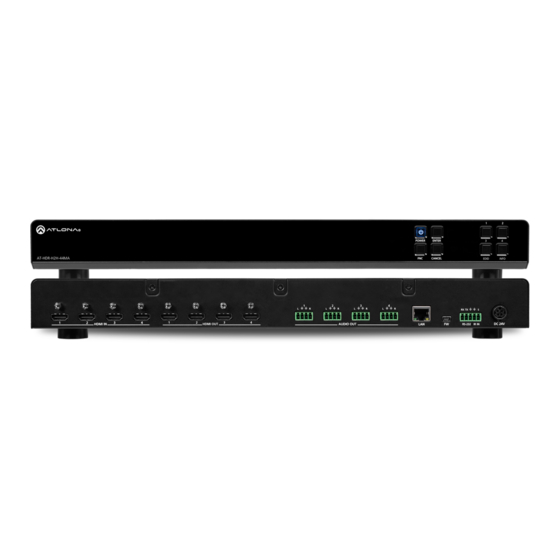
AT-HDR-H2H-XX
Advertisement
Table of Contents

Related Manuals for Panduit Atlona AT-HDR-H2H Series


Summary of Contents for Panduit Atlona AT-HDR-H2H Series
- Page 1 AT-HDR-H2H-XX Update Instructions Updating the firmware can be completed using either the USB interface or the web GUI. Atlona recommends using the web GUI for updating the firmware. However, if a network connection is not available, the firmware can be updated using a USB-A to USB mini-B cable.
- Page 2 Update Instructions Using USB Requirements: • New firmware - Downloaded from atlona.com • AT-HDR-H2H-XX • Computer running Windows • USB-A to USB mini-B cable 1. Make sure the unit is powered. 2. Press and hold the CANCEL button on the front panel, while connecting the USB-A to USB mini-B cable from the computer, to the FW port on the rear of the unit.
- Page 3 Update Instructions 6. During the update process, the POWER button on the front panel will flash red. POWER ENTER CANCEL EDID INFO 7. Once completed, the AT-HDR-H2H-XX will automatically reboot. Once in the unit is in normal operating mode, AT-HDR-H2H-44MA the POWER button will return to a solid blue color.
Need help?
Do you have a question about the Atlona AT-HDR-H2H Series and is the answer not in the manual?
Questions and answers