
Subscribe to Our Youtube Channel
Related Manuals for ALORAIR Storm SLGR 1600X


Summary of Contents for ALORAIR Storm SLGR 1600X
- Page 1 Owner’s Manual - Storm SLGR 1600X Dehumidifier Installation, Operation & Service Instructions Alorair Solutions INC. 2048 E. Francis St Ontario CA 91761 Add: Tel: 1-888-990-7469 E-mail: sales@alorair.com...
-
Page 2: Table Of Contents
Table of Contents Safety Instructions Identification Electrical Supply How the Strom LGR 1600X Works Guidelines Parts Diagram Using the Display-Main Screen Using the Display- Submenus Maintenance Instructions Error Codes Troubleshooting Dehumidifier Storage Warranty... -
Page 3: Safety Instructions
Prior to installation of the unit,write down the serial number and date of purchase. You will need this information if you need assistance in the future. The data label on the side of your unit has the necessary information. Model Number: Storm SLGR 1600X Serial Number: Date of Purchase: For additional questions concerning your dehumidifier:... -
Page 4: How The Strom Lgr 1600X Works
Do not place the unit anywhere that may block the inlet or outlet airflow. Drain Hose Notes The Storm SLGR 1600X is equipped with an external drain line connection, making it easy to plug in. The drain line can be directed outside or into any sink, drain, etc. -
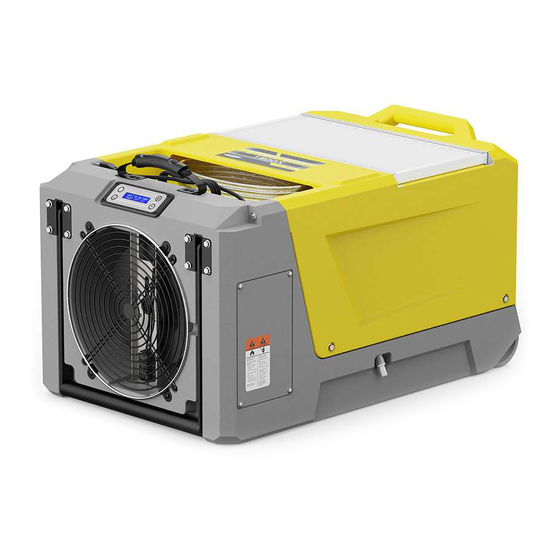
Page 5: Parts Diagram
Parts Diagram Power line Control Panel Condensate Drain Line Quick Connect Air Filter Handle Air inlet Temp/RH sensor... -
Page 6: Using The Display-Main Screen
Control Panel Guide Power Button Use this button to turn the dehumidifier on and off. You can also press this button while on a sub-menu if you wish to return to the main screen. Confirm Button This button is used to confirm your selected setting, as well as set the humidity level. Each time you press the button, the humidity level will increase 5% (between 35% and 90%). - Page 7 2. Setting Up the Unit Once the machine has powered on, you will see the following display: U N I T 0 H R S ° I N L E T 0 0 0 0 % a. UNIT ON- means the unit is powered on b.
-
Page 8: Using The Display- Submenus
Using the Display- Sub-Menus 1. Job hours J O B H O U R S R E S E T ? > This screen allows you to clear the job hours. To clear the hours select "> ". This will clear the hours on the main screen, and "RESET" will no longer display on the sub menu. - Page 9 This screen is used to select your humidity setpoint. Press the ">" button to set the humidity value between 35% to 90%. Each time you press the button, it will increase 6. Temperature Measurement This screen can be used to switch the temperature measurement betweenC °...
-
Page 10: Maintenance Instructions
Maintenance Instructions Before Use Check the power cord for signs of damage such as fraying. Replace the cord before use if there is any damage. Check the filter for signs of dirt or obstructions. Clean or replace the filter as necessary Check the coils for signs of buildup. -
Page 11: Error Codes
Error Codes If there is an issue with the dehumidifier, one of the following error codes will appear: E1 Error An E1 error code will appear if the humidity sensor has an error. The unit will not work with an E1 code, however, you can still use the manual pump button LO Error A LO error code will appear if the temperature sensor detects the incoming air is below the operating temperature range (2°). -
Page 12: Troubleshooting
Troubleshooting Symptom Cause Solution Verify that both ends of the Poor Connection Power cord are plugged in Display is Blank Power Outage Reset power Filter is Dirty Clean the filter No Airflow Air lnlet or OutletisBlocked Clear the blockage Check to ensure that the sensor HumiditySensoror wire is connected at both ends. -
Page 13: Warranty
Return Authorization (RA number). Once an RA has been issued, customers should bring the unit to a certified repair center. AlorAir will arrange the shipping to bring the unit back to the Alorair warehouse (at the expense of the customers) if customers are not available. - Page 14 THE SOLE AND EXCLUSIVE REMEDY FOR ANY BREACH OR ALLEGED BREACH OF WAR- RANTY BY SELLER ANY DISHONESTY OR FRAUD IN CONNECTION WITH ALORAIR SOLUTIONS WARRANTY THOROUGHLY VOIDS ALL WARRANTY POLICIES.ALORAIR SOLUTIONS EXPRESSLY RESERVES THE RIGHT TO PURSUE LEGAL ACTION IN THE EVENT OF DISHONESTY, FRAUD, OR...
Need help?
Do you have a question about the Storm SLGR 1600X and is the answer not in the manual?
Questions and answers