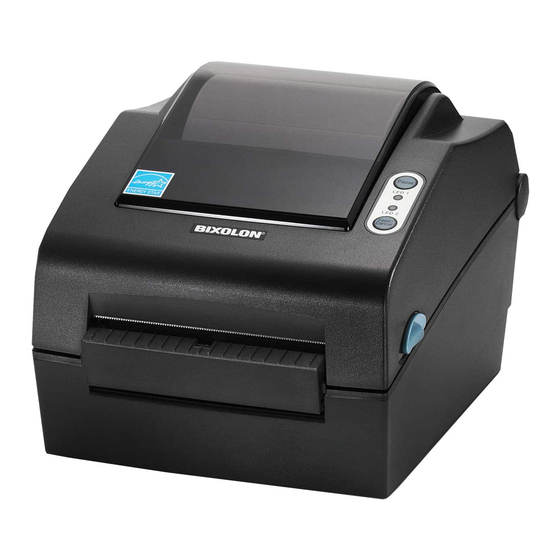
BIXOLON DX Series How To Mount Peeler
Hide thumbs
Also See for DX Series:
- How to mount (2 pages) ,
- How to mount auto cutter (2 pages) ,
- Network connection manual (44 pages)
Advertisement
Quick Links
KN04-00186A (Ver.1.1)
1. Turn the Power Switch Off at the rear of the Printer.
Power Switch
2. As shown below, press the right side of the Cover STD in the direction
indicated by the yellow arrow to remove it
You can also remove it by pressing the left side in the same manner.
Cover STD
3. Insert the Peeler Wire into the Wire Hole.
Peeler Wire
4. With the Wire inserted, fit the right Boss of the Peeler to the Boss Hole as
shown below. Also, fit the left one to the Boss Hole.
5. Remove the Cover Roller L&R and fit the Peeler Bars to the square-shaped
sockets (red circles) by matching each Bar to the corresponding side. Then,
reinstall the removed Cover Roller L&R.
Be careful to install the Peeler Bar correctly. Otherwise, the Peeler will not work
properly.
Front
Off
Wire Hole
Boss
Boss Hole
Cover Roller L&R
Peeler Bar
Front
How to Mount Peeler
DX/TX(4inch Model) Series
6. Turn the Switch On as shown below. Then, engage the Peeler Levers with
the sockets (yellow circles) to close so that they make a clicking sound.
If the Levers are not engaged correctly, try again after repeating steps 2 and 3.
7. Make the bottom of the Printer face the front. Press the Hooks (red circles)
toward the inner direction to remove the Cover Dip and shape the Peeler
Wire as shown below.
Be careful to avoid tangling with other Wires when shaping.
Cover DIP
8. Insert the Peeler Wire to the Peeler Connector (yellow square) in the correct
direction.
Auto Cutter Connector
9. Reinstall the Cover Dip that was removed in step 7. Then, connect the
power supply and turn the power on to check if the Peeler Sensor LED is
green when turned on.
Cover DIP
Peeler Sensor
See the User Manual for how to supply paper.
On
Peeler Wire
Peeler Connector
Peeler Lever
Switch
Advertisement

Subscribe to Our Youtube Channel
Related Manuals for BIXOLON DX Series


Summary of Contents for BIXOLON DX Series
- Page 1 How to Mount Peeler DX/TX(4inch Model) Series KN04-00186A (Ver.1.1) 1. Turn the Power Switch Off at the rear of the Printer. 6. Turn the Switch On as shown below. Then, engage the Peeler Levers with the sockets (yellow circles) to close so that they make a clicking sound. If the Levers are not engaged correctly, try again after repeating steps 2 and 3.
- Page 2 Peeler DX/TX(4inch Model) KN04-00186A (Ver.1.1) Switch Peeler Lever Printer Power Switch Power Switch Peeler Lever Cover STD Switch Cover STD Peeler Wire Wire Hole . Printer . Hook Cover DIP Peeler Wire Wire Peeler Wire Wire Hole Wire Peeler Boss Boss Hole Boss Hole Cover DIP...
Need help?
Do you have a question about the DX Series and is the answer not in the manual?
Questions and answers