Table of Contents
Advertisement
Available languages
Available languages
Quick Links
π
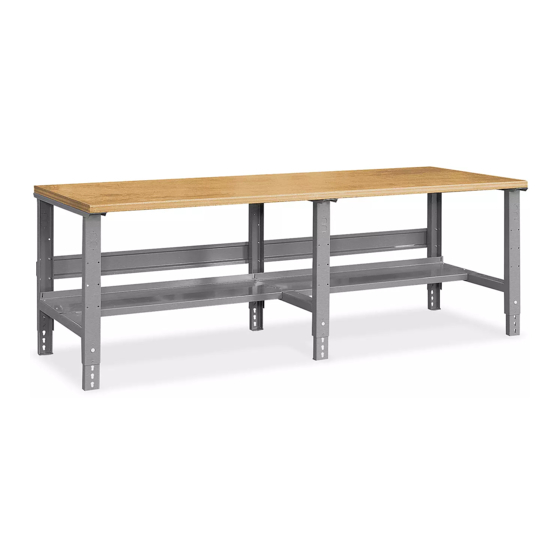
H-1222, H-2484
96" PACKING TABLES
TOOLS NEEDED
Phillips Head
7/16" Wrench
Screwdriver
Flat Head
Screwdriver
Hardware Kit
1/4"-20 x 5/8" Bolt x 20
Lock Washer x 20
Locking Tab x 6
#
DESCRIPTION
1
Adjustable Foot
2
Leg
3
Stringer
4
Lower Shelf
5
Tabletop
LEGS AND FRAME ASSEMBLY
1.
Insert adjustable feet (1) into legs (2) and slide into
place at desired height.
NOTE: If desired, insert locking tabs through
legs and adjustable feet to lock feet into place.
2. Place legs (2) in upright position. Legs should be
placed approximately 45" apart.
PAGE 1 OF 6
1-800-295-5510
uline.com
3/8" Wrench
10 mm Wrench
(For Non-Steel Top Assembly)
1/4"-20 Nut x 20
#14 x 3/4" Wood Screw x 24
QTY
6
3
1
1
1
PARTS
4
2
ASSEMBLY
3. Attach stringer (3) to table legs using center six holes
in back legs. Fasten with 12 bolts, lock washers
and nuts, but do not fully tighten. (See Figure 1)
Para Español, vea páginas 3-4.
Pour le français, consulter les pages 5-6.
5
3
1
Figure 1
0421 IH-1222
Advertisement
Table of Contents

Related Manuals for U-Line H-1222


Summary of Contents for U-Line H-1222
- Page 1 Para Español, vea páginas 3-4. Pour le français, consulter les pages 5-6. π H-1222, H-2484 1-800-295-5510 uline.com 96" PACKING TABLES TOOLS NEEDED Phillips Head 7/16" Wrench 3/8" Wrench Screwdriver 10 mm Wrench (For Non-Steel Top Assembly) Flat Head Screwdriver PARTS Hardware Kit 1/4"-20 x 5/8"...
- Page 2 ASSEMBLY CONTINUED 4. Place lower shelf (4) across braces of legs. Attach lower shelf using six nuts and bolts. Now, fully fasten hardware placed in step 3. (See Figure 2) 5. To attach tabletop (5) to frame assembly, place tabletop on a smooth, non-marring surface with top side facing down.
- Page 3 π H-1222, H-2484 800-295-5510 uline.mx MESAS DE TRABAJO – 96" HERRAMIENTAS NECESARIAS Desarmador Llave de 7/16" Llave de 3/8" de Cruz Llave de 10 mm (Para ensamblar cubiertas que no sean de acero) Desarmador Plano PARTES Kit de Accesorios 20 Pernos de 1/4"-20 x 5/8"...
- Page 4 CONTINUACIÓN DEL ENSAMBLE 4. Fije con 12 pernos, rondanas de seguridad y tuercas, pero no los apriete por completo. (Vea Diagrama 2) 5. Coloque la repisa inferior (4) sobre los soportes de los postes. Fije la repisa inferior utilizando seis tuercas y pernos.
- Page 5 π H-1222, H-2484 1-800-295-5510 uline.ca TABLES D'EMBALLAGE DE 96 PO OUTILS REQUIS Tournevis Clé de 7/16 po Clé de 3/8 po cruciforme Clé de 10 mm (pour le montage de surfaces de table autre qu'en acier) Tournevis à tête plate PIÈCES Ensemble de matériel...
- Page 6 MONTAGE SUITE 4. Déposez la tablette inférieure (4) sur les renforts transversaux des pieds. Fixez la tablette inférieure à l'aide de six boulons et écrous. Maintenant, fixez complètement le matériel utilisé lors de la troisième étape. (Voir Figure 2) 5. Pour fixer la surface de table (5) à l'ensemble du cadre, placez la surface de table sur une surface lisse et non marquante, côté...
Need help?
Do you have a question about the H-1222 and is the answer not in the manual?
Questions and answers