Table of Contents
Advertisement
Quick Links
Advertisement
Table of Contents

Related Manuals for TrueNAS ES24F


Summary of Contents for TrueNAS ES24F
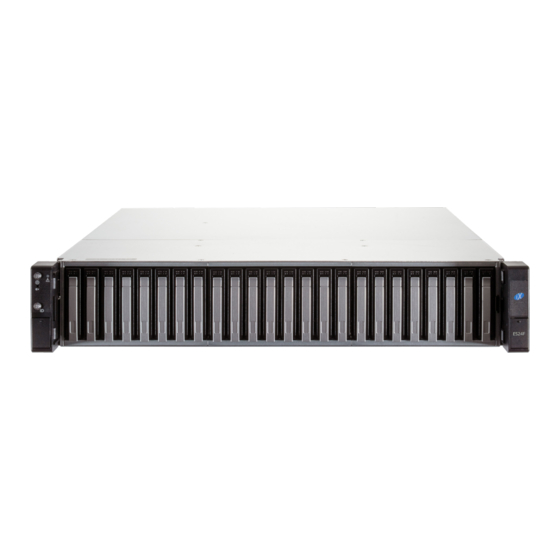
- Page 1 TrueNAS ES24F Expansion Shelf ® Basic Setup Guide Version 1.0...
-
Page 2: Table Of Contents
� � � � � � � � � � � � � � � � � � � � � � � � � � � � � � � � � � � � � � � � � � � � � � � � � � � � � � � � � � � � � � � � � � � � 4�2 Inserting Drive Trays into the ES24F ... -
Page 3: Introducing The Es24F
An ES24F that has no drives installed weighs 34�1 pounds� It is always recommended to team lift an empty ES24F. Do not attempt to lift an ES24F when it is fully populated with drives! It is recommended to install the system in a rack before adding drives and remove all drives before de-racking an ES24F�... -
Page 4: 1�3 Unpacking The Unit
Please locate and record the hardware serial numbers on the back of each chassis for quick reference� Carefully unpack the shipping boxes and locate these components: ES24F Expansion Shelf Set of rackmount rails with hardware� Kit includes 2 rail retention extend-... -
Page 5: Ports And Indicators
2 Ports and Indicators ES24F buttons and indicators are located on the “ears” on the right and left edges of the system front� The left ear has lighted buttons for power (1) and ID (2)� There is also a light for system fault (3) and both ears have screw holes for securing the system to a rack behind small doors that swing up (4)�... -
Page 6: Racking The Es24F
To rack an ES24F, open the rail kit and remove the rails� Separate the chassis rails from the rack rails, then attach the chassis rails to the sides of the ES24F and install the rack rails in the rack� Team lift the system, align the chassis rails to the rack rails, and push the system into the rack�... -
Page 7: 3�3 Install The Rack Rails
3.3 Install the Rack Rails Before installing the rack rail, make sure the rack has enough space for the system� The ES24F needs 2U of space for both the system and rack rails, with the rack rails installed into the bottom 1U of the reserved space�... -
Page 8: Handling Drives
4 Handling Drives TrueNAS appliances only support qualified hard drives and SSDs. Contact the Sales Team if you need more drives or replacements. Adding unqualified drives to the system voids the warranty. Call Support if drives are improperly installed in trays�... -
Page 9: Cabling
TrueNAS High Availability (HA) systems are shown here� The typical connection order is SAS port 0 on the top ES24F expansion controller to the first SAS port on the pri- mary TrueNAS Controller. High Availability (HA) TrueNAS systems also connect the first SAS port on the secondary TrueNAS controller to the second ES24F expansion controller�... - Page 10 Support: 855-473-7449 or 408-943-4100 Page 8 Email: support@ixsystems.com...
-
Page 11: 5�2�2 X-Series
5�2�2 X-Series 5�2�3 M-Series Support: 855-473-7449 or 408-943-4100 Page 9 Email: support@ixsystems.com... -
Page 12: Setting The Es24F Power Loss Mode
6 Setting the ES24F Power Loss Mode If power is lost to the system, the ES24F can either start automatically or remain off when power is restored. The default is set to the desired behavior when the system is purchased�...
Need help?
Do you have a question about the ES24F and is the answer not in the manual?
Questions and answers