
Subscribe to Our Youtube Channel
Related Manuals for SMART-AVI SPS-1000


Summary of Contents for SMART-AVI SPS-1000
- Page 1 SPS-1000 User Manual 8-Port HDMI, DVI, VGA, and Composite Switch with Integrated Scaler 4-port HDMI, 2-port VGA, DVI and composite video switch with IR and stereo audio support (325 foot signal extension) Made in U.S.A. www.SmartAVI.com 1-800-AVI-2131...
- Page 2 TECHNICAL SPECIFICATIONS CONNECTING THE SPS-1000 FRONT PANEL CONTROLS REAR PANEL FUNCTIONS ESTABLISHING AN RS-232 CONNECTION RS-232 EXTENSION IR REMOTE CONTROL OF THE SPS-1000 IR REMOTE CONTROL OF CONNECTED DEVICES PC CONTROLLER SOFTWARE USER GUIDE 11-12 SPS-RX HDBT RECEIVER (Optional) 13-14 LIMITED WARRANTY STATEMENT WHAT’S IN THE BOX?
- Page 3 FLEXIBLE CONTROL OPTIONS The SPS-1000 is designed to provide a variety of control options to fit virtually any application. With RS- 232 and LAN connections, users can control the device from a remote laptop. (The SPS-RX receiver unit is equipped for both RS-232 and LAN signals, as well.) The SPS-1000 also features front-panel buttons...
- Page 4 TECHNICAL SPECIFICATIONS VIDEO Video Input (4) HDMI, (2) xVGA, (1) DVI, (1) Composite Input Resolutions Up to 4Kx2K@30Hz Video Output (1) HDMI (local), (1) RJ-45 HDBT (remote) Output Resolutions Up to 4Kx2K@30Hz(HDMI BYPASS), Up to 1920x1080P@60Hz(SCALES) AUDIO Audio Input (7) 3-Pin Phoenix Connector Audio Output (1) RCA (1) SPDIF Coaxial Input ports (1) 3.5 mm input Output Ports...
- Page 5 8. Optionally connect the RS-232 DB9 Female connector to a PC for remote control of the SPS-1000. 9. Optionally connect an Ethernet cable to the TCP/IP port on the SPS-1000 to a Local Area Network for remote control of the SPS-1000.
- Page 6 FRONT PANEL CONTROLS Figure 6‐1 Part 1. IR: IR Receiver window (accepts the remote control signal of this device only). POWER: Press this button to power the device standby on/off. Press this button more than 2 sec- onds, the device has reached the standby mode. The LED will illuminate green when the power is on, red when it is in 'Standby' mode.
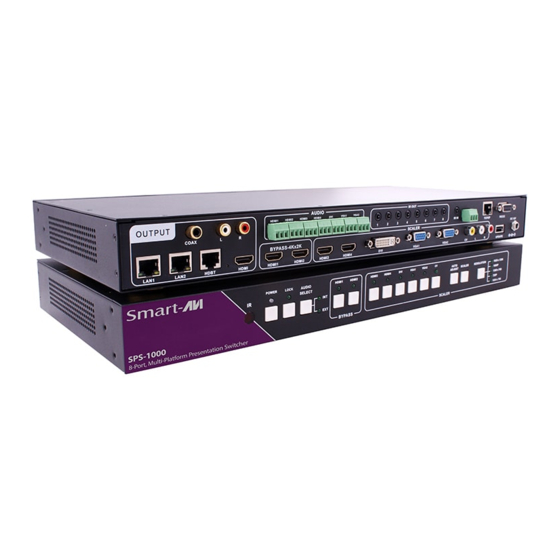
- Page 7 REAR PANEL FUNCTIONS Figure 7‐1 Part1: OUTPUT The HDMI OUTPUT connect to HDMI equipped TVs or monitors and the HDBT OUTPUT connects to the SPS-RX HDBT Receiver (Optional). The coaxial and stereo output is connected to an audio amplifier. The LAN is connected to a PC or Router.
- Page 8 Check the device and your PC to determine if you need a male to male or a male to female cable and how long it needs to be. The Smart-AVI device requires a straight through cable. You can use a Null Modem Adapter to convert a crossed cable to a straight through cable.
- Page 9 HDMI and RS-232. The PC or control system sends RS-232 signals to control the projector, by way of the switcher and HDBT receiver. Figure 9‐1 IR REMOTE CONTROL OF THE SPS-1000 1. Press this button to power on the switcher or set it to standby mode. 2. Input Selection: Press these buttons to switch to the required source.
- Page 10 IR REMOTE CONTROL OF CONNECTED DEVICES The IR control can realize two-way control function and the 8 IR OUT ports correspond to the 8 video in- puts and switch automatically according to the selected video input. Example, illustrated in Figure 10-1: To control the far-end display: The IR Receiver (Rx1) is connected to the switcher IR IN port.
- Page 11 SPS-1000 by RS232 COM port or TCP/IP to complete installation. Preparation Connect the control PC and SPS-1000 by RS232 cable or TCP/IP (local area network) Power-up SPS-1000 Double click the SPS-1000 controller software icon to run it 1.
- Page 12 PC CONTROLLER SOFTWARE USER GUIDE (Continued) Switching between Inputs: Figure 12-1 1. Input Selection: Click these buttons to switch to the required source. 2. Resolution select: Click these buttons to select different resolution output. 3. Audio select: Click these buttons to select audio from digital (INT) or analog (EXT), when the signal is switched to the HDMI or DVI signal source.
- Page 13 SPS-RX HDBT RECEIVER (Optional) HDMI OUT: HDMI output port. This is where you connect the HDTV or monitor with an HDMI cable . ETHERNET: This slot provides an Ethernet connection from transmitter or to transmitter. RS232: 3-Pin Phoenix jack provides a 2 way Serial port control signal. DC IN: Plug the 24V DC power adapter into the unit.
- Page 14 SPS-RX HDBT RECEIVER (Continued) Connecting the SPS-RX 1. Turn off all devices. 2. Connect signal source devices to the SPS-1000 switcher’s appropriate input ports (HDMI, DVI, VGA, etc…). 3. Connect SPS-1000 to local display via HDMI AND/OR SPS-RX with RJ-45 CAT5 cable.
- Page 15 LIMITED WARRANTY STATEMENT A. Extent of limited warranty Smart‐AVI Technologies, Inc. warrants to the end‐user customers that the Smart‐AVI product specified above will be free from defects in materials and workmanship for the duration of 1 year, which duration begins on the date of purchase by the customer. Customer is responsible for maintaining proof of date of purchase. Smart‐AVI limited warranty covers only those defects which arise as a result of normal use of the product, and do not apply to any: a. Improper or inadequate maintenance or modifications b. Operations outside product specifications c. Mechanical abuse and exposure to severe conditions If Smart‐AVI receives, during applicable warranty period, a notice of defect, Smart‐AVI will at its discretion replace or repair defective product. If Smart‐AVI is unable to replace or repair defective product covered by the Smart‐AVI warranty within reasonable period of time, Smart‐AVI shall refund the cost of the product. Smart‐AVI shall have no obligation to repair, replace or refund unit until customer returns defective product to Smart‐AVI. Any replacement product could be new or like new, provided that it has functionality at least equal to that of the product being replaced. Smart‐AVI limited warranty is valid in any country where the covered product is distributed by Smart‐AVI. B. Limitations of warranty To the extant allowed by local law, neither Smart‐AVI nor its third party suppliers make any other warranty or condition of any kind whether expressed or implied with respect to the Smart‐AVI product, and specifically disclaim implied warranties or conditions of merchantability, satisfactory quality, and fitness for a particular purpose. C. Limitations of liability ...
- Page 16 NOTICE The information contained in this document is subject to change without notice. SmartAVI makes no war‐ ranty of any kind with regard to this material, including but not limited to, implied warranties of merchant‐ ability and fitness for particular purpose. SmartAVI will not be liable for errors contained herein or for inci‐ dental or consequential damages in connection with the furnishing, performance or use of this material. No part of this document may be photocopied, reproduced, or translated into another language without prior written consent from SmartAVI Technologies, Inc. 20161205 ...
Need help?
Do you have a question about the SPS-1000 and is the answer not in the manual?
Questions and answers