
Related Manuals for SMART-AVI SM-HDN-8S


Summary of Contents for SMART-AVI SM-HDN-8S
- Page 1 SM-HDN-8S 8-PORT HDMI KVM Switch with USB 2.0 Support USER MANUAL Designed and Manufactured in the USA 1-800-284-2131 www.smartavi.com...
-
Page 2: Table Of Contents
OVERVIEW TECHNICAL SPECIFICATIONS_________________________________________________________________ WHAT’S IN THE BOX?_________________________________________________________________________ FRONT AND BACK___________________________________________________________________________ INSTALLATION_______________________________________________________________________________ SYSTEM OPERATION_________________________________________________________________________ FRONT PANEL CONTROL_____________________________________________________________________ HOTKEY AND RS232 SERIAL CONTROL_______________________________________________________ CUSTOM HOTKEY TRIGGERS_________________________________________________________________ TROUBLESHOOTING_________________________________________________________________________ TECHNICAL SUPPORT________________________________________________________________________ LIMITED WARRANTY STATEMENT____________________________________________________________ 8-Port HDMI KVM Switch with USB 2.0 Support... -
Page 3: Technical Specifications
Technical Specifications VIDEO Format HDMI Input Interface (8) HDMI 19-pin Output Interface (1) HDMI 19-pin Resolution Up to 4K (3840x2160 @ 30Hz) 5 volts p-p (TTL) Input Equalization Automatic Input Cable Length Up to 20 ft Output Cable Length Up to 20 ft AUDIO Input Interface (8) 3.5 mm Stereo Audio... -
Page 4: What's In The Box
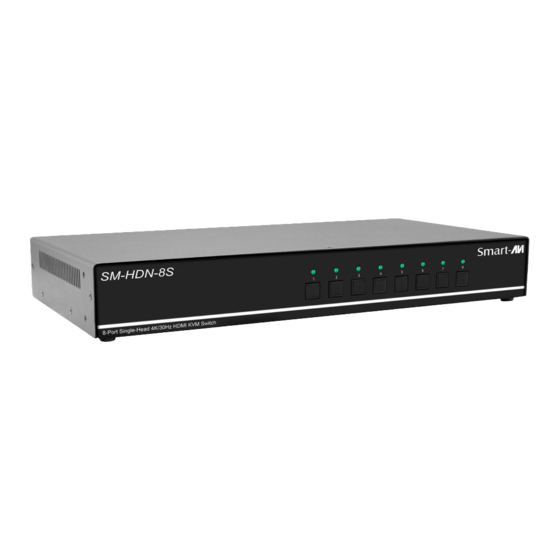
What’s in the box? PART NO. Q-TY DESCRIPTION SM-HDN-8S 8-Port HDMI KVM Switch with USB 2.0 Support PS12VDC3A Power Adapter User Manual FRONT AND BACK SM-HDN-8S Back SM-HDN-8S Front 8-Port HDMI KVM Switch with USB 2.0 Support... - Page 5 INSTALLATION 1. Ensure that power is turned off or disconnected from the unit and the computers. 2. Use HDMI cables to connect the HDMI output ports from each computer to the corresponding HDMI ports of the unit. 3. Use a USB cable (Type-A to Type-B) to connect a USB port on each computer to the respective USB ports of the unit.
-
Page 6: Installation
Installation (continued) EDID LEARN The KVM is designed to learn the connected monitor’s EDID upon power up. In the event of connecting a new monitor to the KVM, a power recycle is recommended. The KVM will indicate to the user the EDID learn process by flashing the front panel’s LEDs. When the LEDs stop flashing, the EDID learn process is done. -
Page 7: System Operation
Hold down first and last buttons of front panel for 3 seconds to force learn EDID. hotkey and rs232 serial control The SM-HDN-8S may also be controlled via RS-232 commands. To use these commands, you must use HyperTerminal or an alternate terminal application. The settings for the connection are as follows: Baudrate 115200;... -
Page 8: Custom Hotkey Triggers
Custom hotkey triggers Users are able to customize the keys that trigger Hotkeys. The default trigger for hot key function on the keyboard is Ctrl + Ctrl. The trigger function can be used to change to the following keys: Ctrl (Left / Right), Alt, Shift (Left / Right), Caps Lock, Scroll Lock, F1-F12 TO VIEW HOTKEY TRIGGER SETTING Use the RS-232 command: / + / + ? + ? + Enter to view the current HotKey Trigger To reset the Hotkey Trigger use the “Factory Defaults”... -
Page 9: Troubleshooting
Troubleshooting No Power • Make sure that the power adapter is securely connected to the power connector of the unit. • Check the output voltage of the power supply and make sure that the voltage value is around 12VDC. • Replace the power supply. No Video •... -
Page 10: Limited Warranty Statement
Limited warranty statement A. Extent of limited warranty SmartAVI, Inc. warrants to the end-user customers that the SmartAVI product specified above will be free from defects in materials and workmanship for the duration of 1 year, which duration begins on the date of purchase by the customer. Customer is responsible for maintaining proof of date of purchase. - Page 11 NOTICE The information contained in this document is subject to change without notice. SmartAVI makes no warranty of any kind with regard to this material, including but not limited to, implied warranties of merchantability and fitness for particular purpose. SmartAVI will not be liable for errors contained herein or for incidental or consequential damages in connection with the furnishing, performance or use of this material.
Need help?
Do you have a question about the SM-HDN-8S and is the answer not in the manual?
Questions and answers