Sign In
Upload
Download
Table of Contents
Contents
Add to my manuals
Delete from my manuals
Share
URL of this page:
HTML Link:
Bookmark this page
Add
Manual will be automatically added to "My Manuals"
Print this page
×
Bookmark added
×
Added to my manuals
Manuals
Brands
Delta Manuals
UPS
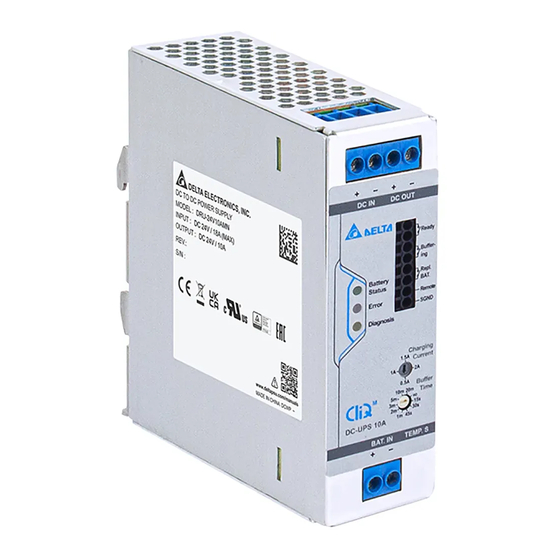
DRU-24V10AMN
Operating manuallines
Delta DRU-24V10AMN Operating Manuallines
Cliq m dc-ups & battery module
Hide thumbs
1
2
3
4
5
6
7
8
9
10
11
12
13
14
15
16
17
18
19
20
21
22
23
24
page
of
24
Go
/
24
Contents
Table of Contents
Troubleshooting
Bookmarks
Table of Contents
Section 1
Table of Contents
Product Overview
Installation Instruction
Operating Sequence
Relay Contacts and LED Indicators
Troubleshooting
Section 2
Product Overview
Installation Instruction
LED Indicator
How to Use Battery Temperature Protection
How to Replace the Battery
Advertisement
Quick Links
Download this manual
CliQ M DC-UPS & Battery Module
Operating Guideline
Rev. 02
Table of
Contents
Previous
Page
Next
Page
1
2
3
4
5
Advertisement
Chapters
Section 1
2
Section 2
16
Table of Contents
Need help?
Do you have a question about the DRU-24V10AMN and is the answer not in the manual?
Ask a question
Questions and answers
Related Manuals for Delta DRU-24V10AMN
UPS Delta DPH series User Manual
Modulon family three phase 25-150 kw (148 pages)
UPS Delta Modulon Series User Manual
Three phase 15-105 kva 208vac external battery cabinet (32 pages)
UPS Delta DPH Series User Manual
(148 pages)
UPS Delta DPH Series User Manual
(250 pages)
UPS Delta DPH Series User Manual
Three-phase, 208/220 vac 15-60 kva (216 pages)
UPS Delta DPS-400K User Manual
Dps series three phase 300/400/500 kva (152 pages)
UPS Delta Ultron Series User Manual
Three phase 300-600 kva (154 pages)
UPS Delta DPS Series User Manual
(140 pages)
UPS Delta Modulon DPH Series User Manual
Three phase 200-600 kva (232 pages)
UPS Delta Modulon DPH Series User Manual
Three phase 100-300 kva (240 pages)
UPS Delta DPM Gen2 Series User Manual
(193 pages)
UPS Delta Ultron DPM Gen2 Series User Manual
(178 pages)
UPS Delta Ultron DPM Gen2 Series User Manual
Three-phase, 480 vac 1200/ 1500 kva (174 pages)
UPS Delta Ultron DPS Gen2 Series User Manual
Three-phase, 380/400/415 vac 800/1000/1200kva (150 pages)
UPS Delta DS-UPS1000 User Manual
(5 pages)
UPS Delta DS-UPS600 User Manual
(5 pages)
This manual is also suitable for:
Dru-24v20amn
Dru-24v40amn
Drn-24v7aaen
Table of Contents
Print
Rename the bookmark
Delete bookmark?
Delete from my manuals?
Login
Sign In
OR
Sign in with Facebook
Sign in with Google
Upload manual
Upload from disk
Upload from URL


Need help?
Do you have a question about the DRU-24V10AMN and is the answer not in the manual?
Questions and answers