Table of Contents
Advertisement
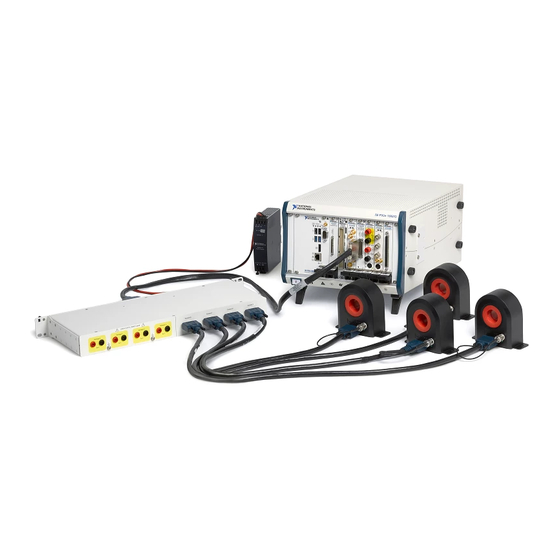
Quick Links
Advertisement
Table of Contents

Related Manuals for National Instruments RM-26999


Summary of Contents for National Instruments RM-26999
- Page 1 RM-26999 Calibration Procedure December 2020...
-
Page 2: Table Of Contents
RM-26999 Calibration Procedure This document contains the verification and adjustment procedures for the RM-26999. Use the procedures in this document to automate calibration or to conduct manual calibration. Review and become familiar with the entire procedure before beginning the calibration process. -
Page 3: Terms And Definitions
Terms and Definitions DUT is an acronym for Device Under Test, and refers to the NI product being calibrated. For this procedure, DUT refers to the RM-26999. As-Found Limits These limits are derived from the published specifications for the DUT. NI... -
Page 4: Calibration Condition Guidelines
RM-26999 Calibration Procedure Password Note This is the default password for all password-protected operations. This password is site-specific. Task Estimated Test Time Operator Connections Test Points Setup 5 minutes 8 connections — Warm Up 30 minutes — — Verify, Adjust, and Reverify... -
Page 5: Calibration Resources
Ensure that the most recent version of the required driver software is installed before conducting the calibration. Install the following software on the calibration system: LabVIEW 2017 SPI Base/Full/Pro or later NI-DAQmx 17.0 or later RM-26999 API from the VI Package Manager ni.com/calibration... -
Page 6: Recommended Documentation
RM-26999 Specifications RM-26999 Getting Started Guide RM-26999 User Manual Test Equipment This section details the equipment NI recommends for each test performed as part of this calibration procedure. - Page 7 RM-26999 Calibration Procedure DC Range: ±10 V Verifications: DC Accuracy: ±20 µV/V DC Gain Keysight 3458A AC Range: ±10 V AC Gain AC Accuracy: <1 MHz: ±0.02% Verifications: Low Thermal EMF DC Gain...
-
Page 8: Initial Equipment Setup
RM-26999 Calibration Procedure Initial Equipment Setup Verify that the calibrator has been calibrated within 1 year and that DC Zero Calibration has been performed within the last 30 days. Note Consult the calibrator user documentation for calibration instructions. Verify that the DMM has been calibrated within 1 year. Verify that ACAL (self- calibration) has been performed within the last 24 hours or when the temperature drifts more than ±1 °C from last ACAL temperature. -
Page 9: Warm Up The Dut
RM-26999 Calibration Procedure Warm Up the DUT Warm up time is not required for the DUT prior to taking measurements. All test equipment used in this procedure require a warm up time of at least 1 hour. Perform Verification DC Gain Verification... - Page 10 RM-26999 Calibration Procedure Initial Test Connection Caution: Possibility of Electric Shock Power off all high-voltage signals before making any connections. Figure 1: DC Gain Connection 1. Calibrator BNC-2090A 2. Low thermal EMF cable with banana plugs 8. PXIe-6356 3. RM-26999 SH68F-68F-EPM cable 4.
- Page 11 Connect all test equipment except the calibrator, as shown in Figure 1. Repeat 4 times, once for each channel. Ensure the DUT is identified by the DAQ device. Refer to the RM-26999 Device Enumeration.vi in the NI Examples Finder. Ensure that the calibrator output is powered off...
- Page 12 RM-26999.lib\_filterPhysicalChannels.vi RM-26999.lib\_retrieveVoltageScaling.vi RM-26999 Close.vi Note To find the RM-26999 VIs, navigate to vi.lib»NI»RM-26999»rm-26999.llb in the LabVIEW folder. Compare the scaled measurement with the test limits defined in Table 1. DUT Measurement = DMM Measurement × DUT Gain + DUT Offset Power off the calibrator output.
-
Page 13: Ac Gain Verification
RM-26999 Calibration Procedure AC Gain Verification Test Limits Table 2: AC Gain Verification Test Limits As-Found Test Limit As-Left Test Limit High Low Voltage Calibrator Frequency Voltage Input Value Range Range Input Value Lower Limit Upper Limit Lower Limit Upper Limit... - Page 14 RM-26999 Calibration Procedure 750 V 3.75 V 750 V 10 V -10.1 V +10.1 V -5.0 V +5.0 V 500 V 2.5 V 750 V 10 V -6.8 V +6.8 V -3.4 V +3.4 V 100 kHz 50 V 0.25 V...
- Page 15 RM-26999 Calibration Procedure Initial Test Connection Caution: Possibility of Electric Shock Power off all high-voltage signals before making any connections. Figure 2: AC Gain Connection 1. Calibrator 7. NI BNC-2090A 2. Calibrator amp cable 8. BNC cable 3. Calibrator amp 9.
- Page 16 RM-26999 Calibration Procedure Verification Procedure Connect all test equipment except the calibrator, as shown in Figure 2. Repeat 4 times, once for each channel. Ensure that the calibrator output is powered off. Caution: Possibility of Electric Shock Power off all high-voltage signals and set the calibrator to standby before making any connections.
- Page 17 RM-26999.lib\_getChannelsFromTask.vi RM-26999.lib\_filterPhysicalChannels.vi RM-26999.lib\_retrieveVoltageScaling.vi RM-26999 Close.vi Note To find the RM-26999 VIs, navigate to vi.lib»NI»RM-26999»rm-26999.llb the LabVIEW folder. Compare the scaled measurement with the test limits defined in Table 2. DUT Measurement = DMM Measurement × DUT Gain + DUT Offset Power off the calibrator output.
-
Page 18: Perform Adjustment
RM-26999 Calibration Procedure Perform Adjustment Perform an adjustment at least once within the calibration interval. Adjustment automatically updates the calibration constants, the date, and the temperature in the DUT EEPROM. If the DUT passes the verification procedures within the As-Left test limits, an adjustment is not required. - Page 19 RM-26999 Calibration Procedure Figure 3: DC Gain Connection 1. Calibrator 6. BNC cable 2. Low thermal EMF cable with banana plugs 7. BNC to banana plug adaptor 3. NI RM-26999 8. DMM 4. NI SH68F-68F-EPM cable 9. Power supply 5. NI BNC-2090A...
-
Page 20: Adjustment Procedure
Connect all test equipment except the calibrator, as shown in Figure 3. Call RM-26999 Open External Calibration.vi. Note Do not call RM-26999 Close External Calibration.vi before completing all adjustment steps. Closing the session early will invalidate all adjustments and measurements. - Page 21 A settling time of 10 seconds accommodates any changes to range, polarity, and thermal EMF effects that increase the base settling time. Take the measurement with the DMM. Call RM-26999 Adjust DC Gain Calibration.vi. Use the high voltage value as the reference voltage signal, as defined in Table 3.
- Page 22 A settling time of 10 seconds accommodates any changes to range, polarity, and thermal EMF effects that increase the base settling time. Take the measurement with the DMM. Call RM-26999 Adjust DC Offset Calibration.vi. Use the low voltage value as the measured voltage signal, as defined in Table 4.
-
Page 23: Perform Reverification
As-Left limits with measurement data collected after the DUT adjustment. The As-Left limits may be tighter than the As-Found limits. Revision History Revision Section Changes 377699A-01 This is the initial release version of the RM-26999 Calibration — Procedure. December 2020 ni.com/calibration... -
Page 24: Ni Services
For patents covering National Instruments products/technology, refer to the appropriate location: Help»Patents in your software, the patents.txt file on your media, or the National Instruments Patents Notice at ni.com/patents. You can find information about end-user license agreements (EULAs) and third-party legal notices in the readme file for your NI product. Refer to the Export Compliance Information at ni.com/legal/export-compliance for the National Instruments global trade compliance policy...
Need help?
Do you have a question about the RM-26999 and is the answer not in the manual?
Questions and answers